
 |
| FREE SVG DOWNLOAD |

 |
| FREE SVG DOWNLOAD |
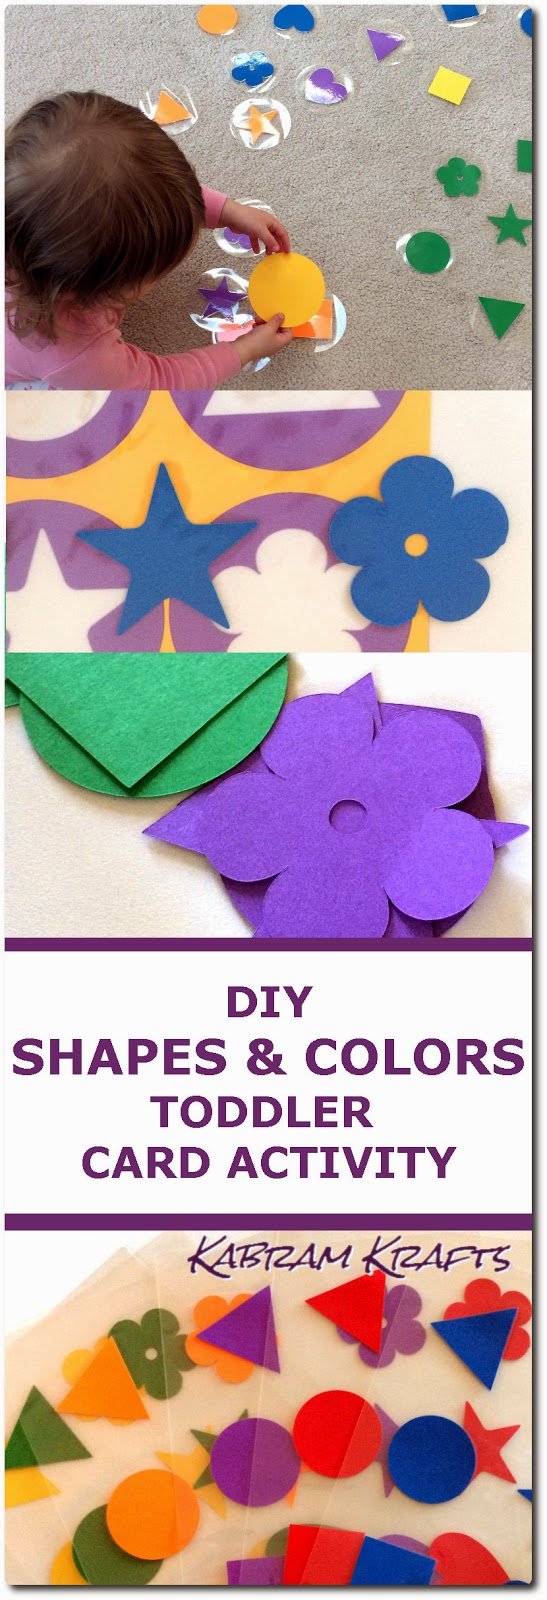
 My daughter is quickly nearing the age of two. Her interest in talking and learning new words is at a record high, and I have been wanting something for her to play with that would also help her to learn a few new things in the process.
At her age, sorting and moving things from one spot to another is a fabulously exciting activity, so I thought maybe we could try to learn and sort with some shapes and colors.
 Naturally, I wanted to put my Silhouette Cameo cutting machine into the creative action, so I came up with some laminated shapes that I then cut out in circles. You could definitely do this without a cutting machine, however, and the laminating machine is not strictly necessary either. I wanted these to last a while, so I laminated them, but if you use a heavy cardstock, they should last a for a while also and be just as educational.
 In my set of colors and shapes, I picked out 6 of each, for a total of 36 cards. I choose the colors RED, BLUE, GREEN, YELLOW, PURPLE, and ORANGE. For the shapes, I went with CIRCLE, SQUARE, TRIANGLE, HEART, STAR, FLOWER. Now, I know “flower” isn’t really a traditional shape choice, but I didn’t like the other options I thought of, such as diamond (easily confused with square) and more elaborate polygons.
 The process was fairly simple, with only one small trick or two to get my machine to cut the circles around the shapes correctly (even if not quite perfectly).
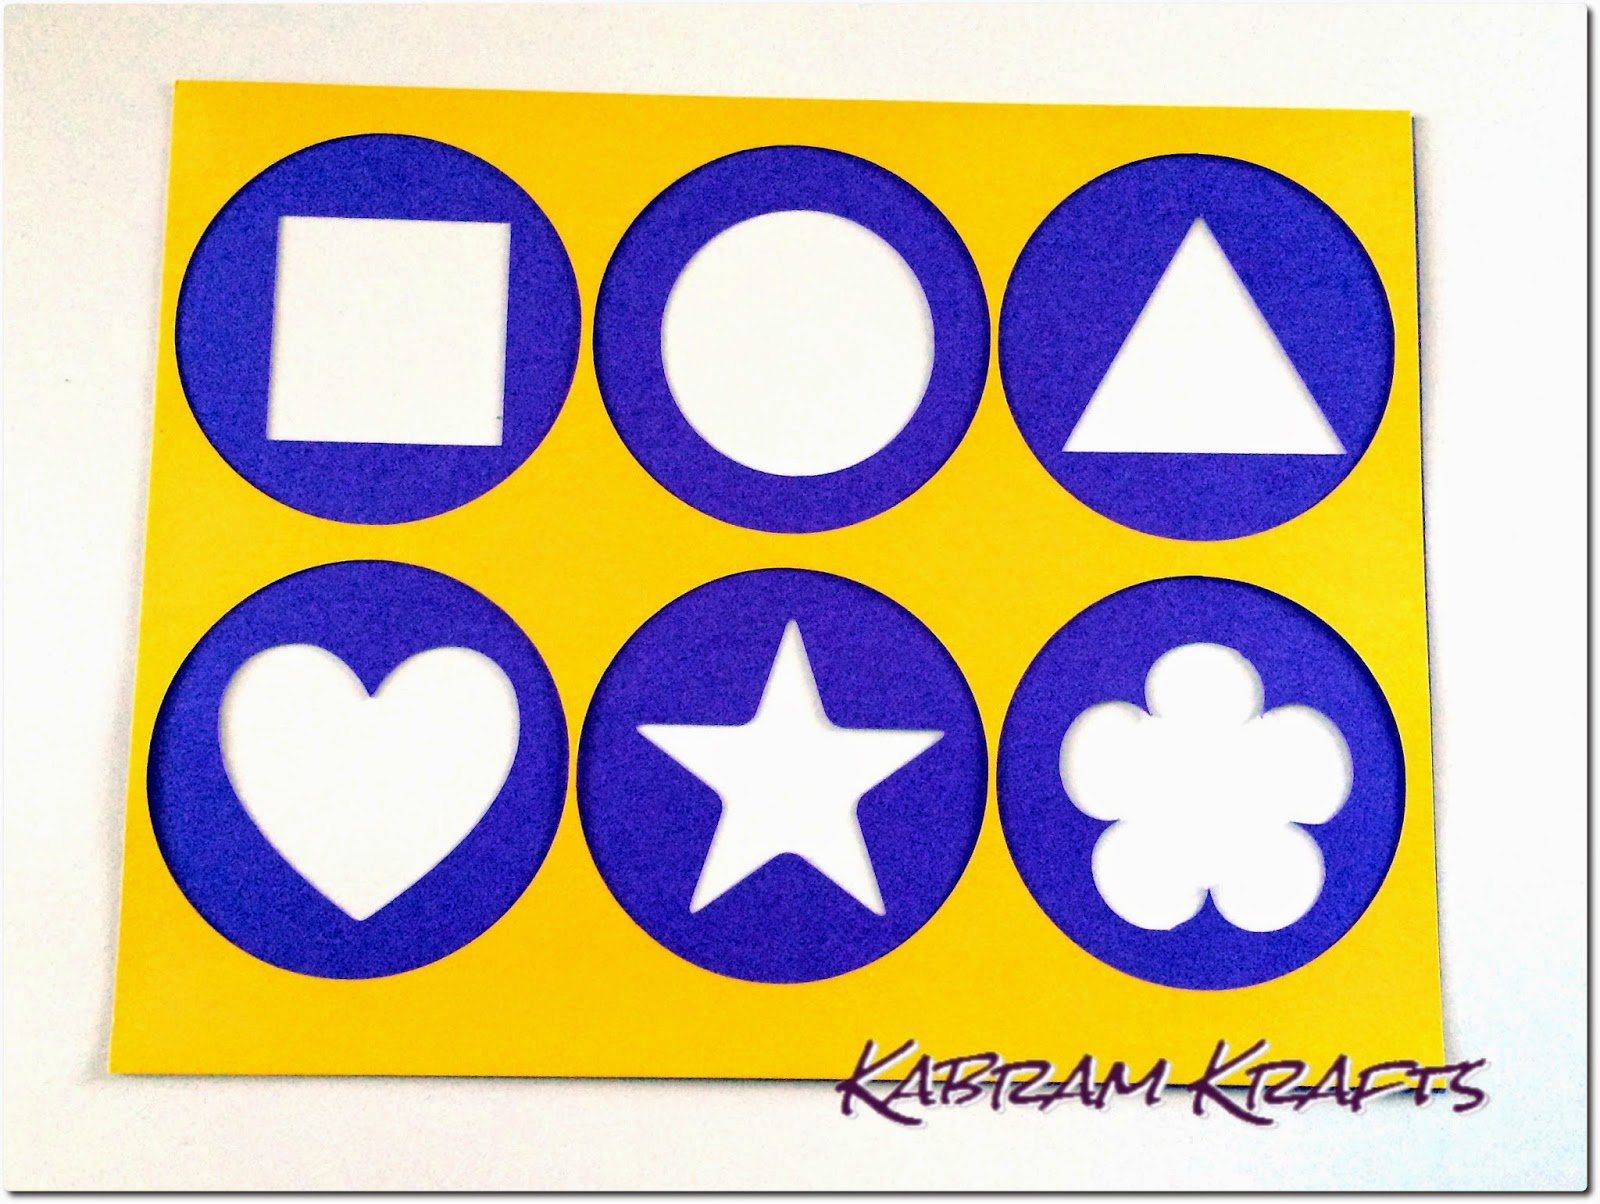
First, pick out your shapes, size them all about the same, and arrange them evenly on your page.
Next, add a circle behind each shape, all of the same size (these you will cut out after you laminate the shapes).
Cut out just the shapes (not the array of circles) from your first color page. You need to cut out at least one page of shapes arranged inside the circles so that you have a template to place them correctly in the laminating page. I also cut a separate sheet with just my 6 circles, though this isn’t strictly necessary.
To save some of the page of cardstock, I then rearrange the shapes in another file more compactly and cut them out of the other 5 colors of cardstock.
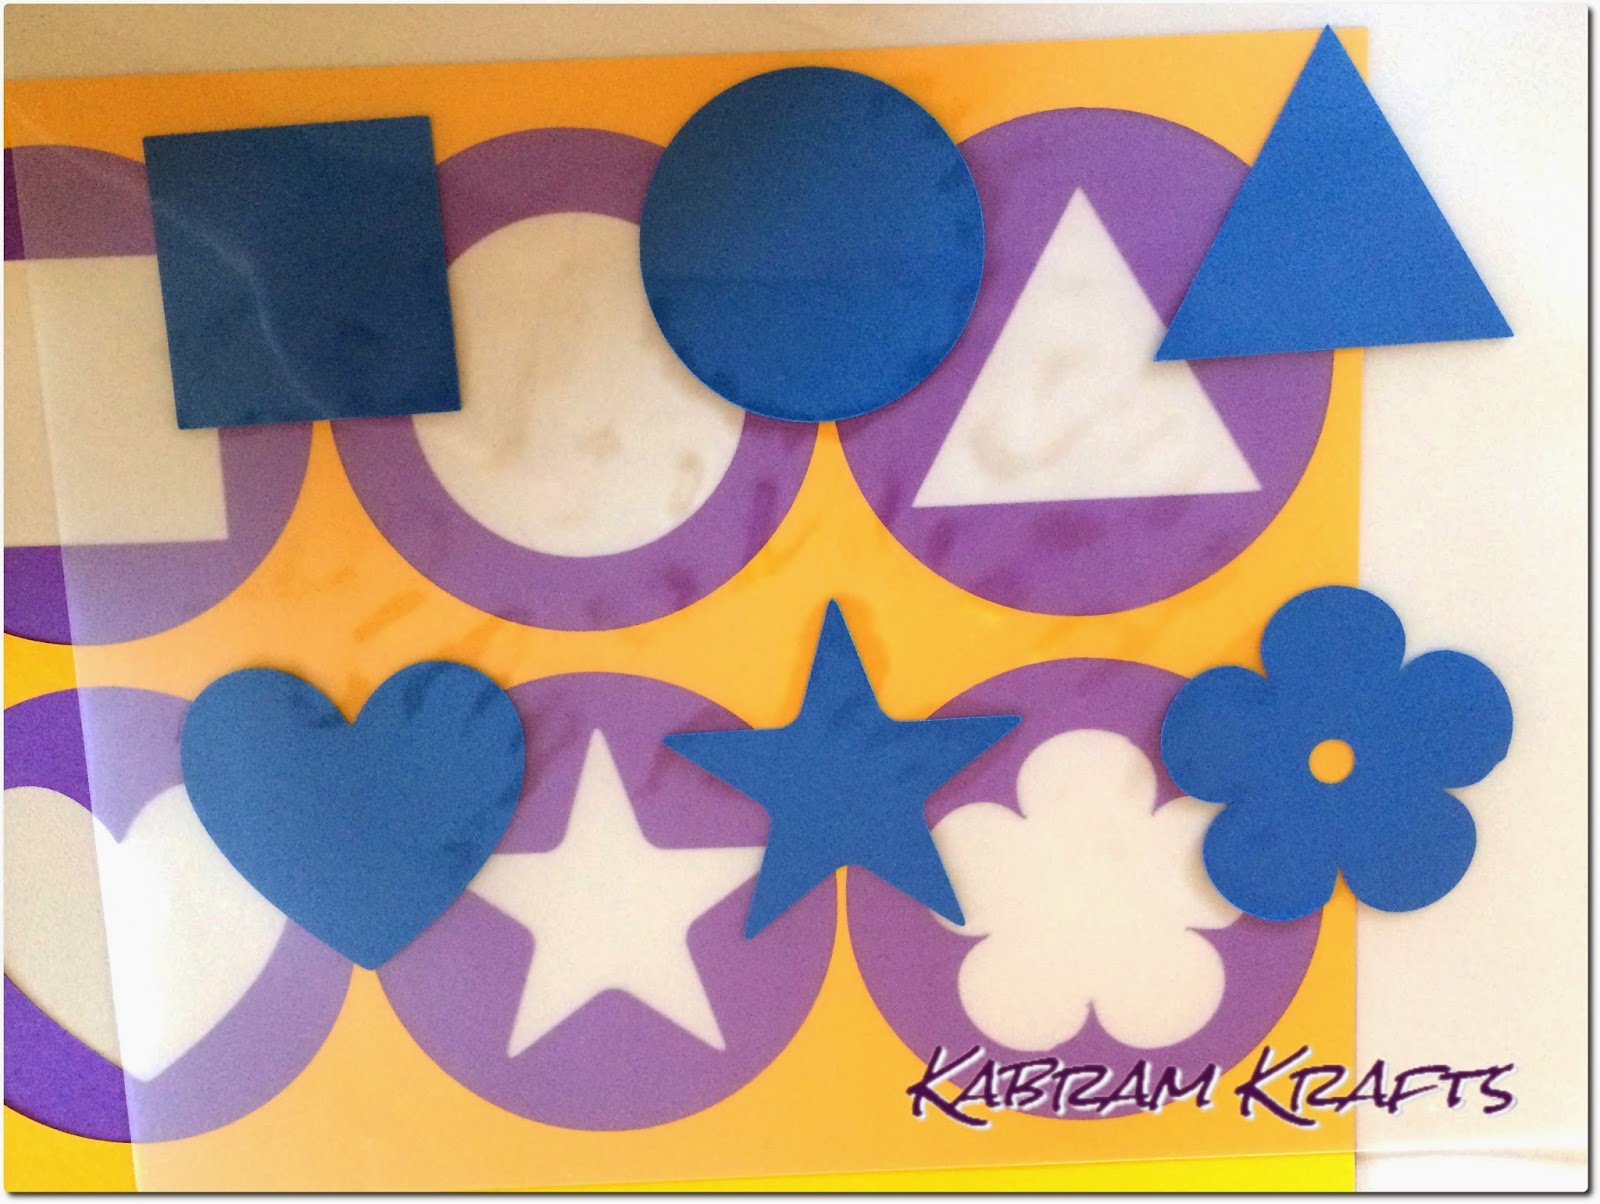
 Now, it is time to laminate. I pulled out a laminating sheet and placed it on top of my template (the page with the shapes all lined up). Then, I took a set of shapes and placed them inside the laminating sheet using the template as a guide.
I cheated a little and used an iron to quickly stick the shapes in place. Placing a sheet of paper over the sheet, I put the iron down for only a couple seconds, just enough to keep the shapes from shifting while I put the contraption in the laminating machine.

 Once you have all 6 sets of shapes laminated in the correct alignment, place the sheets back through your cutting machine one at a time. This time through, select “No Cut” for the shapes, and “Cut” for the 6 circles around the shapes. If you lined the shapes up correctly with your template and put the sheet in the correct way, it should cut out nice perfect circles around your newly laminated sheets.
My shapes were not all perfectly centered in their circles (due to my own imperfections), but the resulting set of shapes was still awesome.
My daughter took to them immediately. Even as I finished each sheet and handed them to her, she kept demanding “More, more”. We practiced sorting them into piles of different colors and then shapes. She did not know the names of all these shapes yet, but is picking it up quickly.
I think we will have a lot of fun with these and that we will be able to come up with new games and things to learn with them as she grows. I am already thinking of games like “Can you give me the Red Flower?”, or counting games, matching, etc.
What games would you play with these?

Still thinking about Easter! I thought some crosses were in order. I was inspired by a similar looking photo and thought I would whip up another cutting file.
 |
| Free SVG File Download |
Hope you like it!

Well, I know it seems far off yet, but I’m sure Easter will be upon us before we know it. Perhaps because I am hoping for warmer weather and nice spring days, I decided to make some Easter egg cutting files.


I would love to see how you use these in your projects this year!

Free SVG Download

Hello Again!
Valentine’s Day must have my creative juices flowing. I made another cutting file for everyone. I put it in a square with the intention of making a card front overlay. With the sentiment I posted yesterday, the components of a beautiful and simple card are in place. Perhaps my husband will be seeing this one cut out in a couple weeks!
The downloads are for svg and dxf files. Let me know if there are other formats that would be useful for you, and I can do my best to accommodate.
 |
| Free SVG download |
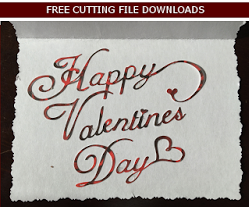
February is almost upon us! I have had a long hiatus from this blog in these winter months, but I have really been wanting to post more free files and inspiring projects up here. Now, this might only be because I enjoy both the motivation it provides to my crafting as well as the joy I get from seeing people enjoy my posts.
With Valentine’s Day approaching, I figured I would need a sentiment to go on the many (i.e. – maybe one) cards I will be making. I based this file on AdineKirnberg-Script font which I found free online. I added some hearts and connected it a bit, so hopefully it will cut well. If you try it out, let me know. I will share my finished Valentine’s Day Card when I get around to making it!
Enough introduction, here is the sentiment. As always, please use my files and downloads for personal use only.
 |
Can you believe it is almost fall already? We saw some very warm temperatures this past week and it sure didn’t feel like September at all. The cooler temperatures will be nice, and it will be fun to rake up piles of leaves for my daughter to play in.
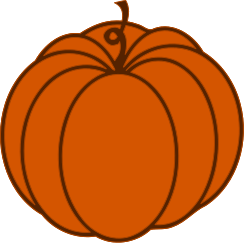
I have been thinking about pumpkins and had fun make this simple little pumpkin file. It is two pieces and would look very nice cut out in brown for the overlay and a nice fall orange for the pumpkin. I have visions of making more and maybe even some jack-o-lanterns, but we’ll see what happens.
 |
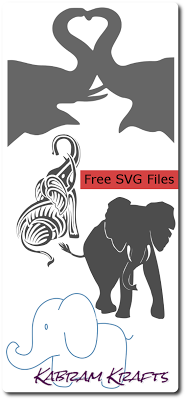
Aren’t Elephants awesome? They are such elegant creatures, but yet so strong and mighty too. I rounded up some free images I found on the web and created some awesome cutting files!
I am envisioning the elephants with the heart as an awesome note card or love note design – stuck in a frame, it could be a very simple cut and go card. I’m not sure what I will use the African Elephant design for, but perhaps it would make a good vinyl application to my daughter’s nursery. Lately I have been envisioning her walls bedecked with multitudes of vinyl animals.
There is also an elephant sketch file that would work well on the front of a baby shower card or perhaps a baby announcement.
Finally, I found the last elephant as a free tattoo design that would look awesome in vinyl, or perhaps cut as a stencil.
If you use these in any of your project, definitely show me! I would love to see how your crafty brains put these to use.
 |
| Download the Zip file with the free SVG and DFX files HERE |
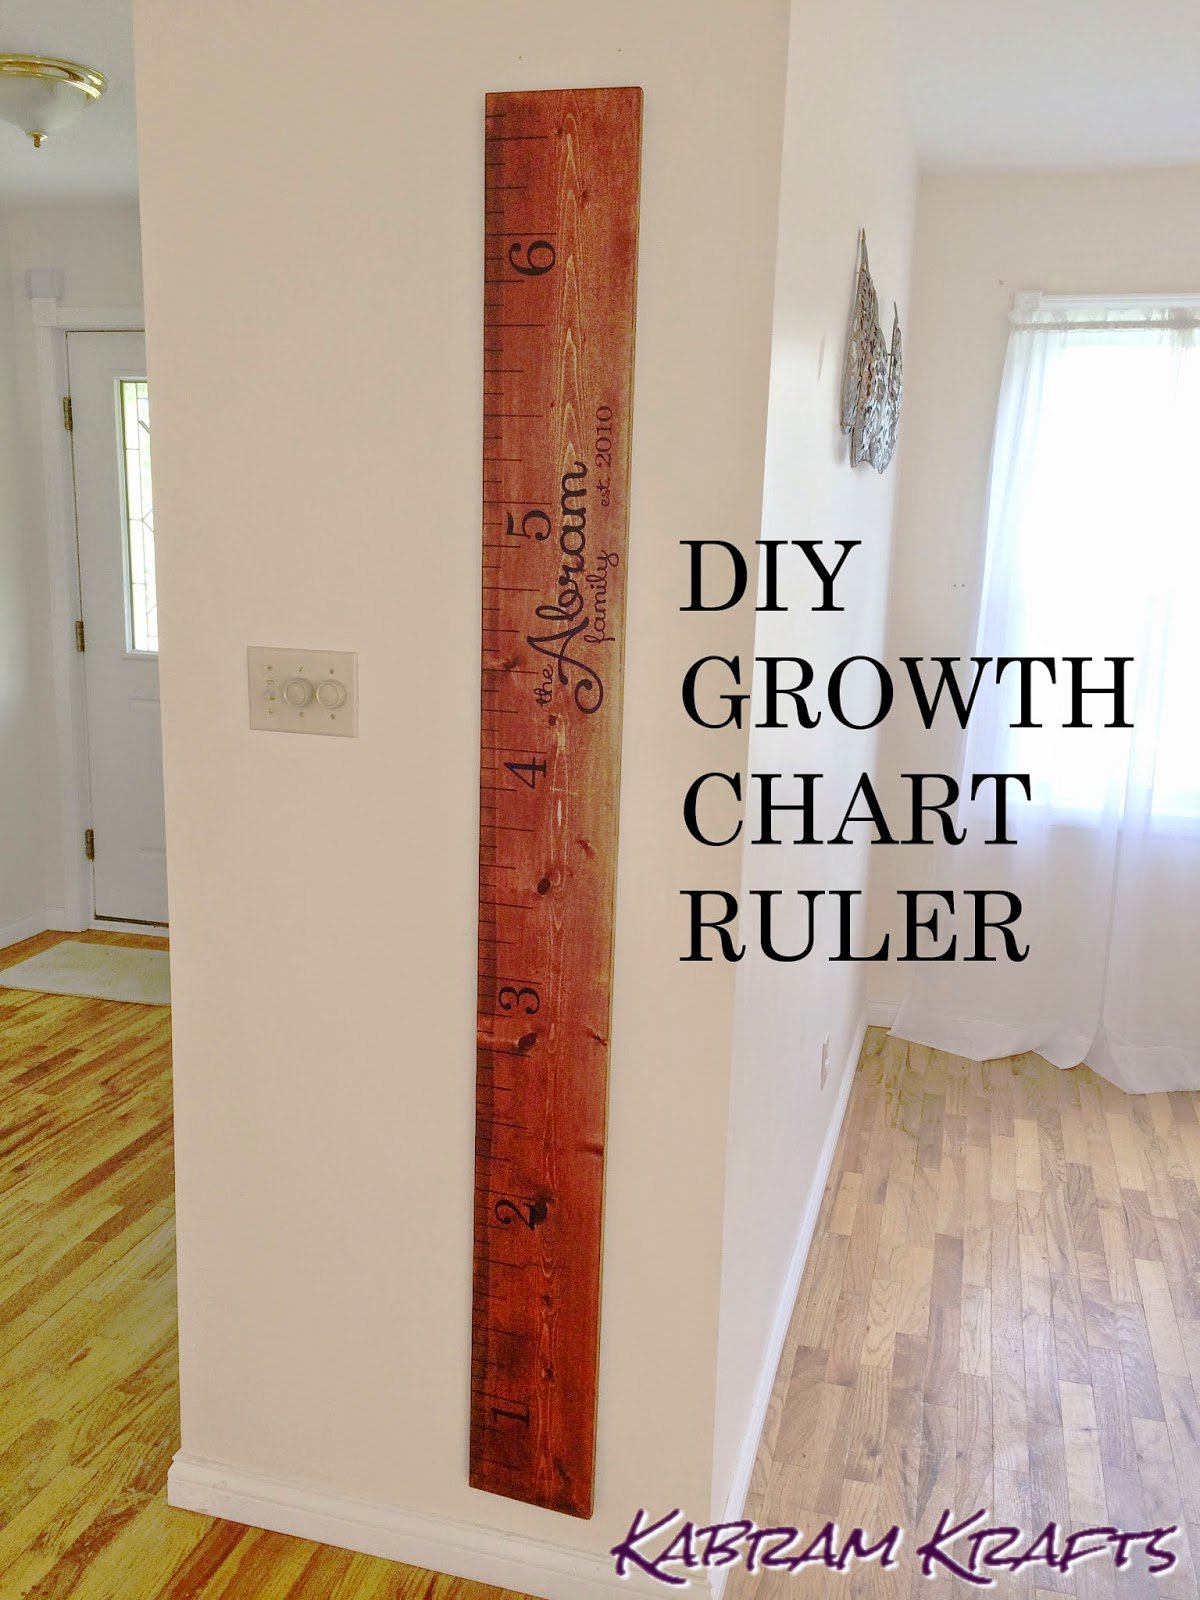
Well, this is one of those projects that I’m sure you have seen if you have spent any time on Pinterest. Despite its ubiquity, I wanted to give it a try since it has a wonderful appeal both in its practicality and in its decorative nature.
Once completed, you can chart your children’s growth without the worry of having to leave behind a chart on the wall. The ruler is also a beautiful keepsake for years to come!
I wanted to keep the cost of this project down, so I rummaged around the stash of paints and such that was left in our home by the previous owner. I found a can of stain – just what I was after. Now, this meant that I had to be content with the stain color I had (red oak), but it definitely kept the costs down.
Materials
Tips: I used Century font and put a little bracket around each number to help me line it up. If you use my cut file, leave the bracket on while applying to get it straight, then pull it off your project. Play around with your name if you want it, I used Xiomara font with Century for the numbers.