Posted on 2 Comments

DIY Pillowcases!

DIY Pillowcase Fun

This DIY Pillowcase project was relatively simple and a great project for the licensed fabrics that we ended up with on our last outing to the craft store. Do you bring your husband along when you go to the craft store? Well, I end up bringing him because we are often out of town together when I have the opportunity to go.

Shopping with the whole Family

What happens when you bring your whole family to the craft store? This happens:

craft store receipt

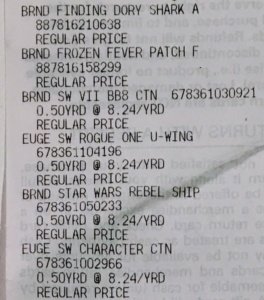
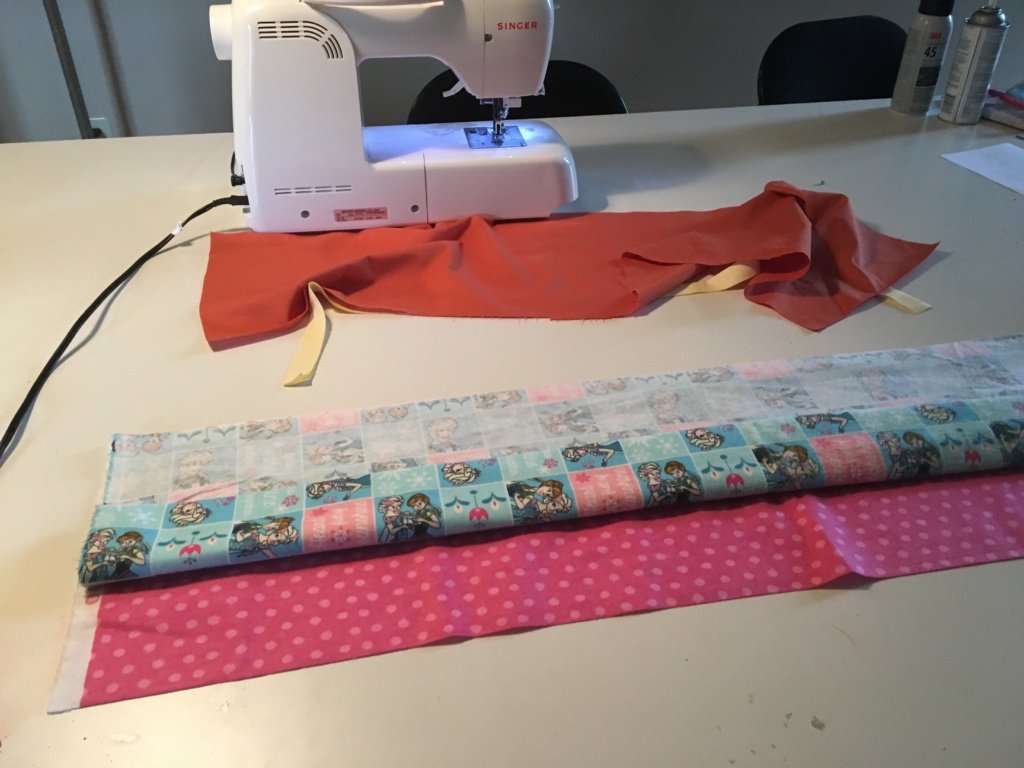
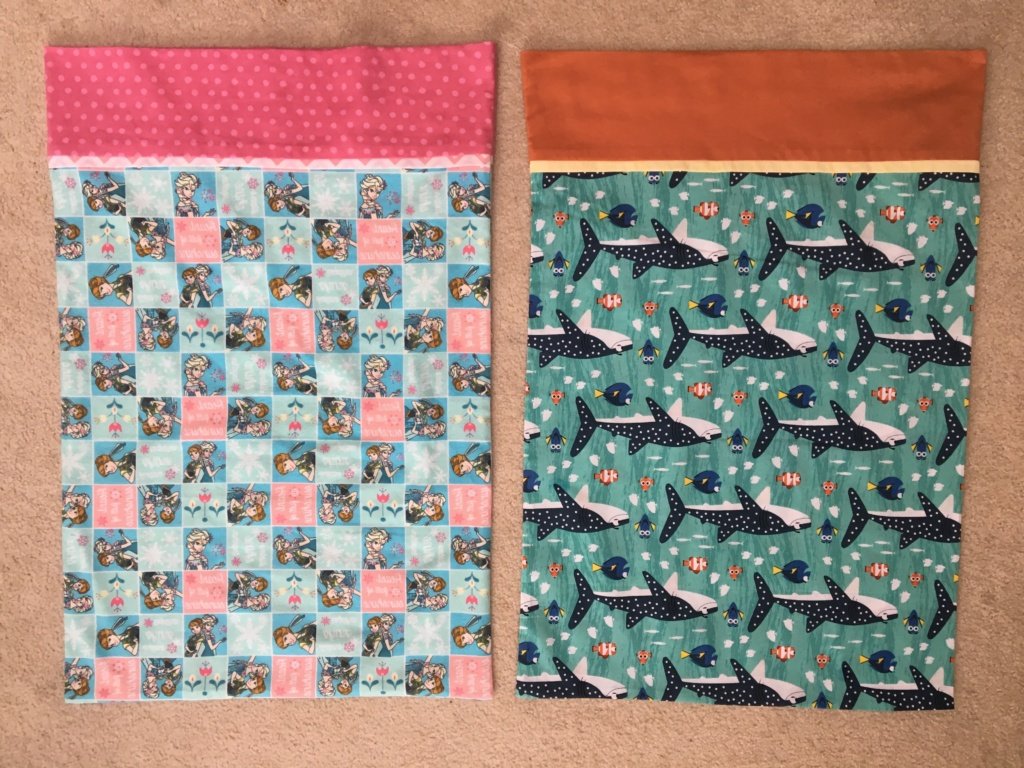
As you can see, we ended up with lot of licensed character fabrics. While the Star Wars fabric is still waiting to be made into pillows for the man cave, the girls’ Dory and Frozen fabrics made it into these cute DIY pillowcases. (Do you like my awesome table? It is a giant 4 foot by 8 foot piece of melamine board!)

Since I am a beginner at sewing, I followed this lovely tutorial on My Childhood Treasures Blog. While she said it only took her about 10 minutes for each pillow once the fabric was cut, mine took at least 30 minutes each. So, your timing may vary depending on your ability, but mine still came out quite adorable.

how to make a pillowcase
Tutorial at My Childhood Treasures

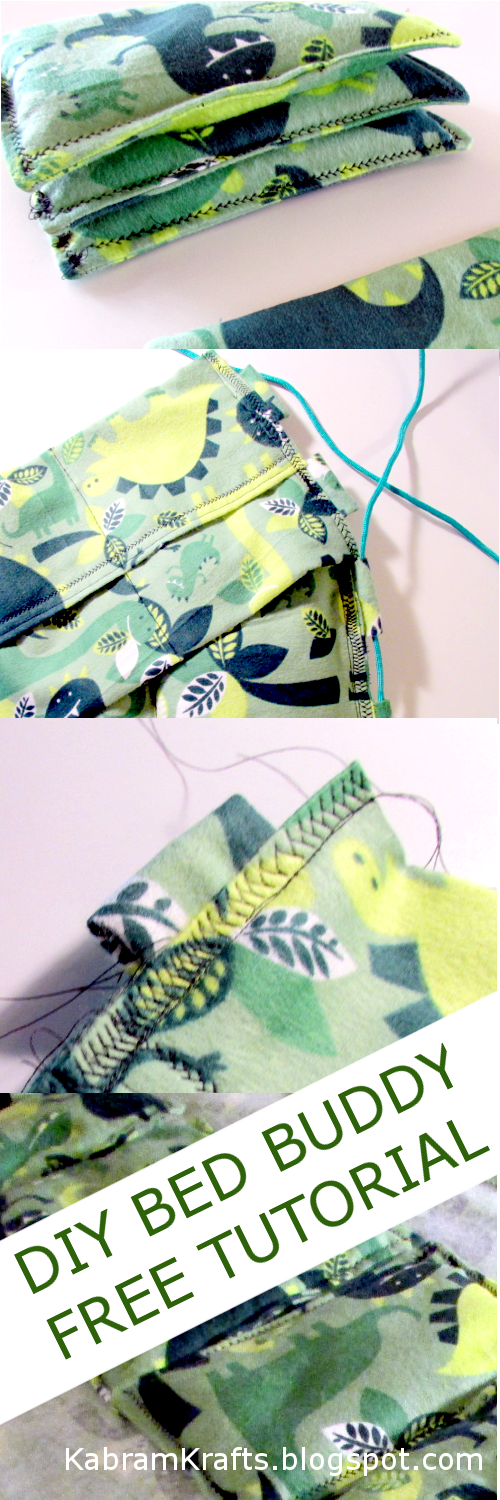
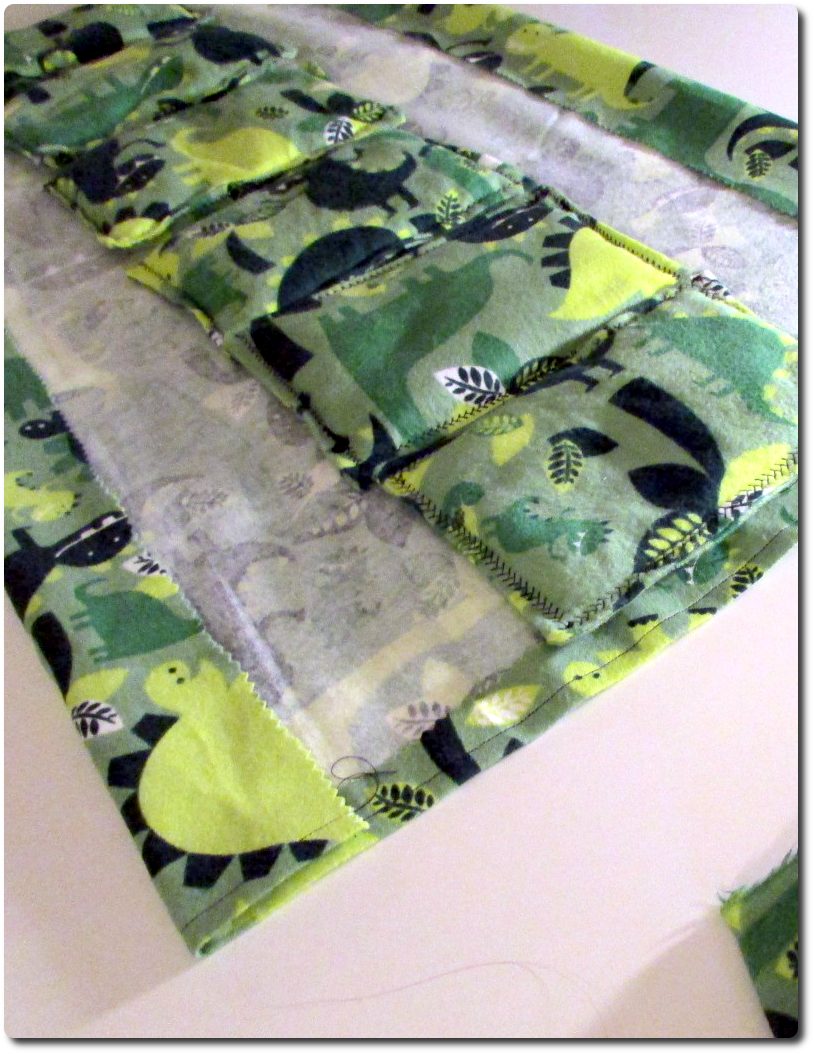
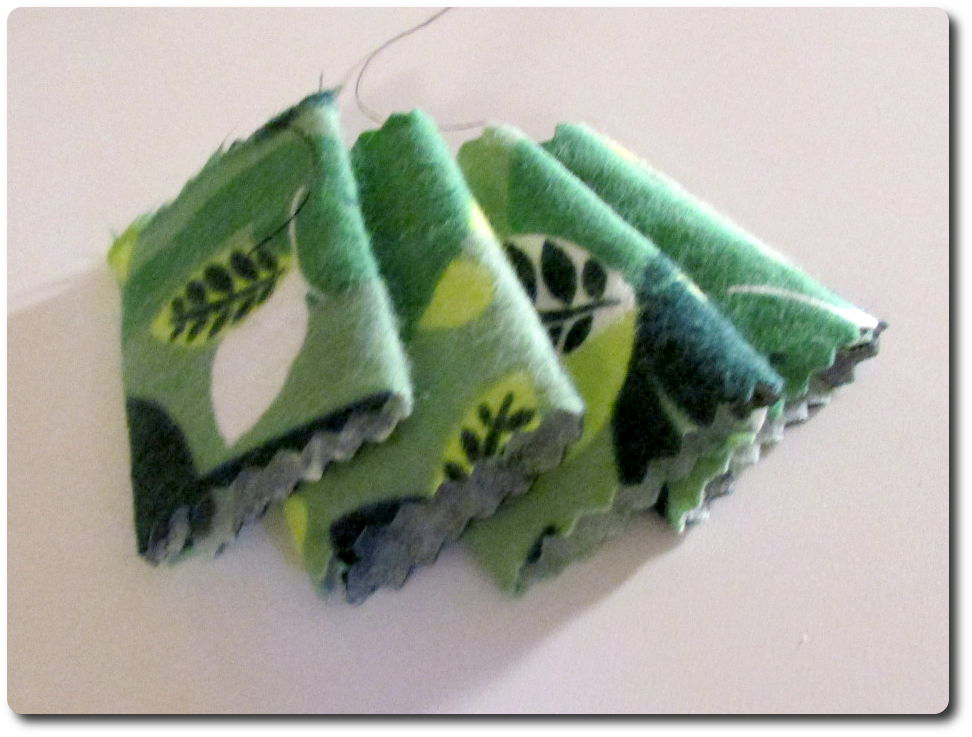
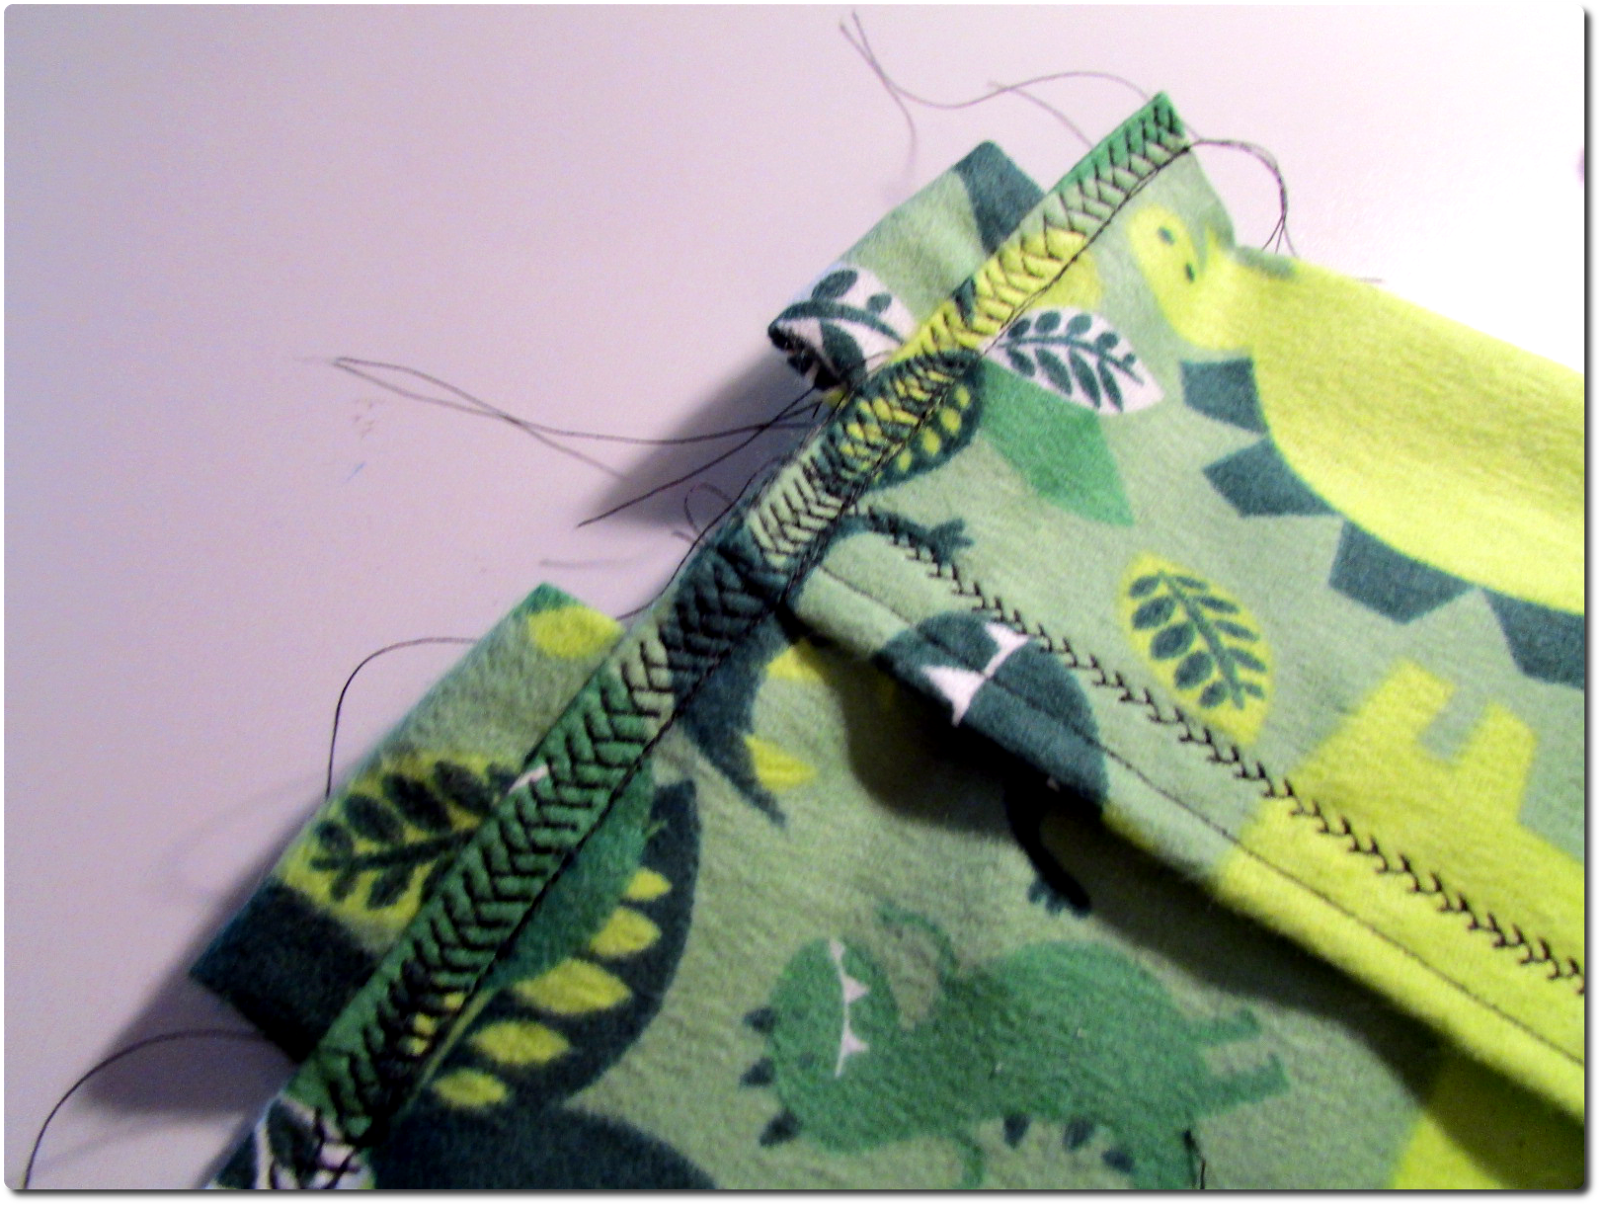
In this DIY pillowcase, the cuff is sewn on all at once while the body of the pillowcase is rolled up inside. Although envisioning how all the layers work is a little tricky, the sewing itself was straightforward. For my first ever pillow cases, I was very pleased with how they turned out.

Cutting the Fabric

Also, I used my new rotary cutting tools for this DIY pillowcase project. While I got them to cut squares from my rolls of cork, they made cutting the fabric out for this project super simple! If you give a girl several 60% off coupons, she will use them. So, while I recommend you get them with coupons from one of your local craft stores, here are the tools I used on Amazon. Actually, looking at the current prices on Amazon, I see that they really aren’t that much more than getting them 60% off at the craft store. While I love the craft stores, I do feel like they mark things up significantly!!

What do you think? Do you have different methods? How about customizing them with names or applique? For a long time now I have wanted to use the Silhouette Cameo for doing applique. However, I am intimidated by the sewing half!

My adorable girls enjoying the results. No hesitation here…

Story: “If you bring your family to the craft store, they will want to buy some fabric.”

Moral of the Story: “Don’t bring your family unless you are prepared to make pillows.”

Posted on 2 Comments

UPDATED: How to Make a DIY Bed Buddy (a cozy microwave heating bag)

Cozy DIY Bed Buddy for my Little Girls

Well, it has been a while since I made my first DIY bed buddy. You can take a look at that first attempt in this post. This time, I had already made a bunch of rectangular bean bags for my little girls. So, I already had the first step done. For the design, I kept it very similar to the one I originally came up with.

DIY BED BUDDY

The only major change I made was how I made and attached the handles. Surveying my awesome dinosaur bed buddy, I decided that the handles were both overly complicated and a possible choke hazard! Take a look. See how long the handles are?

Change: New Straps

My mind can see some child deciding that this would make a good necklace and choking themselves. Hence, I keep this one put up and came up with a different method to use for the handles. First, I used a strap instead of a string. Second, I made it much shorter. Third, I didn’t make the extra little “strap holder” parts and sewed the handles directly into the seams.

DIY BED BUDDY
DIY Bed Buddy – First Attempt

My girls love to have things that make them like Mommy or Papa. My daughter has been toting her new mini bed buddy all over and calling it her “buddy bean bag” instead of her bed buddy.

Microwave Your DIY Bed Buddy

Pop it in the microwave for 30 – 60 seconds and you or your children can cuddle up with it. For the large one, I like to microwave it for 2 and half minutes for my husband or a little longer for myself. It feels great on sore shoulders or a pounding head.

New (to me) Adobe Software

As a side note of sorts, I just last month got a subscription to the latest Adobe software. If you look at this tutorial that I made, you will see why I have been having so much fun with it! Mainly, I had wanted to be able to use Adobe Illustrator to work with SVG’s and thought Photoshop would be a nice bonus. However, it includes access to a large number of programs AND a large number of apps. Now, I can’t stop playing with images on my phone.

If you can manage to accumulate a large number of $1 no rush credits on Amazon and also happen to have academic status, you can get a year’s subscription without paying an arm and a leg. I really had no intention of plugging Adobe just now, but I really haven’t been able to stop playing with it since I signed up!

Adobe Creative Cloud Student and Teacher Edition Prepaid Membership 12 Month – Validation Required

And, without further ado, my little tutorial. I am sure I missed a fair number of details, so feel free to ask if there is something not clear.

DIY Bed Buddy Tutorial

DIY Microwave Bed Buddy

Also, I did go into a lot more detail in my original DIY Bed Buddy post if you need a more in depth look at things.

Well, that is certainly all I have for today. Please, share your projects with me if you make a version of this or something similar. I would love to see how your DIY Bed Buddy turns out!

Posted on 1 Comment

A Baby Headband

Well, this project was a pretty simple one, but I thought I would put it up anyhow as it was a spin off project from my t-shirt yarn rug. When I made the t-shirt yarn (see my DIY t-shirt yarn post), I kept the elastic edges of the fitted sheets I cut apart. (And I made a wonderful crocheted rug for my daughter’s room with the yarn I made). I left a nice little ruffled edge along the side of the elastic and it seemed that it might come in handy, and it did.
Elastic from Jersey Fitted Sheet
The elastic edge of the fitted sheets was perfect for a headband, but it is a little thicker than some elastics I have used for headbands. So, I wanted a larger flower to add to it. I used a knitted flower I made using directions I found on Ninuska’s Blog. The flower came out very lovely, though I think I would use a lighter weight yarn to make the flower more delicate.
Knit Flower for Headband Accent

I measured my daughter’s head and cut the elastic to size. Next, I wove the band of elastic through the bottom of the flower. Finally, I sewed the ends of the elastic together and hid the seam in the flower. Here is the finished product:

Here it is again displayed on my daughter’s lovely little head. I think it turned out well. What do you think?
Posted on 1 Comment

Free Duckling SVG file for Spring!

Ducklings

Spring has Sprung! Sadly, that statement doesn’t yet ring true here – but I have high hopes. We have warm weather for the next week (and by warm, I mean above freezing) – so thesnow should melt soon! Perhaps we may start seeing green too.

At any rate, I found this adorable sketch pinned on pinterest with a dead link and no searching on my part has turned up its origins. If anyone knows, let me know! I took the liberty of converting to a cutting file because I simply couldn’t resist.

Here it is in all its wonderful spring like glory:


And, of course, a cute little image for pinterest. Have a great day!

Ducklings
 
Posted on 3 Comments

How to Make a DIY Bed Buddy (a cozy microwave heating bag)

One of my favorite things when I am cold, achy, or sick is my bed buddy. My older sister got me one a while back and I love it. It even had a nice smell to it when heated, which sadly is now mostly faded. However, lately, whenever I warm it up and snuggle up, my husband somehow manages to get his hands on it and steal it away! So… I thought I would make him one (and perhaps a new one for myself soon too).

At first, I was planning to make it rather simple – sew 2 rectangles together, fill with rice and tada! However there are a few things that I considered:


  1.  It would be nice if the rice didn’t all fall to one side or the other and was more spaced out along the length of the bed buddy.
  2. Washing the bed buddy, or at least the outer layer, would come in very handy.
  3.  If I was going to make an outer layer anyhow, it would be nice to be able to use the inserts individually as hand-warmers if needed.

So, after much thought, I came up with this design. Basically, I mbean rice bags and long rectangle with handles and pockets for the rice bags to slip into. Velcro was considered to hold each bag in its pocket, but I didn’t like the idea of it scratching me, so I found another way! I was actually very pleased with how the design turned out and really love the way it looks (even despite my sloppy sewing skills!).
ade 6 small

I hope you like this tutorial. Please let me know if you have any questions and I would love to see what anyone else makes based on this – even if it puts mine to shame! 😉

 INSTRUCTIONS: 

 PART ONE: Making the “hand-warmer” inserts! 

1 2 3 making bean bag hand warmer inserts

This is the easy part. Basically, you are making 6 “bean” bags. Dimensions don’t really matter as long as you make them all the same size. I decided I wanted each one to be about 5″x7″, so I cut 12 rectangles measuring 6″x8″ to allow ample room for seams:

Finished Bean Bag Hand-Warmer Inserts Stacked Filling the Bean Bag Hand-Warmer Inserts With Rice and a Funnel

  1. Cut 12 rectangles from your cotton fabric of choice (I used a dinosaur print flannel).
  2. Place them right sides together in pairs (for 6 total pairs).
  3. Sew around the edges, leaving an opening large enough to turn them right side out again.
  4. Turn each bag right side out.
  5. Top stitch along the edges (I played with my decorative stitches) to give it a finished look. Remember NOT to stitch over the opening!
  6. Optional: Mix rice with some drops of essential oil to give it a nice smell.
  7. Fill with rice. I used a funnel (I don’t know if I could have filled them without it) and put about 1 cup of rice in each bag.
  8. Finish the top stitch over the opening to seal in the rice. As you can probably see in the pictures, I am no expert here. I learned that I don’t know the proper way to turn the corner when using a decorative top stitch, and I ended up with lots of little nests of thread on the corners. Thankfully, I have learned not to get to distraught and decided that it didn’t really matter. The item still works very well, and my husband didn’t seem to mind its imperfections!

 PART TWO: Making the bed buddy with pockets!


This part was much more challenging, but not that bad! And, as a caveat, it was by no means an exact science.

  1. First, I took my fabric and laid out my finished inserts on top. I was aiming for it to be slightly larger than all six of them laid out side by side. This put me at a little over 30 inches, plus extra for seam allowances. Since my fabric was a yard wide, I just used that.
  2. I then hemmed the fabric on each side with a basic straight stitch. I made extra wide hems since I had some extra fabric there. I suppose I could just as easily have trimmed off some of the extra – but where is the fun in that?
  3. I then laid my inserts along the center again and folded the sides over to get an idea of how much I needed to hem the long edges up. My idea (which worked better than I anticipated!) was to make little pockets for each bag and have them held in by overlapping fabric flaps. I wanted the edge of the overlap to be slightly off center, and to make sure the bottom layer didn’t fold up too high and prevent the inserts from sliding into position.

    So… I ended up with the bottom layer folding up about 5 inches (remember, my rice bag inserts are about 7 inches tall) and the top flap coming down about 4 inches too. This creates a 2 inch overlap to secure the inserts. In my final product, the inserts do go in and out, but I may decrease the overlap on future versions as it is a little challenging to take them in and out.
  4. Once you have the fabric lined up, fold over the raw edges along the sides (the total width should be the 7 inches for the inserts along the back + 5 inches for the bottom flap layer + 4 inches for the top flap layer + seam allowance for the hems). Now, hem the raw edges close to the fold and your width should be right about 16 inches total.
  5. If you like, at this point, you can top stitch along the hems you just made.
  6. Before we get to carried away, we need to make fabric loops to hold the handles in place.
    Take a somewhat long scrap of fabric, fold it in half lengthwise, and sew along the edge. Reverse it and you should have a nice fabric tube. Cut it into four equal pieces and iron them flat if you like.
  7. Fold your cover lengthwise such that you have an overlap above where the rice inserts will go. If you want to make this part in the same way I did, you will have the bottom layer coming up 5 inches over top of the inserts, and the top layer over that coming up 4 inches from the edge.
  8. Pin the cover in place.
    Then, fold each of the four handle holders you made in half and pin two on each short end of your cover. You want to position them so that they are between the layers of the cover and stick out enough to thread your nylon handle string through the hole.
  9. Sew the ends of the cover together, ensuring that you also sew the handle loop holders in place as well. You can also top stitch with your decorative stitch over the ends as well to add style and stability.
  10. You are almost done! Right now, you should have a long cover that overlaps on one side to make one giant (and very long and skinny) pocket. The last step is to simply sew dividing lines to make a spot for each of your inserts. Measure, divide that number into six, and mark these spots along the length of your cover. Sew a simple line across the cover in each spot.
  11. Trim all your edges and threads.
  12. String your handle through the loops and tie it off. I used a candle to melt the ends and the knots together so they don’t have even a chance of coming undone!
  13. Insert your rice bean bag hand warmers into the pockets.

Congratulations! You are done. Warm up your new bed buddy in the microwave and enjoy!  Mine takes about 3 – 3.5 minutes to get warm. Try warming yours for a couple minutes and then add 30 second increments until it is just right. Don’t heat it too hot or you can burn yourself!

Have fun making a nice warm bed buddy this winter! Let me know if you do, I would love to see how yours turned out!