Posted on Leave a comment

Paper Cut Pop-Up Heart SVG Template

Pretty Pop-Up Hearts

Happy Valentine's Day!

Time for a new file. This one, as you may notice, is a paper-cutting pop-up file for all you card makers out there! 

Sadly, my poor Silhouette Cameo has been sitting unused for a long time. After my laser arrived, I have neglected paper crafting despite the fact that I still enjoy it. Paper has an allure to it. So many possibilities. 

What better time to pull out your cutting machine and make a card than Valentine’s Day? This is a very simple file to cut. It cuts really fast, the tricky part is folding it correctly. I recommend scoring the center and folding it first. Then, you can accordion fold the sides and your card pop-up insert is all set to put in your card and add a nice sentiment. 

If you need a good sentiment to add to your card, check out 1 Corinthians 13. Best love passage there is, if you ask me. 

Love Never Fails

Love is patient and kind; love does not envy or boast; it is not arrogant or rude. It does not insist on its own way; it is not irritable or resentful; it does not rejoice at wrongdoing, but rejoices with the truth. Love bears all things, believes all things, hopes all things, endures all things.

Love never ends.

1 Corinthians 13:4-8 ESV

Posted on Leave a comment

Christmas Tree Time – SVG Freebie

I am back. After a long hiatus from my blog, I feel as though my life is once again in a place where I can spend time posting to my blog, and doing what I love – designing new SVG files for you! Perhaps a glut of Christmas svg files, since December is fast approaching!

Perhaps you clicked on a Pinterest image with these cute little wooden Christmas trees, or you stumbled here by accident. However you came to be clicking around my site, welcome! If you haven’t been here before, allow me to introduce myself. I am Kristin, a lover of creating, wife of an actuary, mother to three beautiful young daughters, and a math and programming enthusiast too.

Likely the 3 biggest reasons I have not posted for so long!

I have a big yellow laser, which I love. My poor Silhouette Cameo has been gathering dust in the closet as I have a new favorite in the house (or rather garage). I have pulled it out for vinyl a few times, but I think I am overdue for a Cameo project, so let me know if there is a file you are dying to see and maybe I can make it happen!

My big yellow laser in action!

Christmas trees are so versatile in crafting, so I am putting a few Christmas Tree Designs out here for you. These are the simple ones for you and your Cricut or Cameo, or perhaps your Glowforge and a wooden sign? These Christmas trees would also work great in vinyl on a t-shirt for your holiday festivities with the whole extended family!

Simple Christmas Tree SVG files for your Christmas crafting.

Download by clicking the button below!

If you like these, be sure to check out my 3D Christmas Tree files that I designed for 1/8″ material like Baltic Birch. For the trees in these photos, I used a green gel stain on the wood, cut them out, and slipped them together. As a bonus, you can slide them apart for easy storage!

Hope you enjoy these fun Christmas Tree SVG files. Let me know what else you want to see as I am always hunting for new ideas.

Don’t forget to check out my other Christmas posts. Merry Christmas in September!

Posted on 3 Comments

Fireworks 4th of July Free SVG Download

Fireworks for the Fourth of July!

What do you do on the fourth of July? Growing up we often went to a park with a blanket to watch the fireworks. Or, sometimes, went to see the Rockies play and watch the fireworks afterwards. More recently, we have done nothing. Yep. Nothing.

To be fair, we have three young children (ages 5, 4, and 0). Whenever I feel like we never do anything, I have to remind myself that the time will come where things will be easier, maybe?

If, unlike me, you throw a grand party, I have some great files for you. The one below is one I made last year. They would be great place cards for a more formal gathering, or labels for your buffet!

Fireworks SVG File Download

Additionally, I have a new 4th of July svg file for you to download.

Now, if I had one of the laser cutting machines that look so amazing, I would be making myself some cute little lanterns with this file. Can you blame me, doesn’t it look amazing?!

I mean, wouldn’t it look great on the side of a little lantern with an LED candle inside? I suppose I could make it into a paper lantern… 

What machine or machines do you use? I currently use the Silhouette Cameo 3. It has served me well and handles everything I have needed thus far.

However, I have heard that the Cricut Maker is amazing! Anyone have it? If I upgrade though, it may be in the fall when the new Silhouette 4 is set to come out. It is supposed to match or surpass the Maker and be cheaper!

As a side note, the singular of ‘fireworks’ does not roll off the tongue easily. I looked it up. It is ‘firework’ but was noted as ‘rarely used’ in the singular. Languages were my thing in college. And math.  I like words and I suppose that make me a nerd. I am okay with that.

Well, anyway, I have a beautiful fireworks SVG for you today.

Happy Summer and Happy Fourth of July!

DOWNLOAD SVG
Posted on 5 Comments

How to shape your SVG files with confidence.

Can I change an SVG? How!?

YOU definitely can manipulate an SVG shape. It may look complicated, but it doesn’t take long to get the hang of it. If you want an introduction to the SVG file format and why it is so fantastic, check out the first part of this series: SVG file format for Crafters.

When you first try to edit an SVG, it may seem like a very strange object. Unlike your typical image editor on the computer, the svg files are not all about pixels but about points and angles. Each point and the way it is connected to the other points is recorded in the definition of the file. Each of these points is called a node and each node has one or more handles.

What is a NODE?

So, what is a node? I am so glad you asked. I was just dying to explain it!

Wink, wink…

A node is a point on the plane that contains your SVG shape. Many nodes make up each shape. The way these nodes connect to each other defines the path that creates your SVG shape. Each node can have two “handles” on it extending to their own points in the plane. These handles define the slope of the curve of the path for the mathematical equation that generates the lines of the shapes.

This way, instead of storing the pixels of a line, the data is stored in a discrete number of points which your computer can use to compute the lines and structure of the shape.  We could go into more math here if you would like (I do have a mathematics degree after all) but I have a feeling the majority of my readers would prefer some practical information for editing the SVG files they have. But, if I am wrong just let me know, I would be happy to let my inner nerd shine out.

This manner of storing information is what makes the SVG file format stand out. It doesn’t matter how big you make it. It will always look sharp.

If you do like the math behind it, I found this little article here which delves into the math a bit. https://people.gnome.org/~federico/news-2016-11.html

Also, I borrowed his handy diagrams:

First, we see the SVG path without any markup. Second, if you go in to edit the SVG path, you will see the nodes. Lastly, if you click to edit the nodes, you should see little “handles” with “control points” on the end pop up. These will move the path without moving the nodes. If you like, you can think of the nodes as anchor points for the shape. Here is another illustration for you.

Well, I suppose that may be enough on the terminology of the SVG format.

You are probably asking me how can I actually DO anything to edit these SVG paths?

Shaping and Editing SVG shapes?

Would you like to edit a design? Do you have a path or a file that you got that just needs a little tweak? Would you like to make and edit your own shapes? You can do it!

Here are 7 operations you may need to use to accomplish your designing goals. Usually, I use Adobe Illustrator and then import my files into Silhouette Studio Designer Edition. I resisted the Designer Edition of Silhouette studio for a long time, but I finally did upgrade. Checkout why in this article:

Why I finally bought the Designer Edition of Silhouette Studio » Kabram Krafts

Why I finally bought the Designer Edition of Silhouette Studio » Kabram Krafts

However, if you would like to edit your SVGs in Silhouette Studio or in Inkscape (a free SVG editor) I have included little GIFs of what that looks like as well.

  1. Move an Individual Node (this looks the same in almost any program)
  2. Change the curve of the path between Nodes (this also looks the same in almost any program)
  3. Make a Node either a point or a curve
  4. Add a new Node
  5. Delete a Node
  6. Break a path at a Node
  7. Join a path at two Nodes

Apply it!

Now you know the basics. Congratulations. You can now edit your own files with confidence. Let’s look at an example.

In this example, my 5 year old had choosen a ballerina she wanted for the shirts we were making with heat transfer vinyl. Well, in my humble opinion, the body shape of the ballerina wasn’t quite appropriate for my 5 year old daughter. A couple of node deletions and moves, and all was fixed. Everyone was happy and no unrealistic body images had been memorialized.

What SVG files have you tried to change? Is there a file you are thinking of right now? Go do it! I know you can. Show me the results!

Posted on 6 Comments

SVG file format for Crafters

What is an SVG?

The SVG file format stands for “Scalable Vector Graphic”. Let’s break that down.

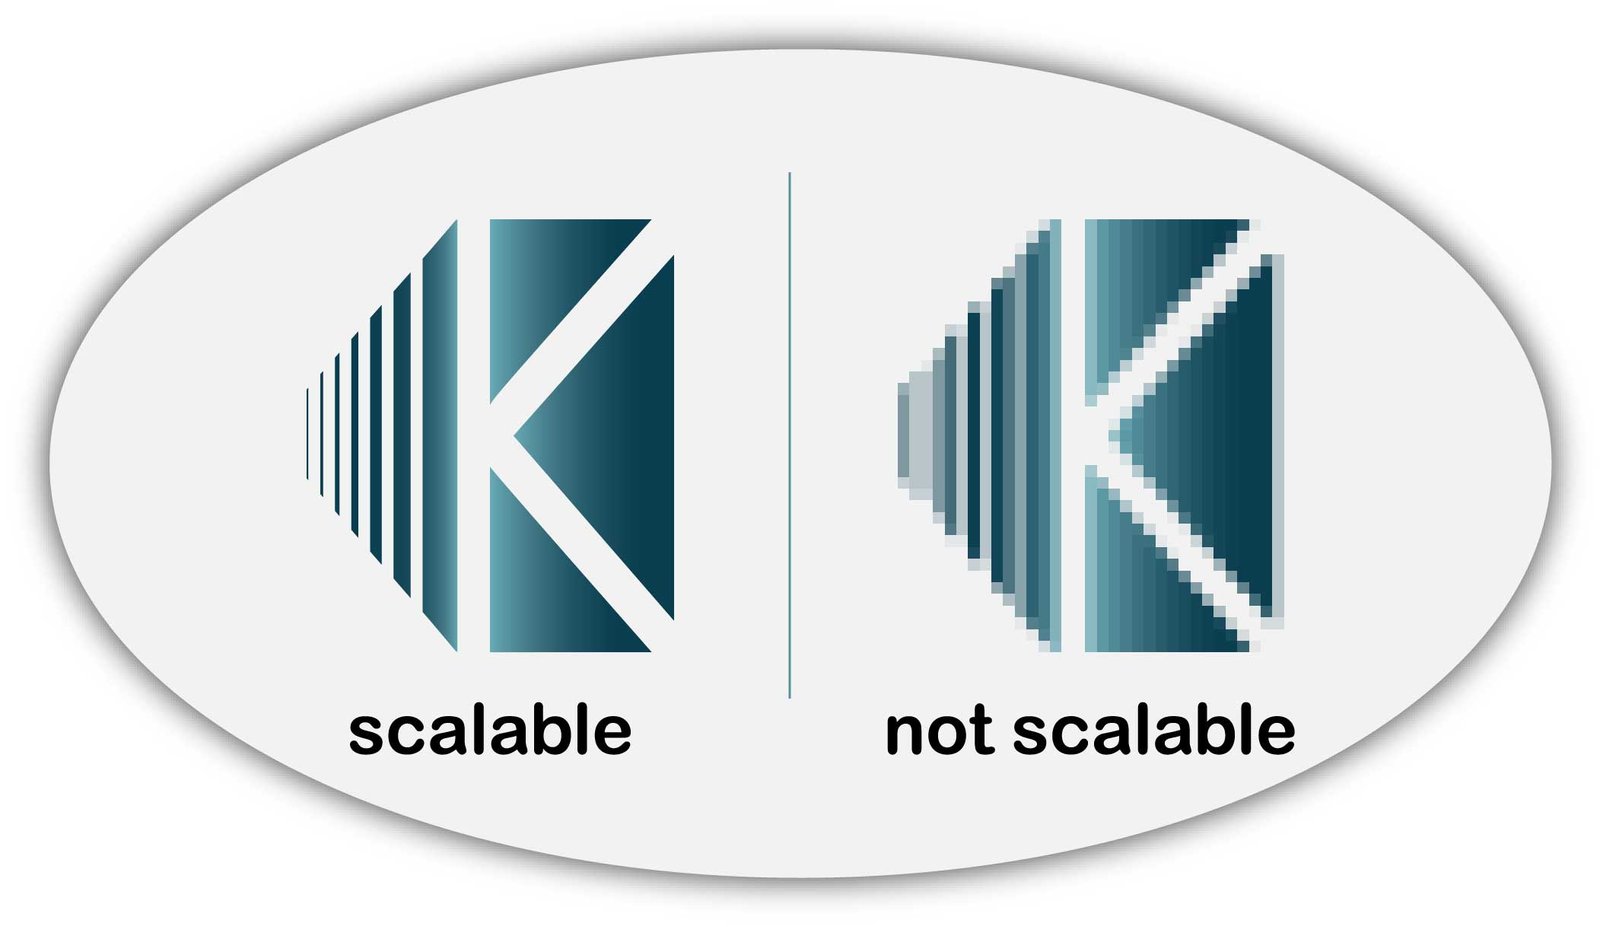
First, “scalable” means that making the image larger or smaller does not change the image. Imagine you have a photo and would like to make it much larger. Chances are that your image will come out grainy and lose much of the detail you can see in the original. This is not the case for the SVG file. No matter how big or small you make it, an svg file will maintain its original detail. This is fantastic because we can take the same file and make it exactly the size we want for our crafting project and it won’t change how the image looks.


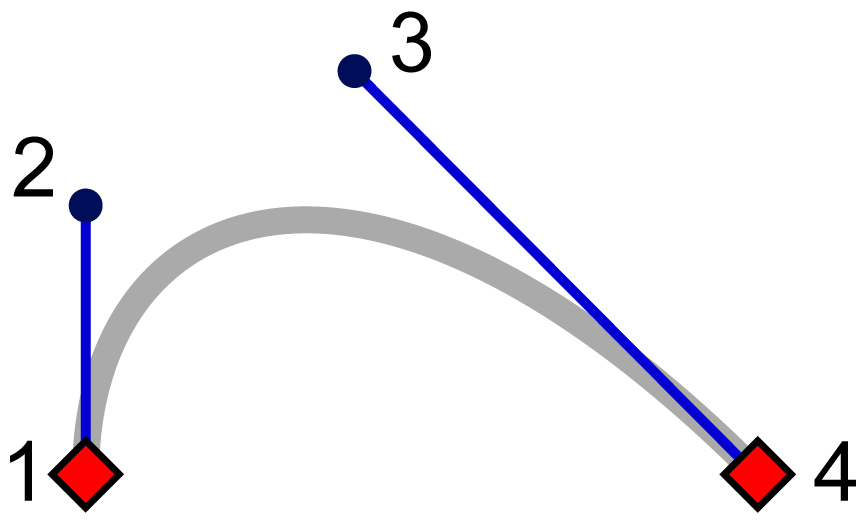
Second, the word “vector” indicates how this scalability is achieved. Allow me a moment of indulgence as I was a mathematics major. A vector is simply a term to indicate a line of a certain length and direction. A vector is usually situated within the Cartesian plane (you know, the grid with x and y). To achieve scalability, the SVG file is saved in terms of a bunch of vectors at certain points going certain directions at certain lengths. Therefore, if you want to make your SVG image bigger, the computer just has to multiply all of these vectors by the correct scale which is a simple task for the computer.

Lastly, the ‘G’ in SVG stands for “Graphic”. That is, the image or object in the SVG file. I don’t feel like this warrants much more elaboration.


Why should I care about the SVG file format?

the SVG file format for CRAFTERS by Kabram Krfats

Well, why do we care? You can probably be a wonderful crafter without ever delving deeply into this subject. However, if you ever have an image that would be better with a tweak or an extra spike, then knowing a little bit about the SVG file could come in very handy. The SVG file is a natural choice for the hobby and professional level cutting machines precisely because of its natural scalability.


What cutting machines use the SVG file format?

Silhouette Studio Designer Edition

As far as I know, all of the current generation of common hobby cutting machines can process the SVG file format. The only hiccup you may run into is that some companies will make you upgrade to their paid software in order to open the SVG file format rather than their own proprietary file format. For example, I upgraded to the Designer Edition of Silhouette Studio precisely for this reason. Check out my reasons in this post.

Other Programs for editing SVG files

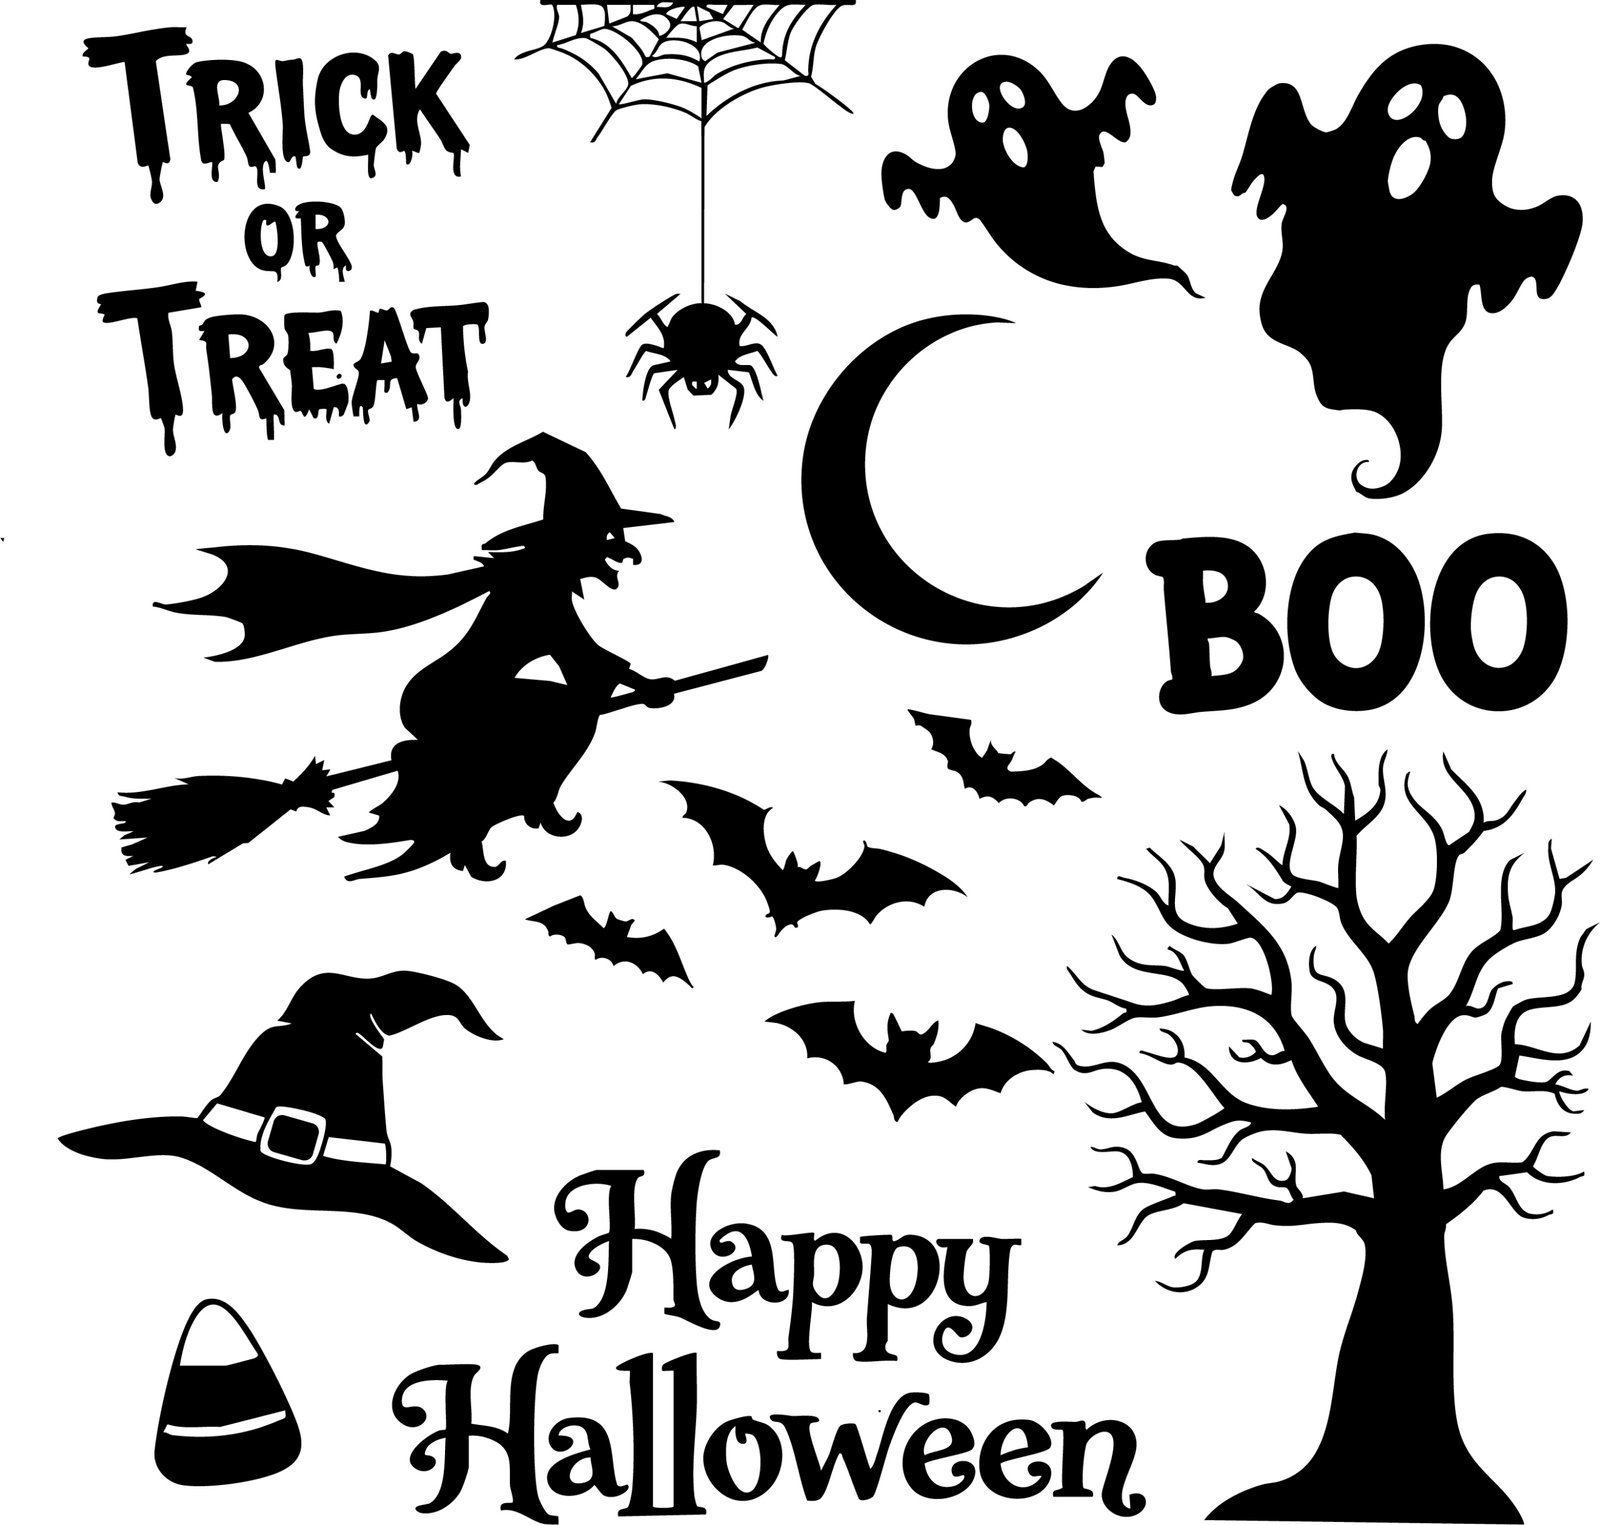
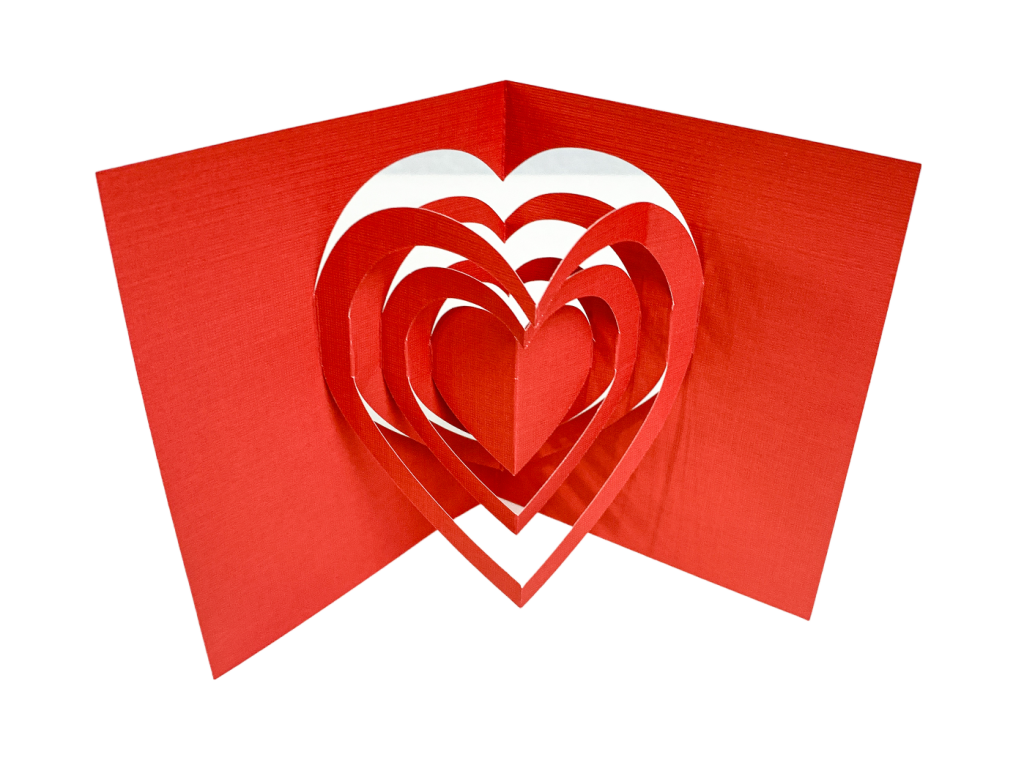
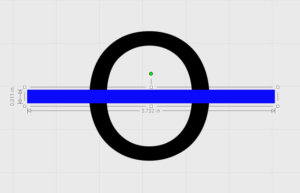
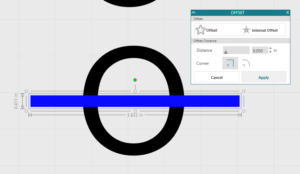
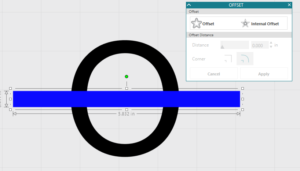
In addition to Cricut design Space and the DE and up of Silhouette Studio, there are a few other programs that can open and edit the SVG file. My favorite of these programs is definitely Adobe Illustrator. Once I started Adobe’s subscription based Creative Cloud program, I loved it and don’t wish to go back. If you have the budget for it I would highly recommend looking into it. Not only do you get the ability to edit your SVG files in Adobe Illustrator, you also get access to Photoshop, Lightroom, and a slew of other top of the line programs. Seriously, it is super awesome and even comes with companion apps for your phone. The graphic above was made using one of Adobe’s apps. It is addicting and productive at the same time!

If you do decide it is right for you, make my day and purchase it through my affiliate link. 😉 I earn a small (pretty small sadly) commission for the referral at no cost to you.

If your budget is not up for the Adobe software package, have no fear. I used Inkscape for years and it is definitely a great option as well. Plus, it is freely available!

I found it useful to make, edit, and save SVG files though either AI or Inkscape rather than through the cutting machine’s software itself. First, the software that accompanies your machine often can’t save in the SVG file format even if it can open it. Second, I like having the ability to catalog and backup my files separately from the machine software itself in case I change machines or lose access to it for any other reason.


Are there other formats I can use?

There are other formats that are scalable. One that I have used is the DXF file format which stands for “Drawing Exchange Format”. It was developed for use with the AutoCAD program. I have used it in the past before I purchased the Designer Edition of Silhouette Studio as it is a format that can be read by the basic (free) edition of Silhouette Studio. However, it is not as widely used and it isn’t as reliable in my experience. If you want to read more about my experience with DXF, read my post on why I purchased the Designer Edition of the software.

Another format that is used is the EPS file format. This stands for “Encapsulated PostScript” and is also scalable and vector based. It is the standard format for vector images created by Adobe Illustrator. You probably will have no reason to use the EPS format.

What is next?

Learning more about the SVG file is important if you want to have more control over your designs.


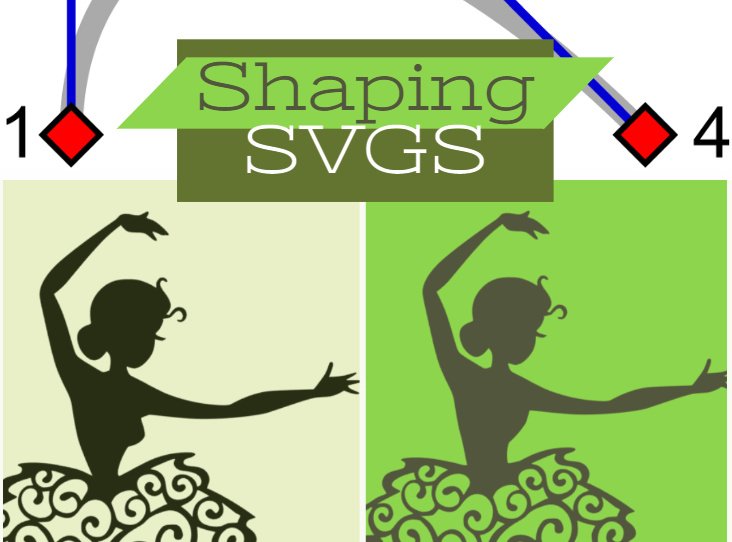
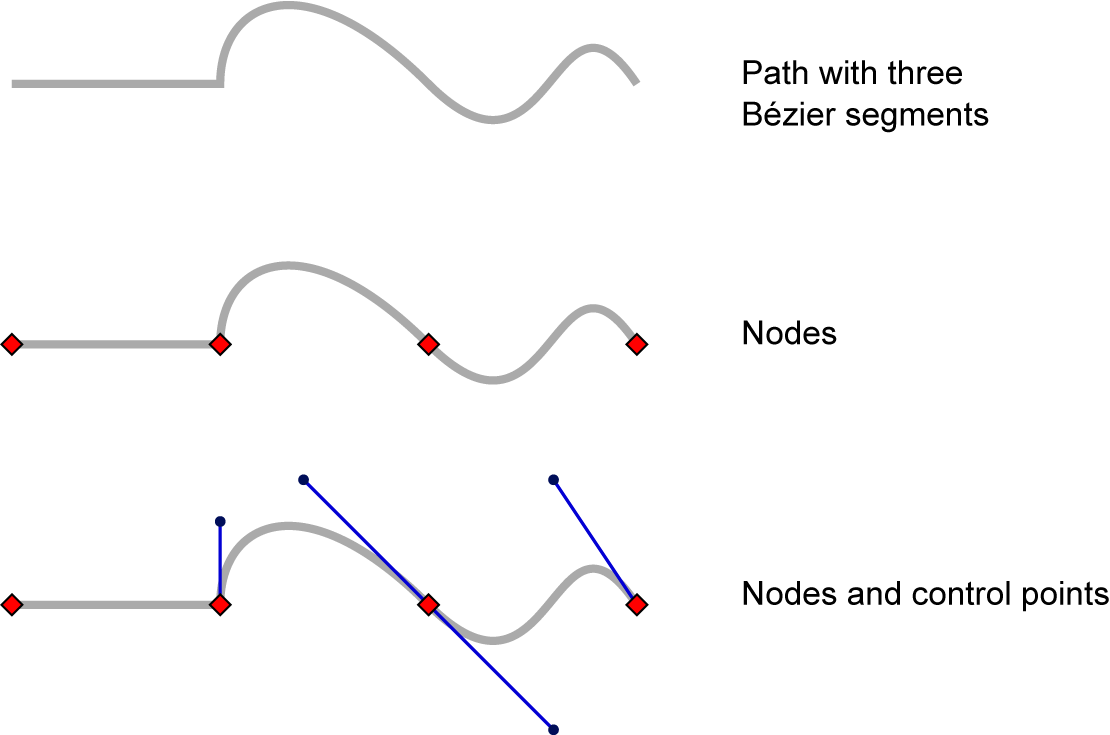
Please be on the look out for the second article in this series. I plan to cover the details of actually editing an SVG file in various programs. Also, I will go over what a node is, what the handles are and how to add and delete nodes. These are very useful skills!

Posted on 7 Comments

Free Father’s Day SVG Cutting Overlays for making your own Cards!

Well, Father’s Day is almost upon us again! Time goes by so fast it is hard to keep up with things!

Speaking of time, I don’t know if anyone actually notices when I have been absent for a while, but I have been. Sorry!

We have been moving. First, we moved from a large house in Michigan (Michigan has great prices on housing if you plan to be there a while). Then, we were then in a one room hotel room in Colorado for the summer with our two young girls. Then we moved into an apartment near my husband’s new job. Now, we are finally back in a house! Yay!

However, all that moving has put a serious cramp on my crafting and blogging time, so I apologize. I did however manage to make a new father’s day card overlay. My first was tool themed for my dad, then I made a fishing themed one last year, and now I present my gold themed overlay!

What does your dad like to do? I would love some inspiration for other overlays. Actually, I really like this collection of svg files. After all, a one cut and adhere card that still looks great is an awesome time saver!

Previous Father’s Day Cards

Take a look at the card I made a couple years ago. My dad was always fixing my toys, working on a project, or just being a handy man. He even built me doll bunk beds one year!

So, this is the card I made for him several years ago.

Father's Day Card

Last Year’s Father’s Day Fishing SVG Overlay

While I do not fish and no one I know fishes, these fishing images were just too cute. Plus, Father’s Day makes me think of dads and fishing!

So, for all of you with fishermen in your lives, this card overlay svg file is for you. I haven’t had time to test cut it out, so let me know if you run into any snags.

Check out this file and the blank template in this post.

Happy Father's Day


This year’s golf themed Father’s Day Free SVG overlay file!

Does your dad love to golf? Check out this new overlay. I think this one is cute too. Please make your father and awesome Father’s Day card.

Happy Father’s Day to all the great Father’s out there!

 >>>>> And… be sure to check out my other SVG freebies! <<<<<<

Posted on Leave a comment

Start your New Year off with a free SVG file!

Make your 2018 a year filled with crafting. You can start by using this free SVG New Year’s file to make an awesome motivational decoration, picture, print, or anything else you can think of.

New Year’s Resolutions

While I can’t make any promises, one of my main resolutions for this year is to grow my Etsy business and post more regularly on this blog. So, that ought to translate to more free SVG files for you! Just let me know if you have anything you would love to see featured here. One of my top priorities for the year is to simply do more. I don’t know about you, but I simply get lazy. When I don’t actively plan my days, I end up squandering them. So, I am resolved to try harder to stay motivated and quite simply, to be more active in every way.


Anyhow, enough about myself. What are your plans for the year? For instance, is there a new craft you would like to learn or perfect? Could you see yourself trying some hand lettering challenges on Instagram? How about knitting or sewing?

On to the Free SVG file!

Well, that is enough lead up for today. How about the free svg file? I really like this one and it goes with my resolution to be more active this year. I want to cut it out and hang it up on the wall by my desk as a daily reminder of my goals!


HAPPY NEW YEAR EVERYONE!

Posted on 10 Comments

DIY Stencils for your Silhouette Cameo or Cricuit – Use ANY design!

Have you ever tried to make your own stencils with your cutting machine? If you have, you know that your design options are limited. No fancy fonts, only stencil fonts. You can’t have any designs that have inner details, or they will not be connected to your finished stencil. Unless you want to hand position each and every element, you have to be very careful in creating or selecting your stencil design.

THE RULE FOR STENCILS

In summary, there can be no inner shapes or details in your finished stencil. If you are having trouble understanding this, think about the letter “O”. If you cut out a stencil for the “O” there will be an outer circle and an inner circle. The inner circle will simply fall out. This is why every stencil font has at least one, usually two connections to the middle of the “O”.


For example, the following is an excellent stencil design. It will cut out easily with no inner parts left to fall out.


On the other hand, this design is not so good:


Then, what if you really want to stencil a more complex image on your card? How can you create more detailed and intricate stencils? You need a stencil that looks impossible, and you need it now! Luckily for you, now you can.

A Stencil Solution

While I am sure I am not the only person to do this, it was a light bulb moment for me. Reflecting on it, I have seen videos of spray paint artists using a series of stencils to make awesome composite pictures. This method is very similar. The idea is to use two stencils instead of one so that you can have details that you can’t get with just one stencil.

Just a note on stencils in general. If you want to make one car with an image like the tools above, you are probably better off just cutting it out of card stock without any hassle converting it to a stencil. However, if you want to put the image on a bunch of things you may want to use a stencil. That way you only have to cut and weed your image once (or twice for these two part stencils) instead of over and over again.

As I outline my solution, I will illustrate with the letter “O” as a simplified case to demonstrate how it works.

My Method

    1. First, open up your image in your editing software. Typically, I open mine in Adobe Illustrator. If you don’t have access to this, Silhouette Studio, Inkscape, or Cricuit Design Space should work just fine. Here, I will illustrate with Silhouette Studio.
    2. Create a thin rectangle in a contrasting color to your design and place it over your image.
    3. Select both your design and the rectangle.
    4. Copy and paste the two objects. Keep them in the same relative position.
    5. Open the modify panel (or the tools to modify paths if you are working with another software). Working on just the first copy with both the “O” and the rectangle selected, Click “Subtract”.
    6. Now, select just the rectangle on the second copy of your design. Be careful not to move it out of place.
    7. Open the offset Panel. We need to enlarge it just slightly to ensure a little wiggle room in our finished stencil. Create an offset. This is something you will have to judge for yourself. I used a distance of .05 inches and square corners.
    8. Select both rectangles and weld them together. You should now have a rectangle that is just slightly bigger than the original one.
    9. Select both the rectangle and the copy of the “O”, which should still be in the same relative position. Using the Modify Panel, click “Intersect”. NOTE: If, like me, you have the whole thing disappear when you click “Intersect”, it is likely that one or both of your images are not paths. Select them, click “Object -> Convert To Path” and then try the previous step again. If you got it right, it should look something like this:
    10. Select these pieces, right click, and hit “Make Compound path”. Do this to the original pieces of the “O” as well. Here are your two paths now:
    11. Change the color and overlap them if you want to see what the finished stencil will look like.
    12. Cut your finished pieces out on separate stencils. Then use one stencil followed by the other to create an “O” with no lines through it!

    Going Further

    While the “O” was a very simple case, this method can be expanded to more complicated images. In theory, it could even have many more than two stencils to make the finished image, although I have not tried it.

    Here is an example of a turkey that I have made into a two part stencil using an extrapolation of the method I outlined above. The key is creating enough rectangles to overlap any inner parts, there should be no islands in your finished stencils!


    Stencil Time

    I have just a few parting remarks about stencils for you. First, there are stencil materials to consider. Both Silhouette and Cricuit make “stencil” blanks and rolls. I have not tried them because I haven’t found their materials to be high quality in the past. Freezer paper (usually found near foil and wax paper) does work fairly well as a stencil for fabric. You can iron it lightly to get the waxy side to adhere, but you have to be careful not to get the stencil too wet with paint or it will bleed through.

    However, my favorite and economical stencil material is simply overhead transparency paper. It is thin and flexible and can be reused as long as you are careful. If needed, I spray the back with a light adhesive spray to adhere it to my project. You will want to play around with your cut settings, but once you get them set it cuts really well.


Posted on 1 Comment

Fourth of July – free name card SVG

Can you believe that June is almost gone? It has gone by very quickly for our family!

Fourth of July

Well, here I am always thinking about the next holiday and what SVG files I should create. Feeling patriotic? Great! I have just the thing for you. These little name cards would be great for labeling food at your great big 4th of July party!

4th of July Dip Name Card

Do you have any family recipes that only come out on the 4th of July? Our family has one that we like to call the “Fourth of July Dip”. Really, it is just a delicious 7-layer dip that covers a huge serving platter. I’m sure that the recipe is no secret. However, the dip is delicious and is rarely seen in our family except on the 4th of July.

4th of July Name Cards

So, what do you think of these cute little cards? I am partial to them. Since I like my projects to be as simple as possible, these cards only have 3 pieces – one for each color.


Free 4th of July SVG file download

And now, of course, the download. Please enjoy! As always, this is for your personal use only and I love to see pictures if you end up using it!

Note that the download will give you an SVG file which you can import into your software and ungroup to get each color separately.


Also, be sure to check out my fun STARS SVG file. Let me know how this one cuts if you try it out!

Stars

Thanks for stopping by and have a wonderful Fourth of July!


Posted on 8 Comments

Father’s Day Cardmaking with your cutting Machine!

Well, Father’s Day is almost upon us again! Time goes by so fast it is hard to keep up with things!

Previous Father’s Day Card

Take a look at the card I made a couple years ago. My dad was always fixing my toys, working on a project, or just being a handy man. He even built me doll bunk beds one year!

So, this is the card I made for him several years ago.


Father's Day Card

Now, I made a new version! Complete with a the bones of the template in case you want to make your own with a different Father’s Day theme.

Father’s Day Fishing

While I do not fish and no one I know fishes, these fishing images were just too cute. Plus, Father’s Day makes me think of dads and fishing!

So, for all of you with fishermen in your lives, this card overlay svg file is for you. I haven’t had time to test cut it out, so let me know if you run into any snags.

Happy Father's Day

Happy Father's Day Template


Well, what about your non-fisherman father?

I have you covered! If you can think of a hobby or theme that he likes, put it on his Father’s Day Card! Just download the empty template and start loading it up with files relating to your theme.

Go ahead, go crazy! Just find anything you can that is adorable and relates to your theme. Size it, spin it, and put in place. That is all there is to it.

As a tip, just make sure that your images touch the inner and outer borders and then “union” the paths. Look up tutorials on this if you don’t know how to, or let me know if you really get stuck.


Happy Father's Day Template


Happy Father's Day Template

SVG Download        

Happy Father’s Day to all the great Father’s out there!

Download “Father's Day Fishing Overlay SVG”

Asset-1.svg – Downloaded 6609 times – 26 KB

And… be sure to check out my other SVG freebies!