
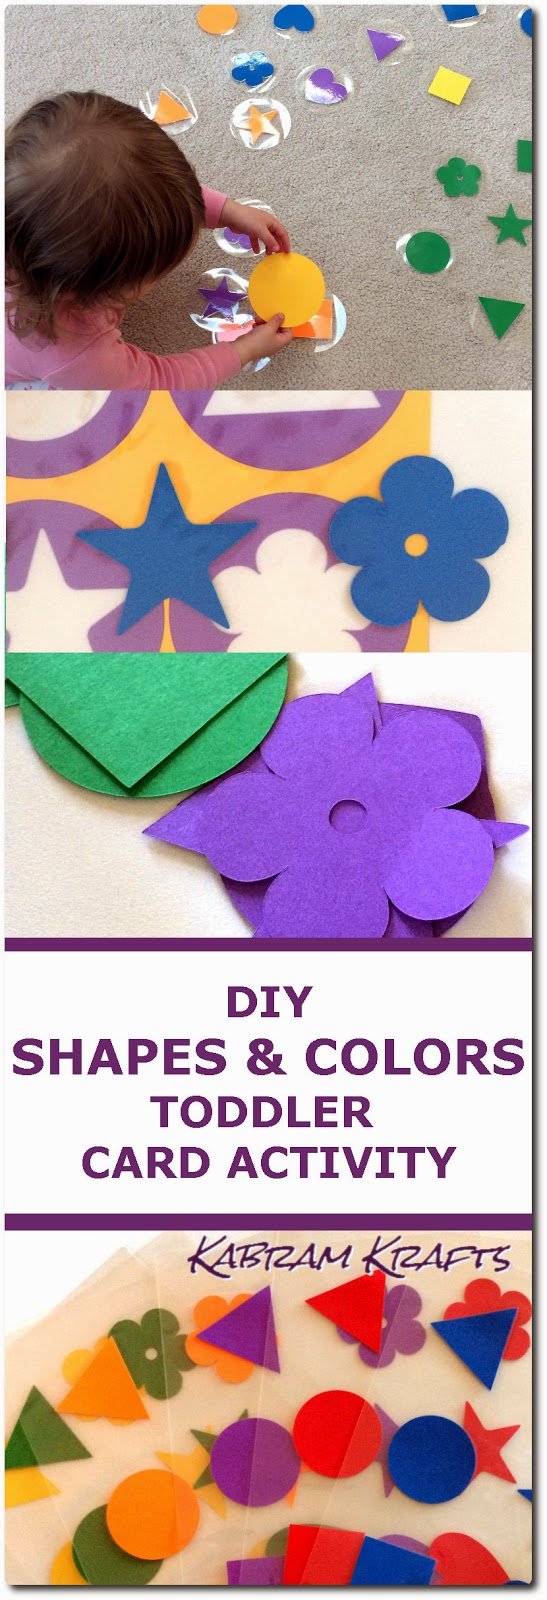
My daughter is quickly nearing the age of two. Her interest in talking and learning new words is at a record high, and I have been wanting something for her to play with that would also help her to learn a few new things in the process.
At her age, sorting and moving things from one spot to another is a fabulously exciting activity, so I thought maybe we could try to learn and sort with some shapes and colors.
 Naturally, I wanted to put my Silhouette Cameo cutting machine into the creative action, so I came up with some laminated shapes that I then cut out in circles. You could definitely do this without a cutting machine, however, and the laminating machine is not strictly necessary either. I wanted these to last a while, so I laminated them, but if you use a heavy cardstock, they should last a for a while also and be just as educational.
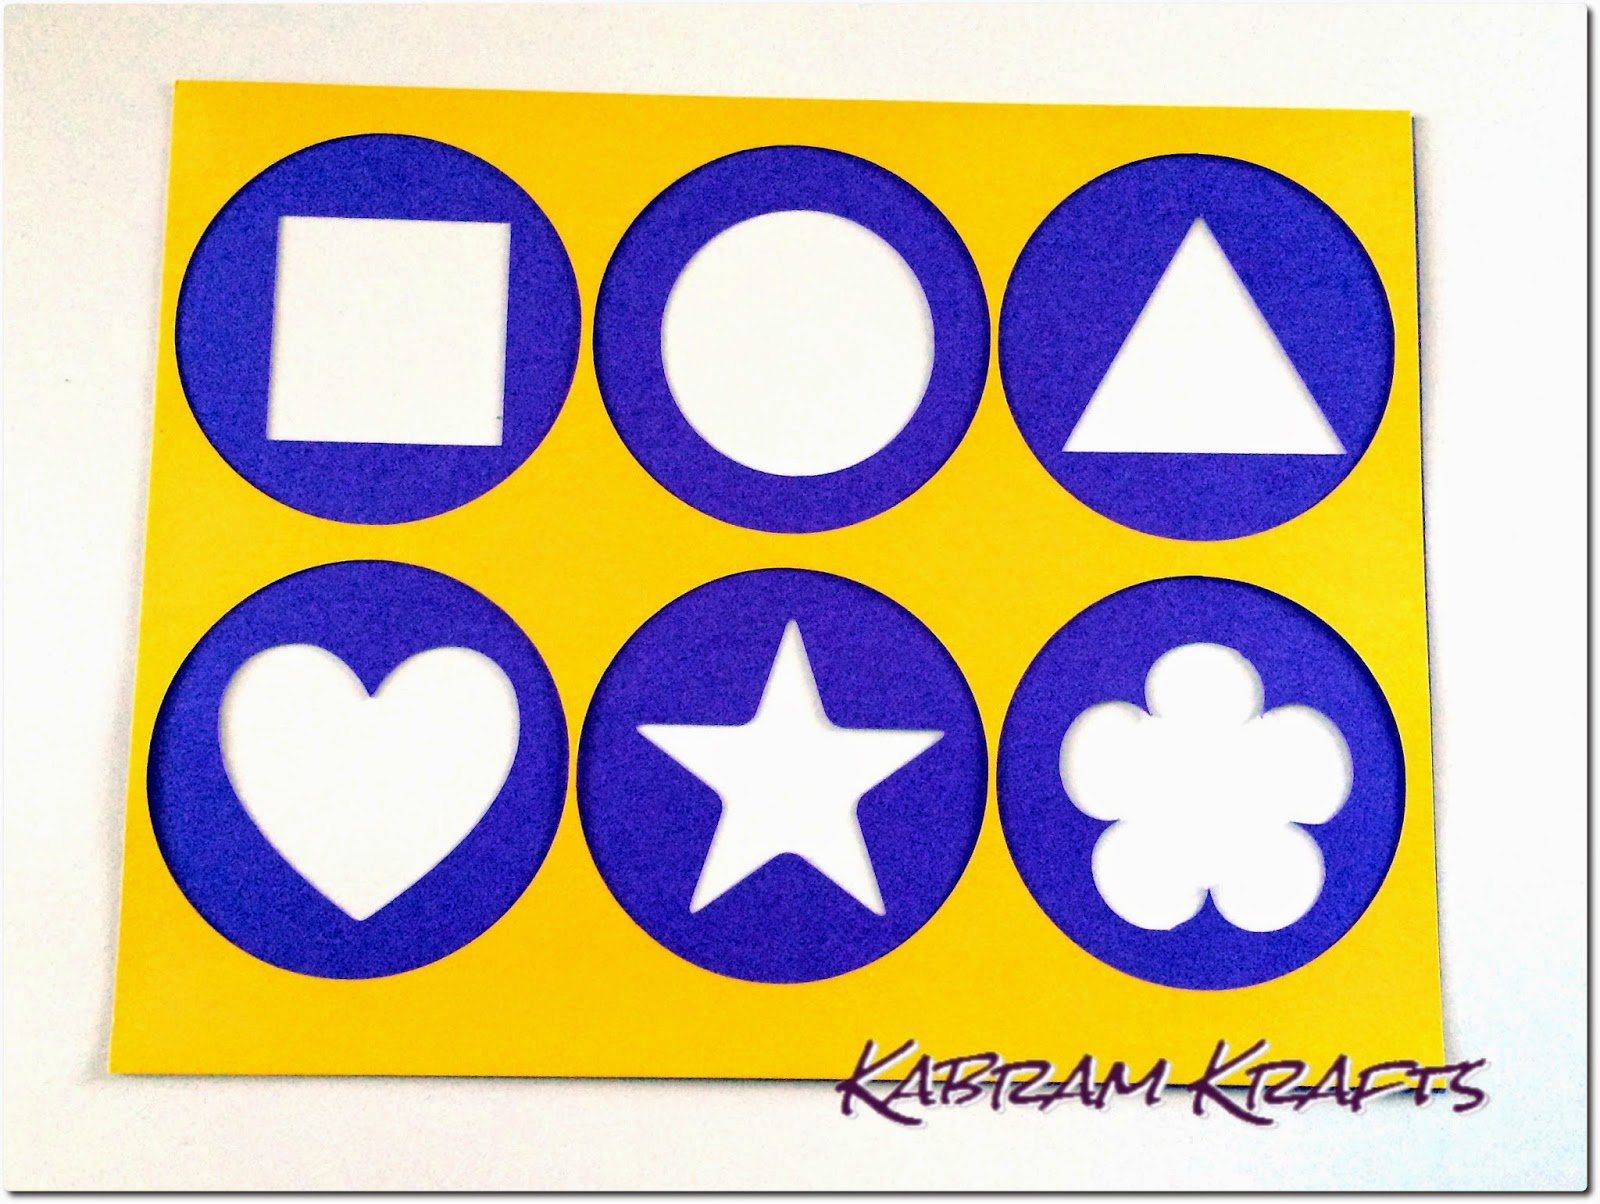
 In my set of colors and shapes, I picked out 6 of each, for a total of 36 cards. I choose the colors RED, BLUE, GREEN, YELLOW, PURPLE, and ORANGE. For the shapes, I went with CIRCLE, SQUARE, TRIANGLE, HEART, STAR, FLOWER. Now, I know “flower” isn’t really a traditional shape choice, but I didn’t like the other options I thought of, such as diamond (easily confused with square) and more elaborate polygons.
 The process was fairly simple, with only one small trick or two to get my machine to cut the circles around the shapes correctly (even if not quite perfectly).
First, pick out your shapes, size them all about the same, and arrange them evenly on your page.
Next, add a circle behind each shape, all of the same size (these you will cut out after you laminate the shapes).
Cut out just the shapes (not the array of circles) from your first color page. You need to cut out at least one page of shapes arranged inside the circles so that you have a template to place them correctly in the laminating page. I also cut a separate sheet with just my 6 circles, though this isn’t strictly necessary.
To save some of the page of cardstock, I then rearrange the shapes in another file more compactly and cut them out of the other 5 colors of cardstock.
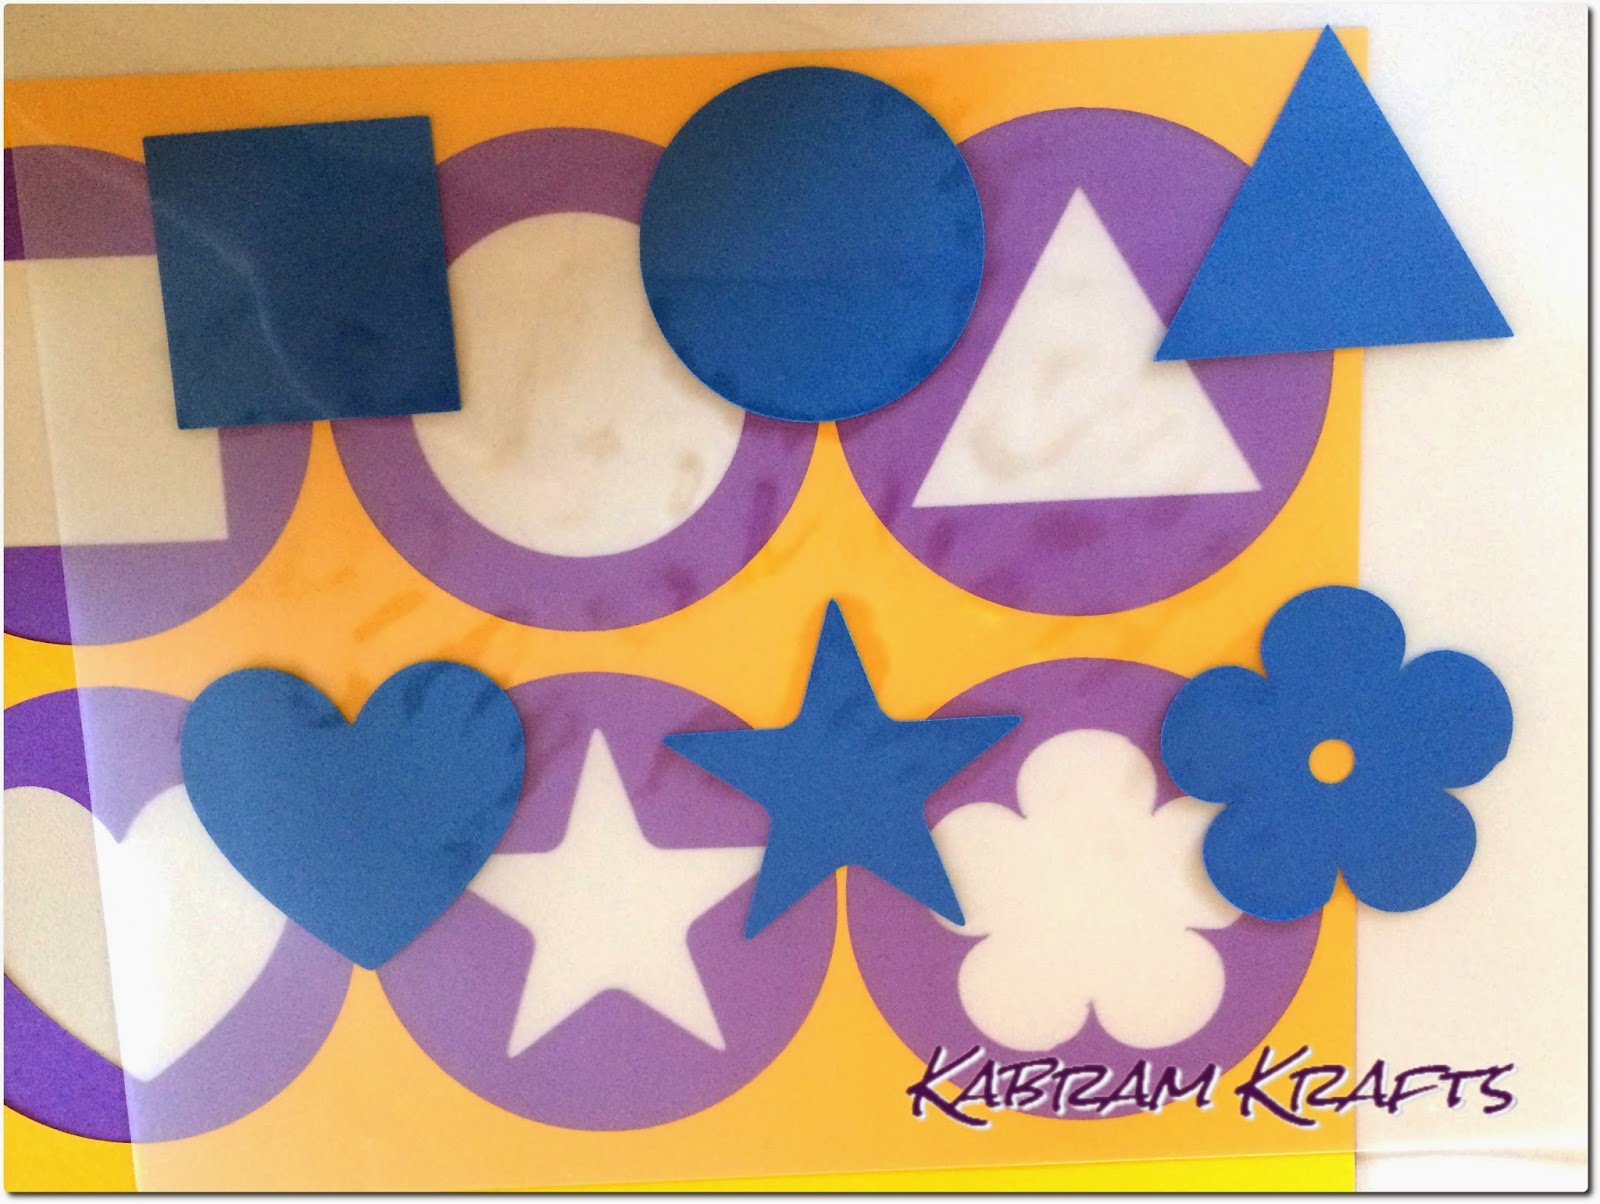
 Now, it is time to laminate. I pulled out a laminating sheet and placed it on top of my template (the page with the shapes all lined up). Then, I took a set of shapes and placed them inside the laminating sheet using the template as a guide.
I cheated a little and used an iron to quickly stick the shapes in place. Placing a sheet of paper over the sheet, I put the iron down for only a couple seconds, just enough to keep the shapes from shifting while I put the contraption in the laminating machine.

 Once you have all 6 sets of shapes laminated in the correct alignment, place the sheets back through your cutting machine one at a time. This time through, select “No Cut” for the shapes, and “Cut” for the 6 circles around the shapes. If you lined the shapes up correctly with your template and put the sheet in the correct way, it should cut out nice perfect circles around your newly laminated sheets.
My shapes were not all perfectly centered in their circles (due to my own imperfections), but the resulting set of shapes was still awesome.

My daughter took to them immediately. Even as I finished each sheet and handed them to her, she kept demanding “More, more”. We practiced sorting them into piles of different colors and then shapes. She did not know the names of all these shapes yet, but is picking it up quickly.

I think we will have a lot of fun with these and that we will be able to come up with new games and things to learn with them as she grows. I am already thinking of games like “Can you give me the Red Flower?”, or counting games, matching, etc.
What games would you play with these?