Posted on 2 Comments

My First Day SVG Freebie File Download for Back to School Pictures

JPG - Color Example

My First Day SVG File Freebie – Just in time for back to school pictures!

Tomorrow is August. Yes, AUGUST! For many that means summer is almost gone and school is starting up. We just launched our first year of homeschooling with our oldest. It is Kindergarten time! So far, it has been a lot of fun. Still, it doesn’t seem like summer is over. Weather here has been very hot and then very stormy. This is strange weather for Colorado!


At any rate, Iam looking ahead to August. I love new school supplies. Did you know that the fat crayola markers make an excellent tool for hand-lettering? AND they don’t cost a fortune. Especially if you shop the school supply sales this coming month. The sale can be really good, so be sure to shop around. If you are like me, you may already have a good stockpile of supplies, but the sales are sooooo tempting, who can stay away?


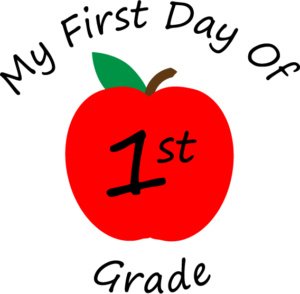
The My First Day SVG freebie I am bringing you today is perfect for those first day of school pictures. I only went from 1st to 6th grade with the apples, because I can’t really imagine a junior high or high schooler cooperating for custom shirt school photos. However, if you have an exceptional child who will cooperate, the font is Segoe Print if you need to add other numbers or customize the text in any way.

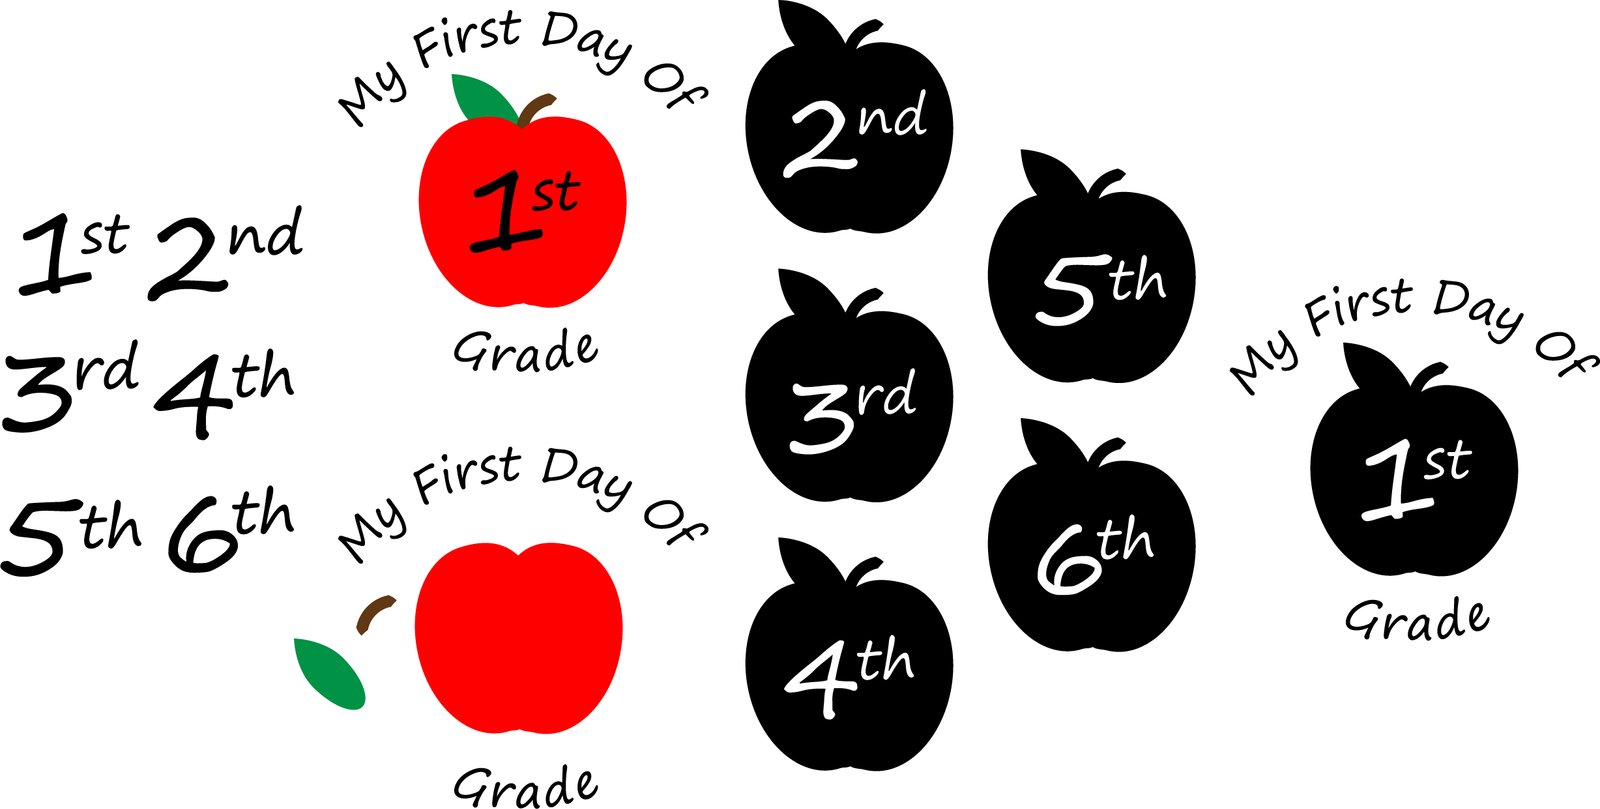
If, like me, you would like a simplified project that mitigates the need for layering, I have you covered. Included with this download are the following welded apples with the numbers inside for a more silhouetted version. The key here is that you only need one layer of vinyl and should look adorable all the same!


So, will I do first day of Kindergarten photos? I want to, but that doesn’t mean I will. Life gets in the way. Hopefully, however, I will get on the ball with photos. We need some. Do you do professional photo shoots or just take your own? Either way, this “My First Day SVG” would be a great photo prop or t-shirt.

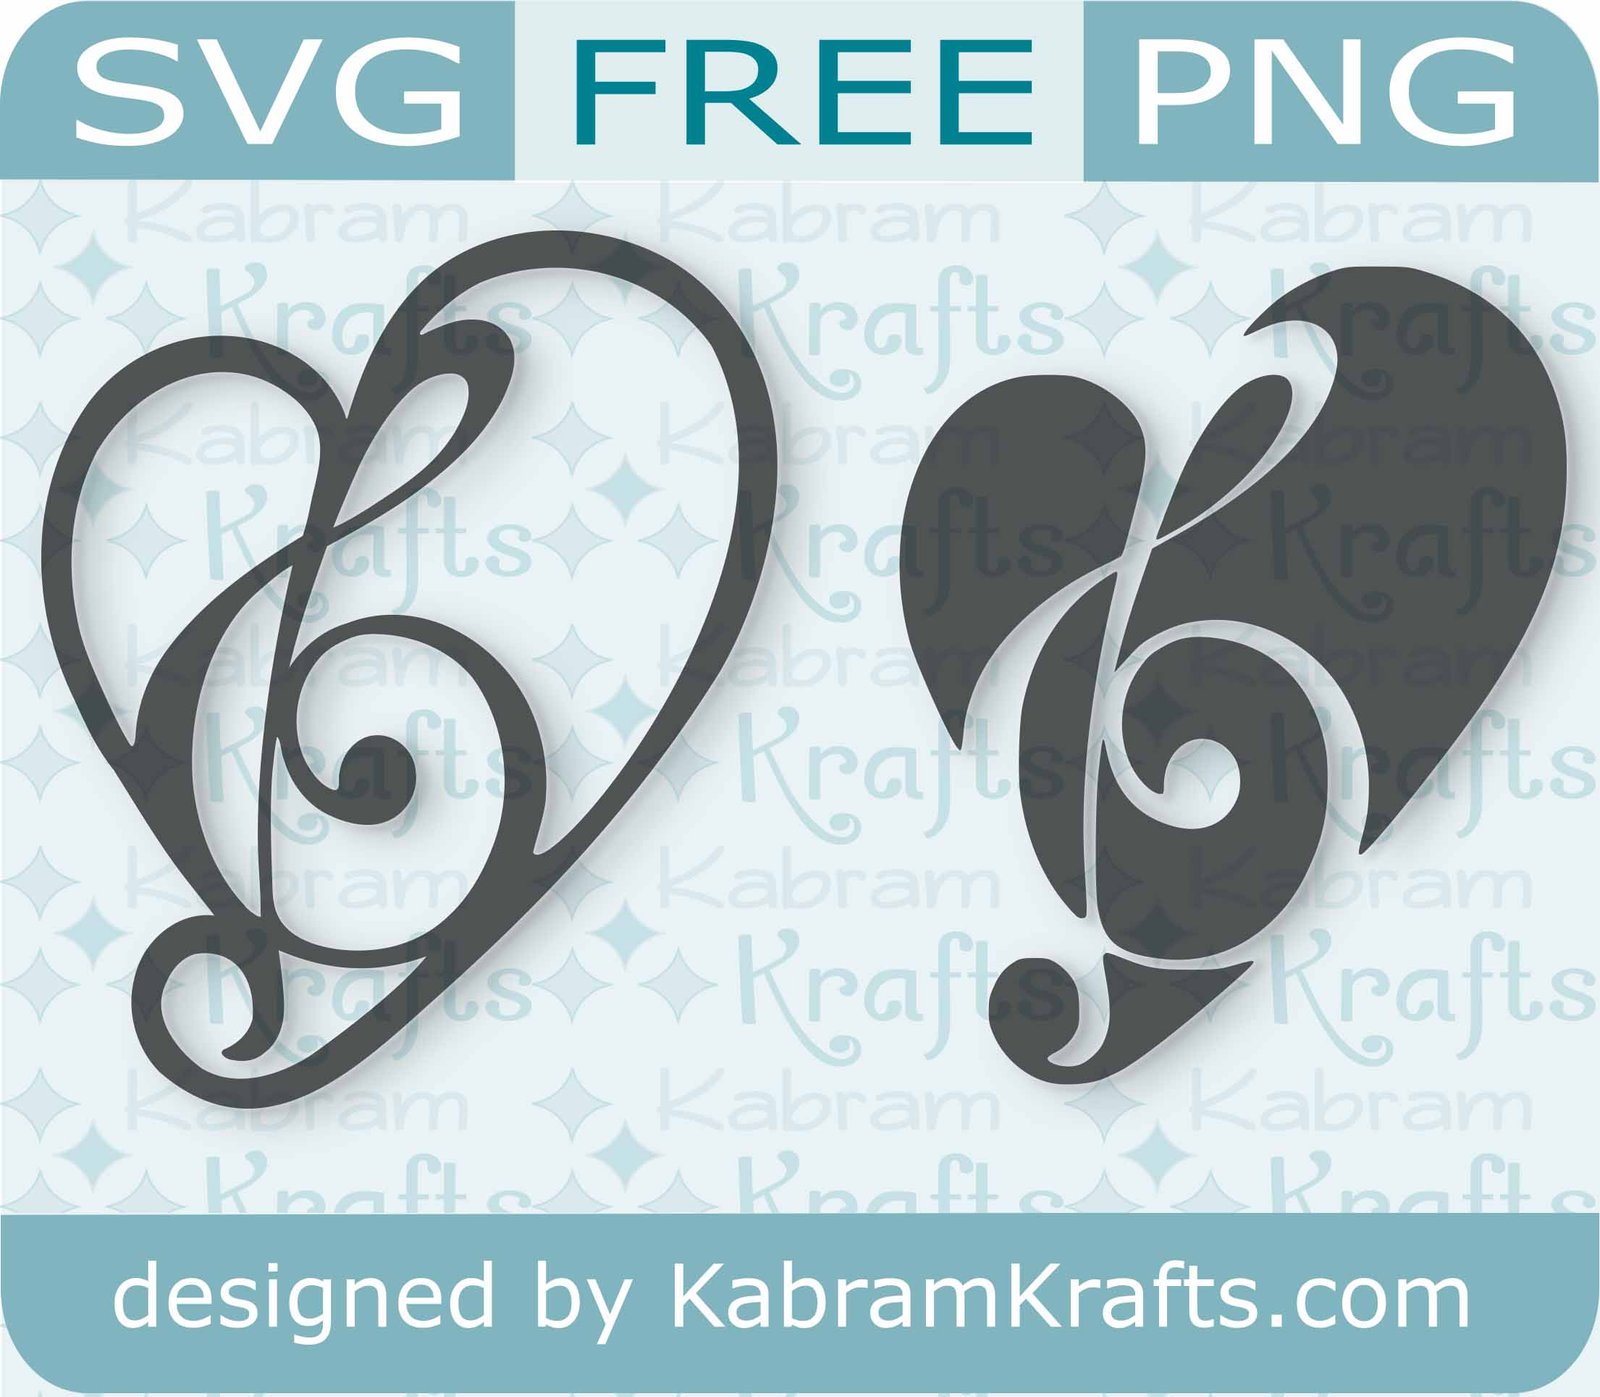
Free SVG Cutting File

Without further to do, here is the file. It includes each grade text and apples for you to swap in as needed. I think it would look great cut out in glitter heat transfer vinyl on a shirt. As you see above, it looks very cute on the shirt of this adorable girl I found searching for free stock photos. I wish you and your kids a happy August and hope they enjoy their first day of School!


Check out my other SVG Files Too!


Awesome Animal Alphabet Cutting File Download


Posted on 2 Comments

Bin Labels HTV DIY – Organize your life!

Move Complete!

Have you moved lately? Well, we just moved from Michigan to Colorado! It is lots and lots of work. And requires a lot of good organization. All of which is made better by these adorable bin labels!


If you missed me, that is where I have been. Packing. Unpacking. Packing. Unpacking. Repeat.

Having grown up in Colorado, I am happy to be back and near family again.

Unfortunately, since Colorado is so awesome and everyone else wants to be here too, housing prices are much steeper here. Not just a little steeper. I’m talking 7 or 8 times steeper! For example, coming from our lovely 6 bedroom house on 4 acres in Michigan, we will have trouble finding a condo for the same price!


Getting Organized with Bin Labels

Downsizing was actually some amount of fun, until we got to our apartment and realized that getting rid of half our stuff wasn’t enough! So, that is what I have been doing the past month or so. Organizing. Getting rid of stuff. Organizing is the fun part though.

Knowing this, you can see where this project came from. It was born of necessity and the desire to have my children put their toys away so that I can preserve my sanity in our new 2 bedroom living space! Thus, the idea for our new bin labels was born. Well, it was actually in my head for quite a while. It was going to be one of my finishing touches on the playroom I was working on in Michigan. Take a look at how awesome it was!

Playroom in Michigan

Alas, it was time to move on. Hopefully someone else will move in and enjoy the fun colors and the animal alphabet that I left on the wall!

Do you also have seemingly hundreds of toys underfoot? Are you constantly frustrated with different types and sets of toys getting jumbled into one big mess? Do your kids need help knowing where everything ought to go? Then you need some of these bins and these adorable bin labels!

Take Stock of Your Items

First, you need to take stock of what you are trying to organize. For me, this meant categorizing the toys in my girls’ room and putting them in different bins. Undoubtedly, they have too many toys. However, once in bins and labeled with these cute bin labels, it looks much more manageable. Also, remember to try to match the number of categories to the number of bins you have available.

Here are the bin label categories I came up with for the toys we have:

  • DOCTOR
  • DRESS UP
  • CALICO CRITTERS
  • PLAYMOBIL
  • BOOKS ON TAPE
  • LEGO
  • MUSIC
  • CARS
  • DOLLS
  • BLOCKS
  • LITTLE PEOPLE
  • DISHES
  • FOOD
  • TOOLS

In addition, I added each of my daughter’s names so that they could have a bin of their own. Next, I looked for a simple, cute design for each category. The idea was to have a cohesive looking set of images that helped my not yet literate daughters identify each bin on their own.

Most of the images I found doing a quick google image search. Some I had to work more on to get what I wanted. The font I used is called “Mail Ray Stuff”. I really like how the images turned out. I am especially fond of the cute baby on the “LITTLE PEOPLE” bin.


Create your Bin Labels

Feel free to use my labels and images for your own personal use. However, I do not recommend using them for commercial uses as I am not positive on the copyrights of each one.


REMEMBER TO CUT THESE OUT IN REVERSE ON YOUR HTV!


REMEMBER TO CUT THESE OUT IN REVERSE ON YOUR HTV!


Quality Materials

Since this was my very first Heat Transfer Vinyl project, I wanted to use the good stuff. And, from what I hear, Siser Easy Weed is where it is at. I found a roll at my local Michaels and it was on a great sale to boot! All in all, I was very impressed by the stuff. Also, it is actually much easier to weed than Oracle vinyl that I am used to working with.

So, back to the project.

Decide how large you want things and cut it out! This is on you. Then cut out each label and weed out the extra. Your image is reversed, right?

Finally, the fun part – ironing the bin labels on and seeing the results. I followed the directions on the packaging of my HTV and used a grill mat to place over the images while ironing.

Results – Bin material matters too!

If you look at my results, you can see that some of my bins turned out spectacular. Unfortunately, some have nice imprints of the iron. This was largely due to the bins themselves. My nice large fabric IKEA ones look great. No iron imprints, just clean and crisp.


My cheap polyester bins which came from who knows where, did not hold up well. Since I didn’t want to buy new bins, I just went with it. They still work. Some are just much prettier than others!


Now, sit back and admire your work. Wait, scratch that. Go get to organizing!

Posted on Leave a comment

Shapes and Colors Learning DIY

My daughter is quickly nearing the age of two. Her interest in talking and learning new words is at a record high, and I have been wanting something for her to play with that would also help her to learn a few new things in the process.

At her age, sorting and moving things from one spot to another is a fabulously exciting activity, so I thought maybe we could try to learn and sort with some shapes and colors.

Naturally, I wanted to put my Silhouette Cameo cutting machine into the creative action, so I came up with some laminated shapes that I then cut out in circles. You could definitely do this without a cutting machine, however, and the laminating machine is not strictly necessary either. I wanted these to last a while, so I laminated them, but if you use a heavy cardstock, they should last a for a while also and be just as educational.

In my set of colors and shapes, I picked out 6 of each, for a total of 36 cards. I choose the colors RED, BLUE, GREEN, YELLOW, PURPLE, and ORANGE. For the shapes, I went with CIRCLE, SQUARE, TRIANGLE, HEART, STAR, FLOWER. Now, I know “flower” isn’t really a traditional shape choice, but I didn’t like the other options I thought of, such as diamond (easily confused with square) and more elaborate polygons.

The process was fairly simple, with only one small trick or two to get my machine to cut the circles around the shapes correctly (even if not quite perfectly).

First, pick out your shapes, size them all about the same, and arrange them evenly on your page.

Next, add a circle behind each shape, all of the same size (these you will cut out after you laminate the shapes).

Cut out just the shapes (not the array of circles) from your first color page. You need to cut out at least one page of shapes arranged inside the circles so that you have a template to place them correctly in the laminating page. I also cut a separate sheet with just my 6 circles, though this isn’t strictly necessary.

To save some of the page of cardstock, I then rearrange the shapes in another file more compactly and cut them out of the other 5 colors of cardstock.

Now, it is time to laminate. I pulled out a laminating sheet and placed it on top of my template (the page with the shapes all lined up). Then, I took a set of shapes and placed them inside the laminating sheet using the template as a guide.

I cheated a little and used an iron to quickly stick the shapes in place. Placing a sheet of paper over the sheet, I put the iron down for only a couple seconds, just enough to keep the shapes from shifting while I put the contraption in the laminating machine.

Once you have all 6 sets of shapes laminated in the correct alignment, place the sheets back through your cutting machine one at a time. This time through, select “No Cut” for the shapes, and “Cut” for the 6 circles around the shapes. If you lined the shapes up correctly with your template and put the sheet in the correct way, it should cut out nice perfect circles around your newly laminated sheets.

My shapes were not all perfectly centered in their circles (due to my own imperfections), but the resulting set of shapes was still awesome.

My daughter took to them immediately. Even as I finished each sheet and handed them to her, she kept demanding “More, more”. We practiced sorting them into piles of different colors and then shapes. She did not know the names of all these shapes yet, but is picking it up quickly.


I think we will have a lot of fun with these and that we will be able to come up with new games and things to learn with them as she grows. I am already thinking of games like “Can you give me the Red Flower?”, or counting games, matching, etc.

What games would you play with these?

Posted on 1 Comment

A Baby Headband

Well, this project was a pretty simple one, but I thought I would put it up anyhow as it was a spin off project from my t-shirt yarn rug. When I made the t-shirt yarn (see my DIY t-shirt yarn post), I kept the elastic edges of the fitted sheets I cut apart. (And I made a wonderful crocheted rug for my daughter’s room with the yarn I made). I left a nice little ruffled edge along the side of the elastic and it seemed that it might come in handy, and it did.
Elastic from Jersey Fitted Sheet
The elastic edge of the fitted sheets was perfect for a headband, but it is a little thicker than some elastics I have used for headbands. So, I wanted a larger flower to add to it. I used a knitted flower I made using directions I found on Ninuska’s Blog. The flower came out very lovely, though I think I would use a lighter weight yarn to make the flower more delicate.
Knit Flower for Headband Accent

I measured my daughter’s head and cut the elastic to size. Next, I wove the band of elastic through the bottom of the flower. Finally, I sewed the ends of the elastic together and hid the seam in the flower. Here is the finished product:

Here it is again displayed on my daughter’s lovely little head. I think it turned out well. What do you think?
Posted on 3 Comments

Hearts and Handprints

I’m just now getting around to posting these little projects I made. One was a (very) belated Christmas gift for my parents and the other was first Valentine for my husband from our baby daughter. Both turned out really cute. Also, I am throwing in a free cutting file (in both svg and dfx formats) that I adapted from a free image I found online. I was going to use it for Valentine’s day – but didn’t quite get to it! Let me know how it looks if you end up using it.

First, the adorable handprint, heart, and footprint picture! Inspired, of course, by pinterest. This turned out really well. It has Micah 6:8 (the first part) on it – “Act Justly, Love Mercy, Walk Humbly”. The most challenging part of this project was getting my daughter to cooperate. I actually did the handprints and footprints months ago and it sat around waiting for the words for what seemed like forever. My hold up was terror of messing up the lovely handprints I had worked so hard on.

Finally – I tried to write the words on with a paint pen and my attempt was a huge fail! I hated how it looked. Thankfully, I only had done one word and was able to paint it back to gold and try again. Not liking my handwritten attempt – I typed the words in and cut them out of vinyl with my Silhouette Cameo. MUCH better results! The only remaining worry is that the lettering might slip off of the paint, but you could probably fix that with a clear top coat of some kind.

Anyhow, this is how it turned out:

BABY TIP : I finally got her left hand when she was deep in sleep. I had to let her nap on the floor and then do the print quickly (her left hand was particularly challenging since she sucks her left fingers!). It did cost the nap though as she woke up after the handprint. The footprints were much easier!

Since footprints were easier, I used them to make a nice Valentine’s day card for daddy. Paint was so messy and unpredictable, so I decided to try embossing ink. It work better than I imagined. I simply dabbed her foot with the embossing ink (I had it in a tube, but an ink pad might work even better) and pressed the foot on the paper. I did one foot at a time, so after the first one, I put on the powder and embossed it, then did the second to form a heart.

I used my Silhouette Cameo to cut a heart shape around it. After measuring where the footprints ended up, I matched the size and positioning of my shape in Silhouette Studio and cut it out. If you don’t have a cutting machine, I’m sure it would look just as cute if you cut out a heart by hand, or even just left it as a rectangular card.

The shape I used was a modified version of the lacey heart I found at Bird’s Cards.

And, finally, the free cut file that I made. I found the image on the right online and made it into a cutting file. I also inverted it in case you want to cut out one piece instead of embedding it into another shape. Let me know if you make anything with these files, I would love to see it!
FREE SVG FILE DOWNLOAD