Move Complete!
Have you moved lately? Well, we just moved from Michigan to Colorado! It is lots and lots of work. And requires a lot of good organization. All of which is made better by these adorable bin labels!
If you missed me, that is where I have been. Packing. Unpacking. Packing. Unpacking. Repeat.
Having grown up in Colorado, I am happy to be back and near family again.
Unfortunately, since Colorado is so awesome and everyone else wants to be here too, housing prices are much steeper here. Not just a little steeper. I’m talking 7 or 8 times steeper! For example, coming from our lovely 6 bedroom house on 4 acres in Michigan, we will have trouble finding a condo for the same price!
Getting Organized with Bin Labels
Downsizing was actually some amount of fun, until we got to our apartment and realized that getting rid of half our stuff wasn’t enough! So, that is what I have been doing the past month or so. Organizing. Getting rid of stuff. Organizing is the fun part though.
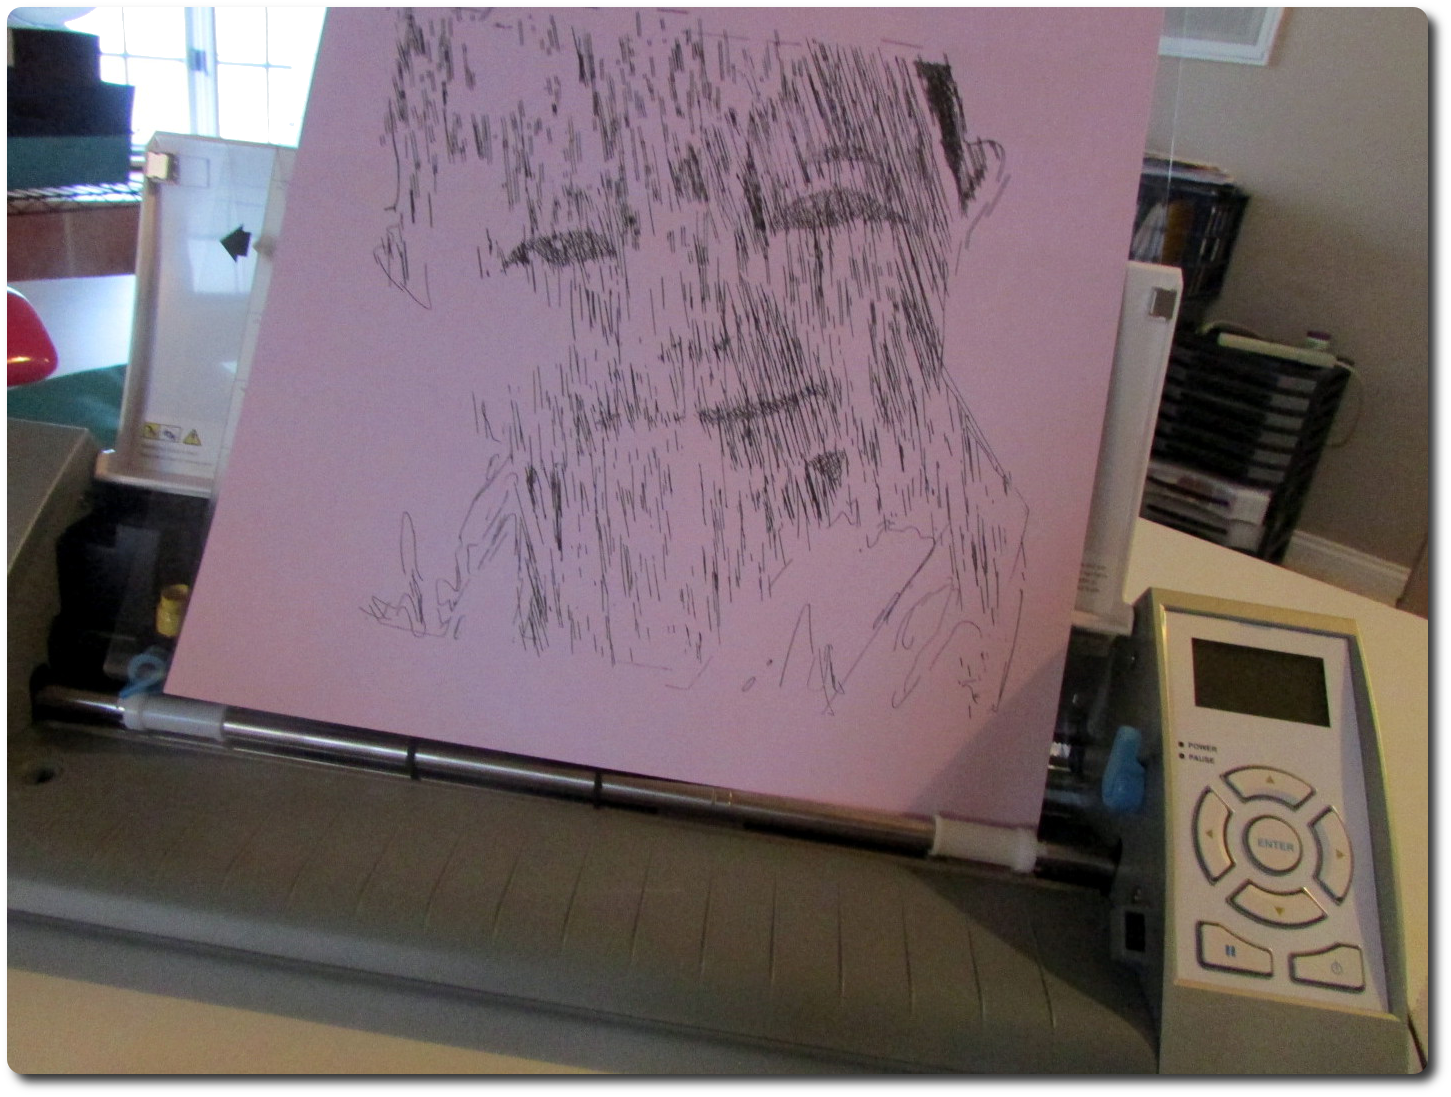
Knowing this, you can see where this project came from. It was born of necessity and the desire to have my children put their toys away so that I can preserve my sanity in our new 2 bedroom living space! Thus, the idea for our new bin labels was born. Well, it was actually in my head for quite a while. It was going to be one of my finishing touches on the playroom I was working on in Michigan. Take a look at how awesome it was!
Alas, it was time to move on. Hopefully someone else will move in and enjoy the fun colors and the animal alphabet that I left on the wall!
Do you also have seemingly hundreds of toys underfoot? Are you constantly frustrated with different types and sets of toys getting jumbled into one big mess? Do your kids need help knowing where everything ought to go? Then you need some of these bins and these adorable bin labels!
Take Stock of Your Items
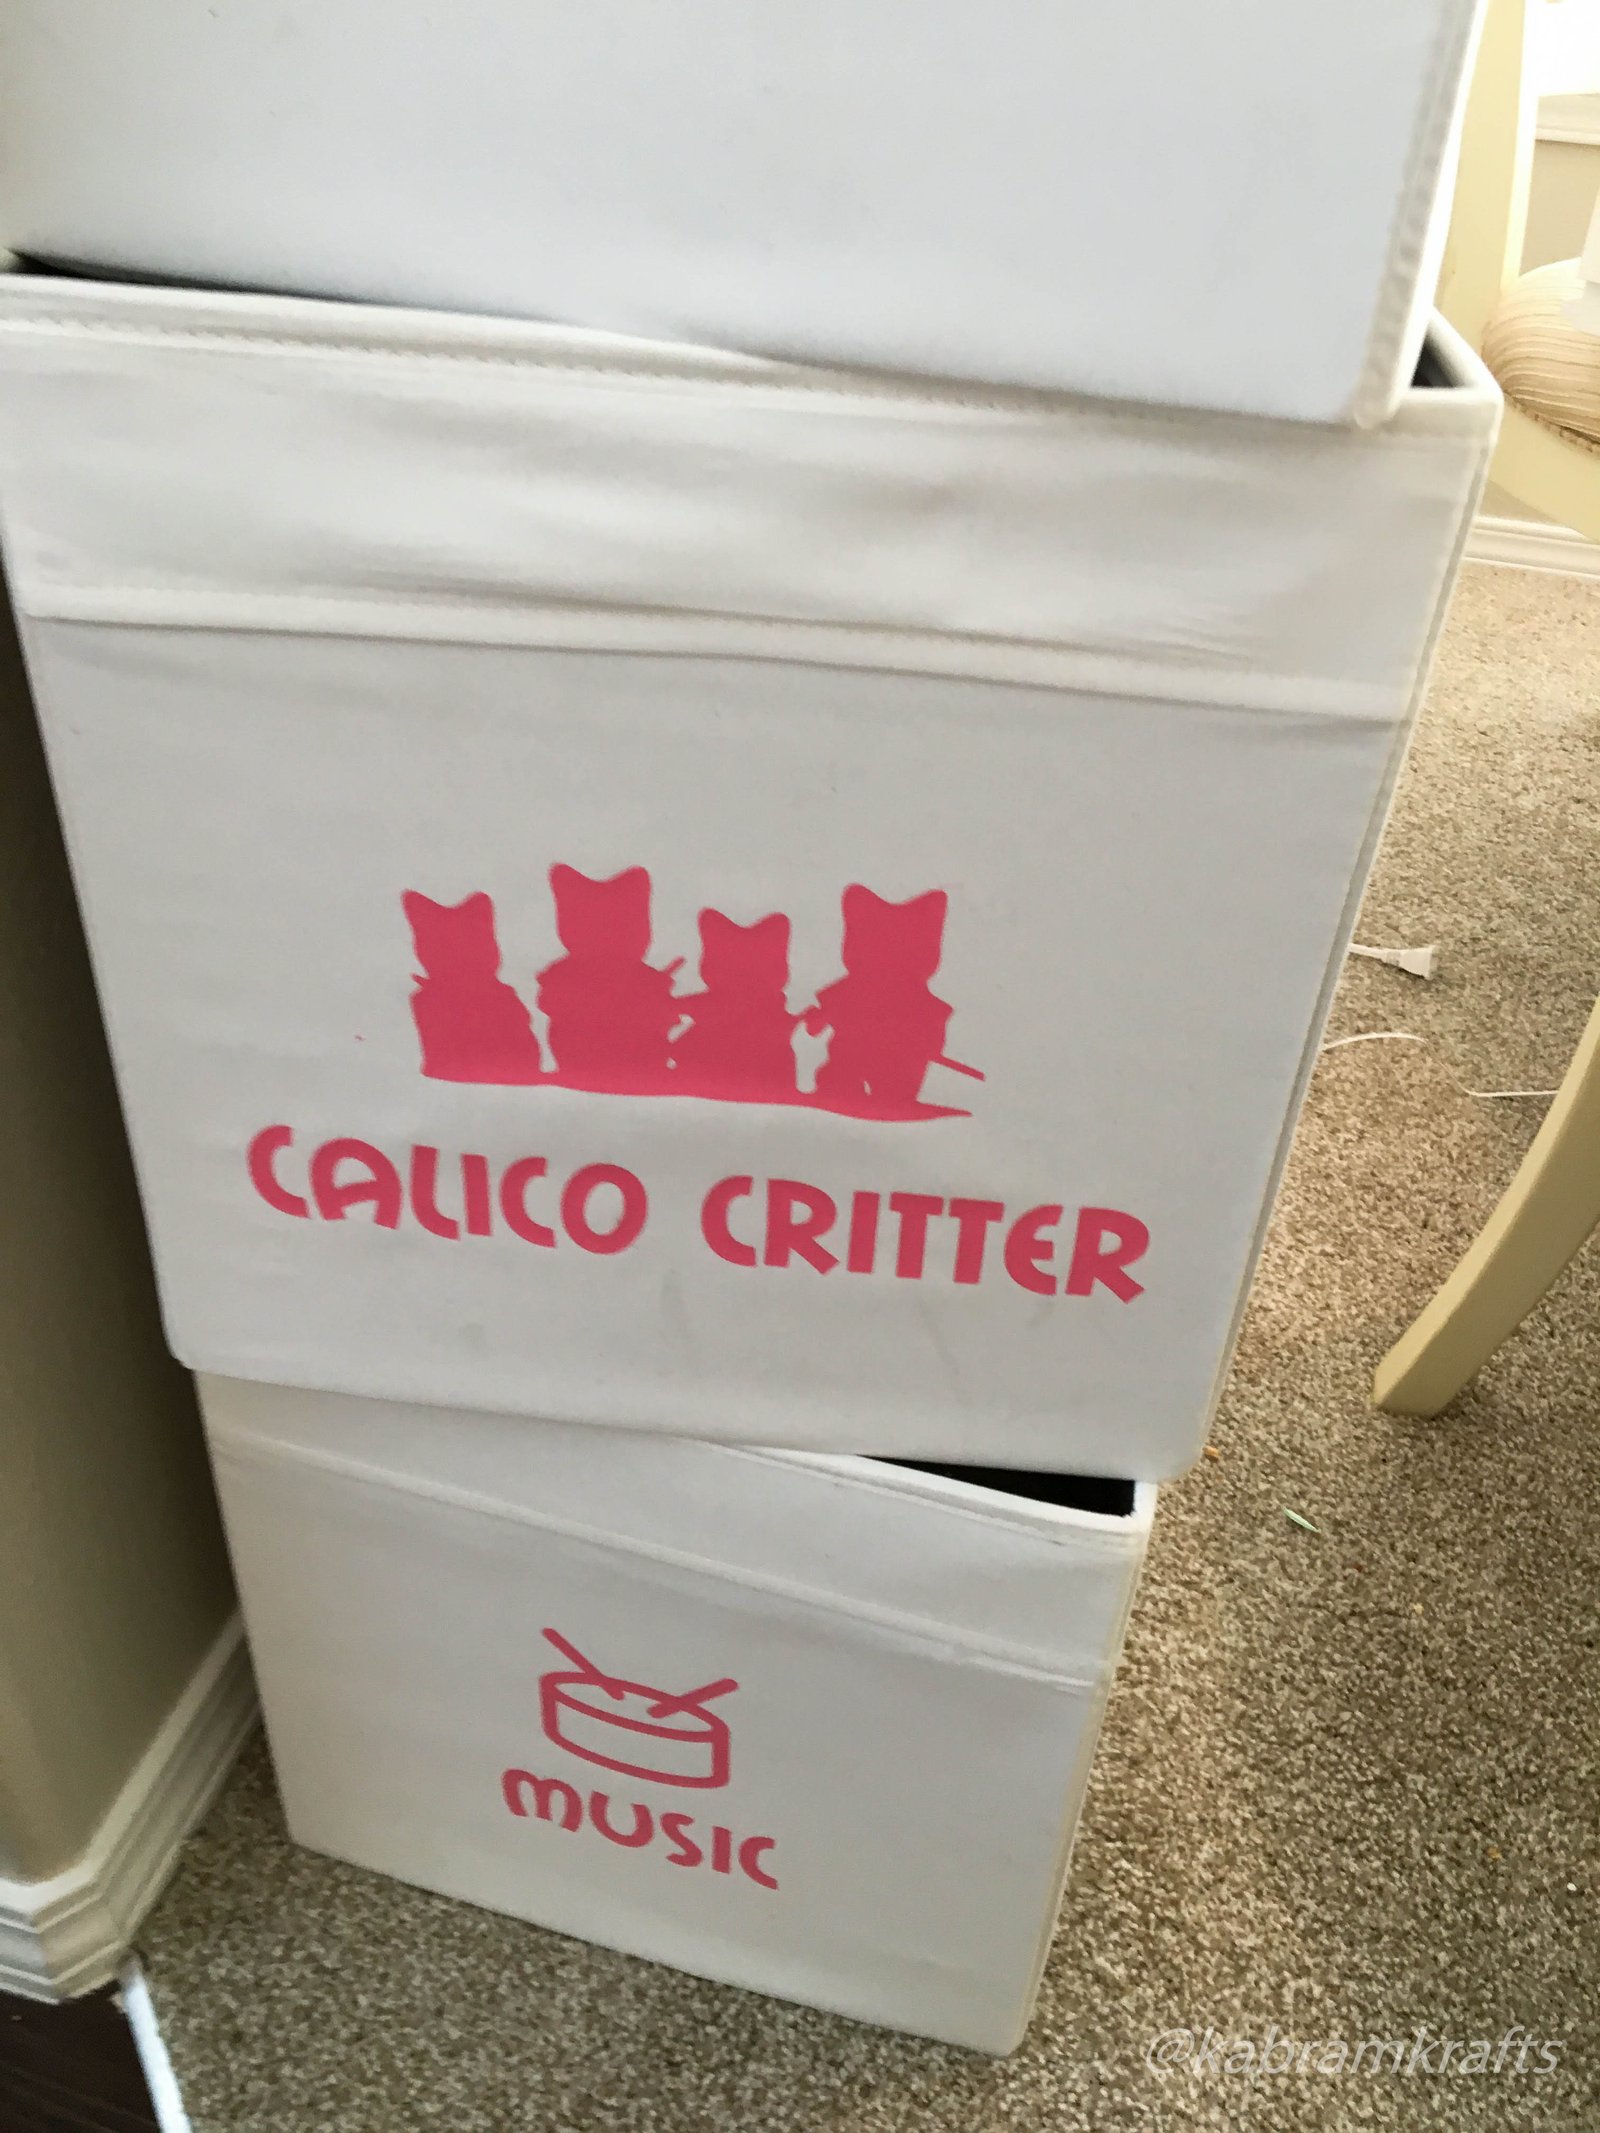
First, you need to take stock of what you are trying to organize. For me, this meant categorizing the toys in my girls’ room and putting them in different bins. Undoubtedly, they have too many toys. However, once in bins and labeled with these cute bin labels, it looks much more manageable. Also, remember to try to match the number of categories to the number of bins you have available.
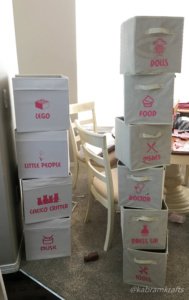
Here are the bin label categories I came up with for the toys we have:
- DOCTOR
- DRESS UP
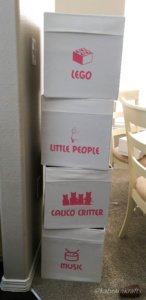
- CALICO CRITTERS
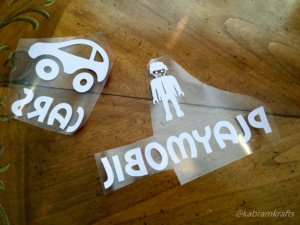
- PLAYMOBIL
- BOOKS ON TAPE
- LEGO
- MUSIC
- CARS
- DOLLS
- BLOCKS
- LITTLE PEOPLE
- DISHES
- FOOD
- TOOLS
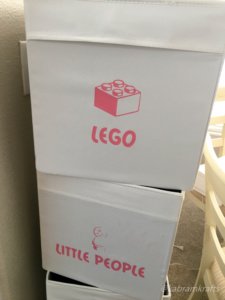
In addition, I added each of my daughter’s names so that they could have a bin of their own. Next, I looked for a simple, cute design for each category. The idea was to have a cohesive looking set of images that helped my not yet literate daughters identify each bin on their own.

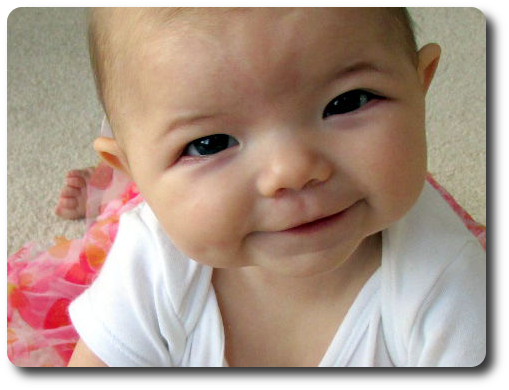
Most of the images I found doing a quick google image search. Some I had to work more on to get what I wanted. The font I used is called “Mail Ray Stuff”. I really like how the images turned out. I am especially fond of the cute baby on the “LITTLE PEOPLE” bin.

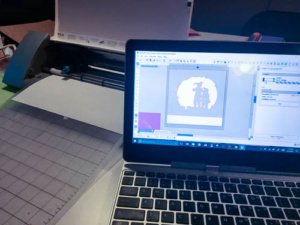
Create your Bin Labels
Feel free to use my labels and images for your own personal use. However, I do not recommend using them for commercial uses as I am not positive on the copyrights of each one.
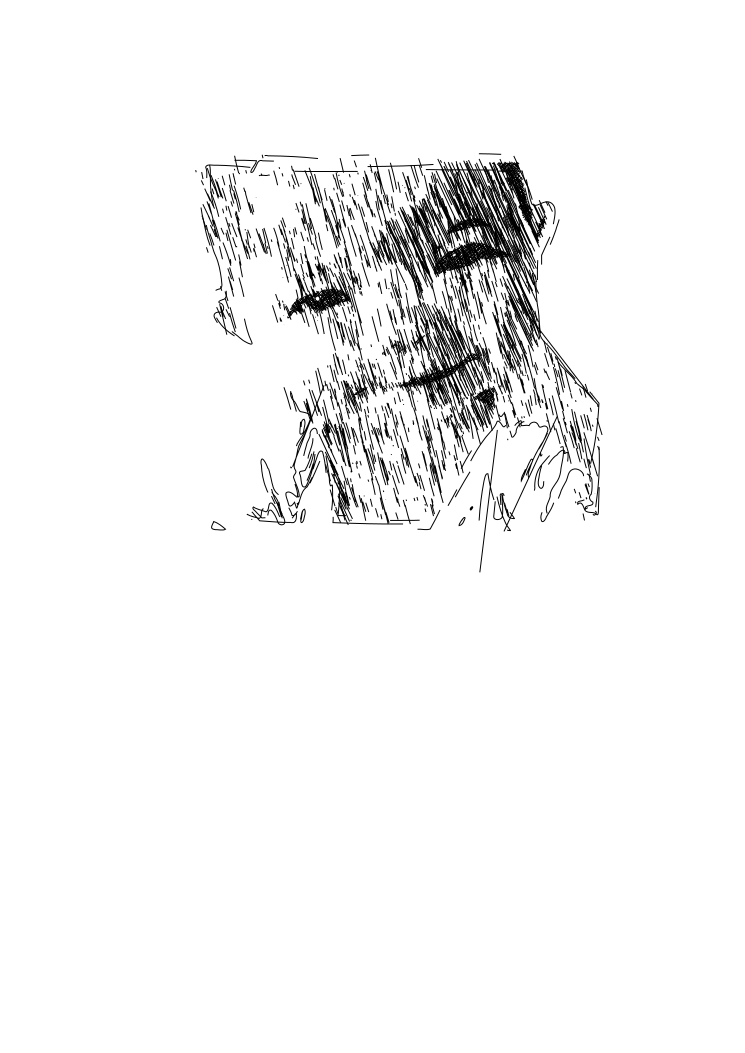
REMEMBER TO CUT THESE OUT IN REVERSE ON YOUR HTV!

![]()
REMEMBER TO CUT THESE OUT IN REVERSE ON YOUR HTV!
Quality Materials
Since this was my very first Heat Transfer Vinyl project, I wanted to use the good stuff. And, from what I hear, Siser Easy Weed is where it is at. I found a roll at my local Michaels and it was on a great sale to boot! All in all, I was very impressed by the stuff. Also, it is actually much easier to weed than Oracle vinyl that I am used to working with.

So, back to the project.
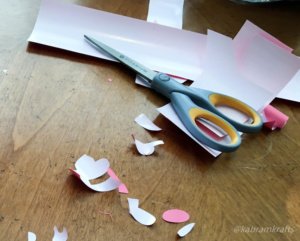
Decide how large you want things and cut it out! This is on you. Then cut out each label and weed out the extra. Your image is reversed, right?
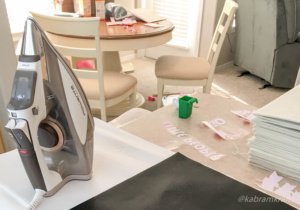
Finally, the fun part – ironing the bin labels on and seeing the results. I followed the directions on the packaging of my HTV and used a grill mat to place over the images while ironing.
Results – Bin material matters too!
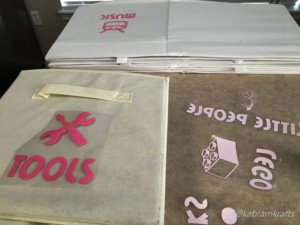
If you look at my results, you can see that some of my bins turned out spectacular. Unfortunately, some have nice imprints of the iron. This was largely due to the bins themselves. My nice large fabric IKEA ones look great. No iron imprints, just clean and crisp.

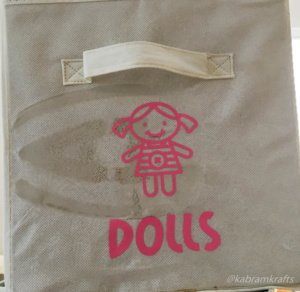
My cheap polyester bins which came from who knows where, did not hold up well. Since I didn’t want to buy new bins, I just went with it. They still work. Some are just much prettier than others!
Now, sit back and admire your work. Wait, scratch that. Go get to organizing!


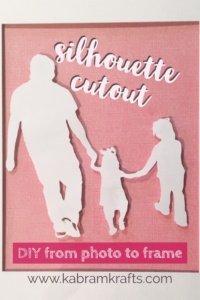
 As a caution, I do warn that I have personally had struggles with this method and recommend you
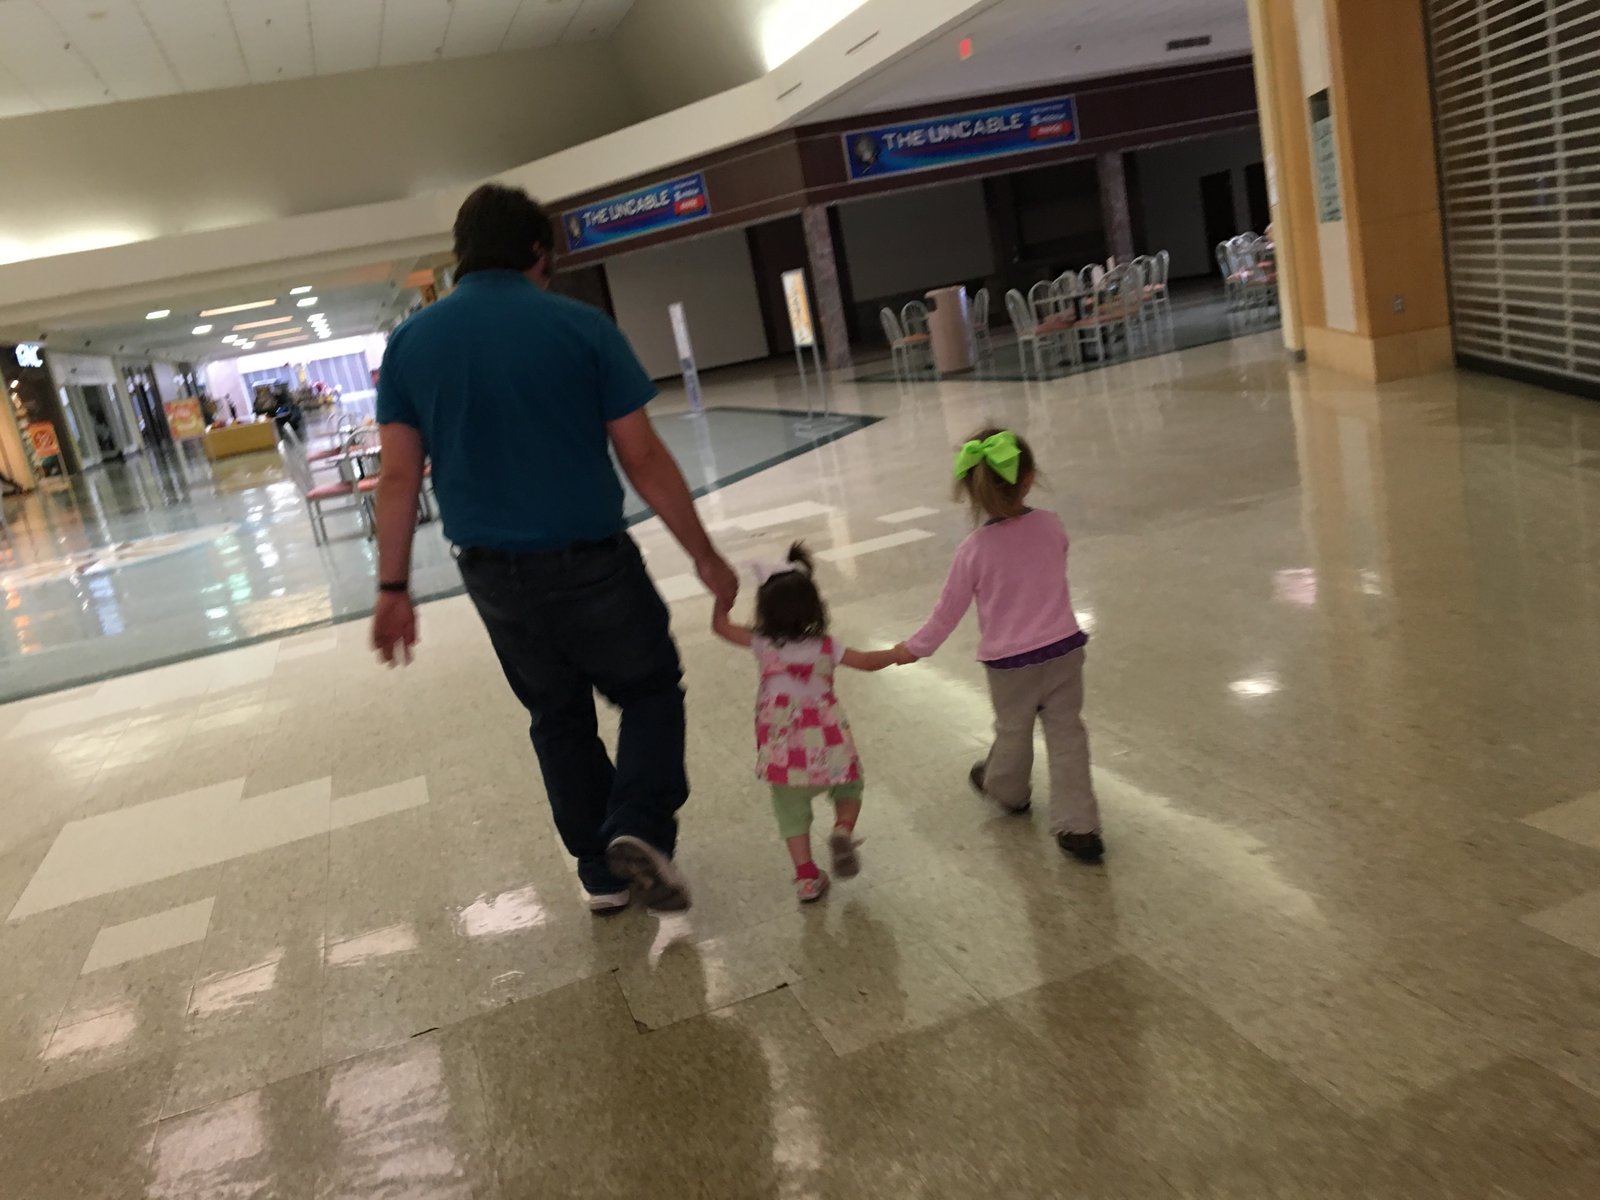
 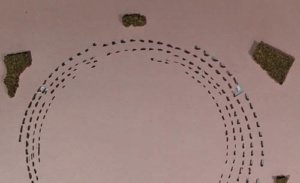 th them holding hands, only took one cut.