Posted on 2 Comments

UPDATED: How to Make a DIY Bed Buddy (a cozy microwave heating bag)

Cozy DIY Bed Buddy for my Little Girls

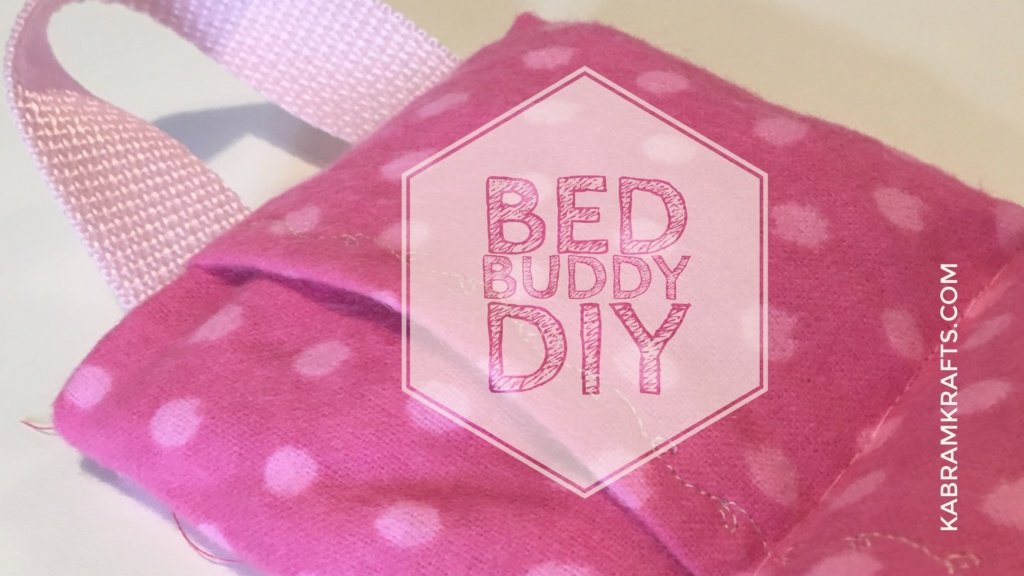
Well, it has been a while since I made my first DIY bed buddy. You can take a look at that first attempt in this post. This time, I had already made a bunch of rectangular bean bags for my little girls. So, I already had the first step done. For the design, I kept it very similar to the one I originally came up with.

DIY BED BUDDY

The only major change I made was how I made and attached the handles. Surveying my awesome dinosaur bed buddy, I decided that the handles were both overly complicated and a possible choke hazard! Take a look. See how long the handles are?

Change: New Straps

My mind can see some child deciding that this would make a good necklace and choking themselves. Hence, I keep this one put up and came up with a different method to use for the handles. First, I used a strap instead of a string. Second, I made it much shorter. Third, I didn’t make the extra little “strap holder” parts and sewed the handles directly into the seams.
DIY BED BUDDY
DIY Bed Buddy – First Attempt

My girls love to have things that make them like Mommy or Papa. My daughter has been toting her new mini bed buddy all over and calling it her “buddy bean bag” instead of her bed buddy.

Microwave Your DIY Bed Buddy

Pop it in the microwave for 30 – 60 seconds and you or your children can cuddle up with it. For the large one, I like to microwave it for 2 and half minutes for my husband or a little longer for myself. It feels great on sore shoulders or a pounding head.

New (to me) Adobe Software

As a side note of sorts, I just last month got a subscription to the latest Adobe software. If you look at this tutorial that I made, you will see why I have been having so much fun with it! Mainly, I had wanted to be able to use Adobe Illustrator to work with SVG’s and thought Photoshop would be a nice bonus. However, it includes access to a large number of programs AND a large number of apps. Now, I can’t stop playing with images on my phone.

If you can manage to accumulate a large number of $1 no rush credits on Amazon and also happen to have academic status, you can get a year’s subscription without paying an arm and a leg. I really had no intention of plugging Adobe just now, but I really haven’t been able to stop playing with it since I signed up!

Adobe Creative Cloud Student and Teacher Edition Prepaid Membership 12 Month – Validation Required

And, without further ado, my little tutorial. I am sure I missed a fair number of details, so feel free to ask if there is something not clear.

DIY Bed Buddy Tutorial

DIY Microwave Bed Buddy

Also, I did go into a lot more detail in my original DIY Bed Buddy post if you need a more in depth look at things.

Well, that is certainly all I have for today. Please, share your projects with me if you make a version of this or something similar. I would love to see how your DIY Bed Buddy turns out!

Posted on Leave a comment

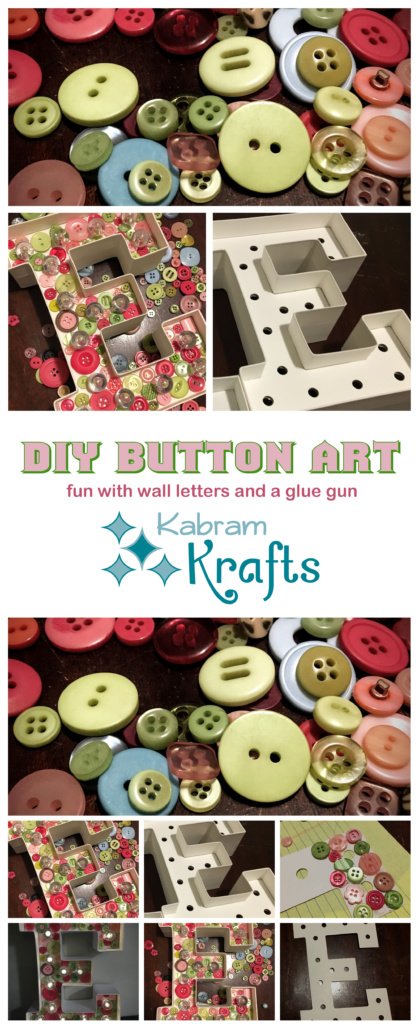
How To Make Button Art – Fun and Easy!

Fun With Buttons

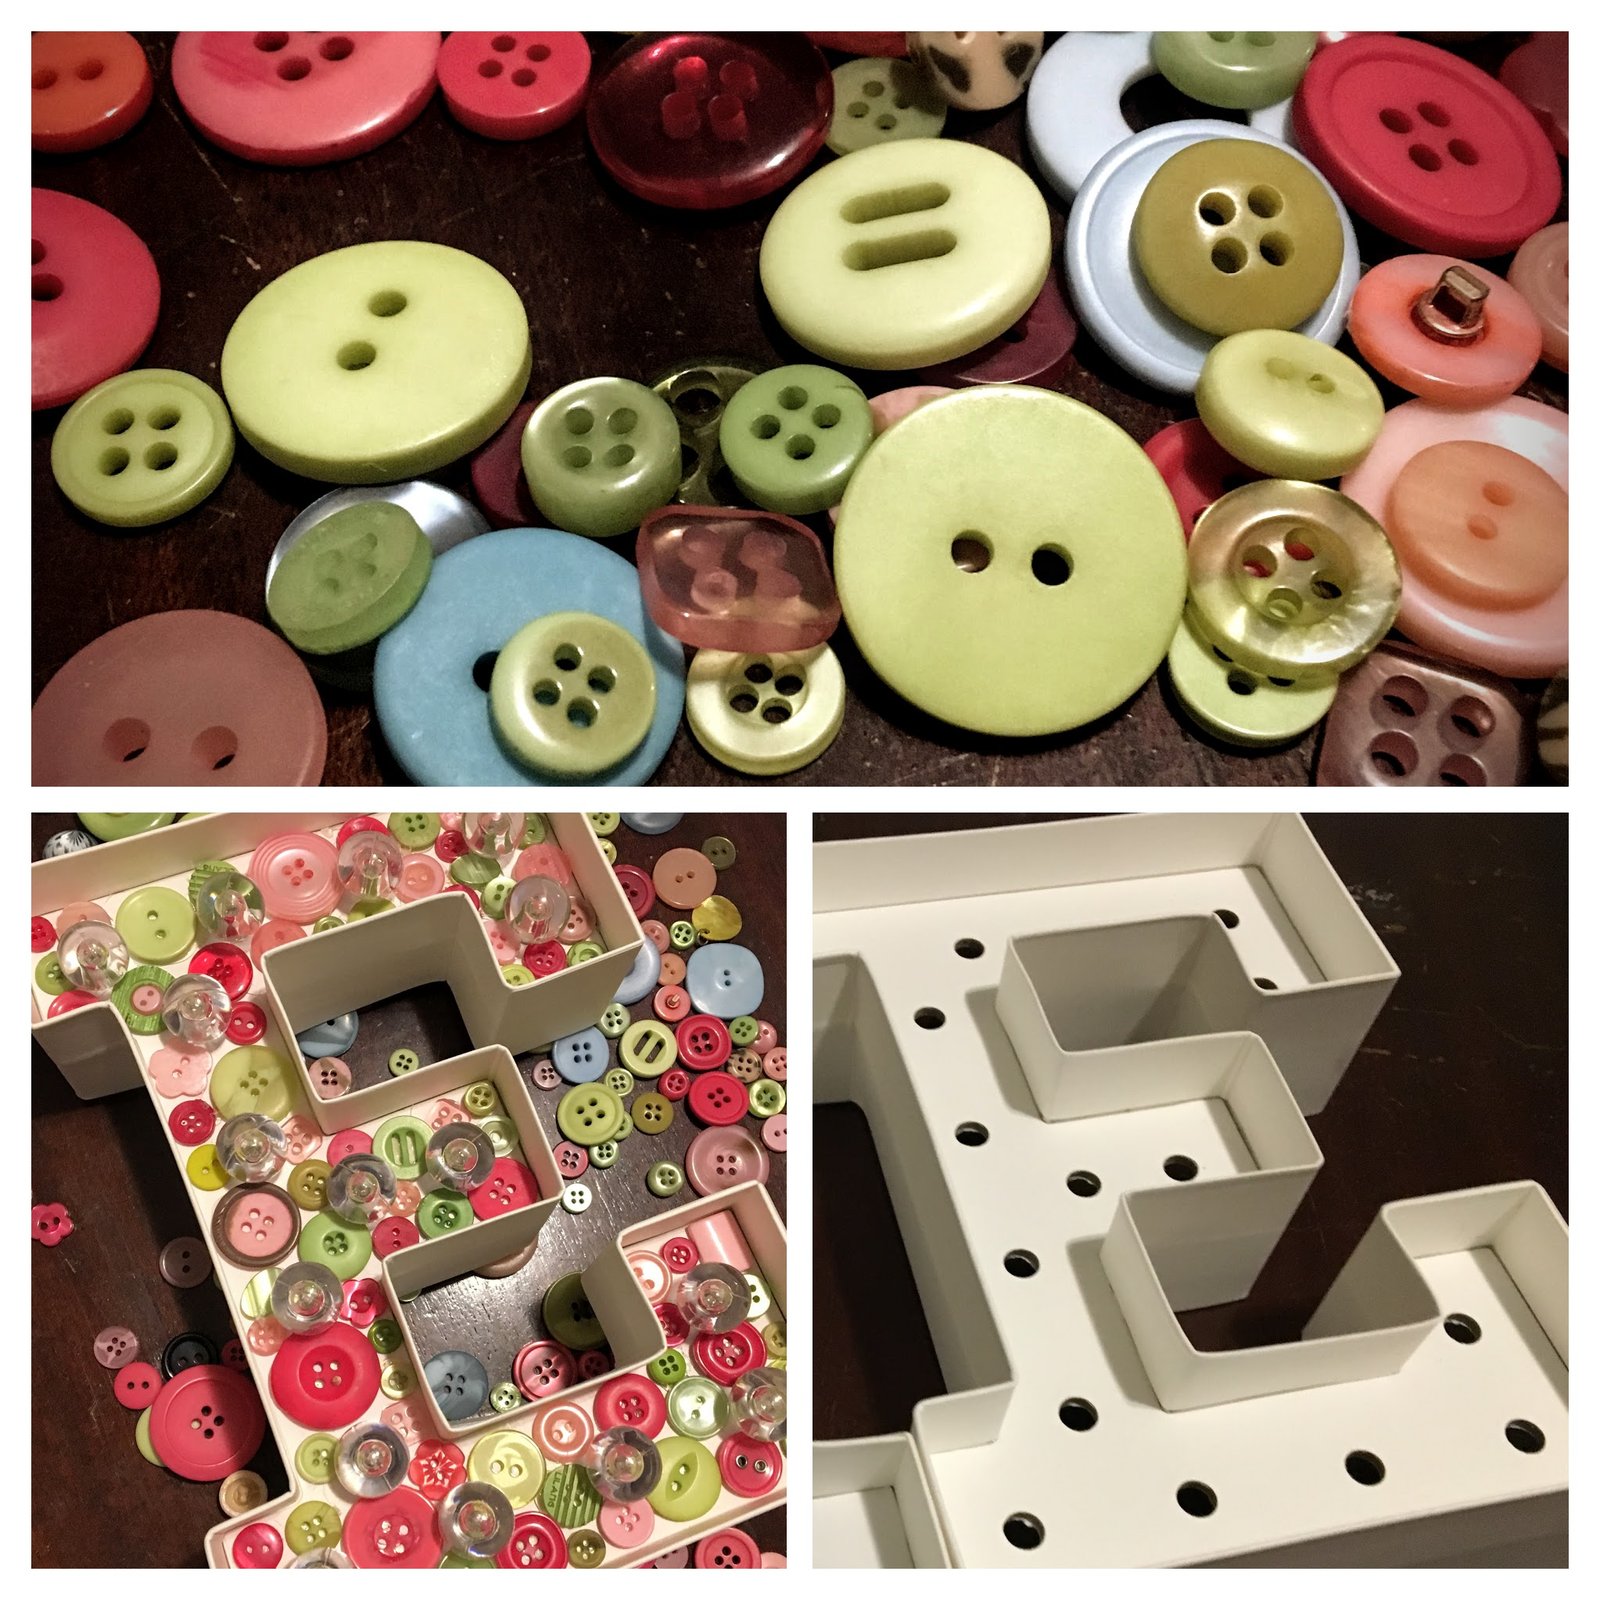
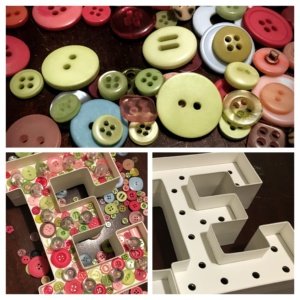
Do you have a lot of buttons? Well, I have at least a modest amount stowed away in a small jar. I feel like it is a collection that will increase over the years. Perhaps someday, I will be a little old lady with a hoard of buttons. At any rate, I was definitely happy to find a bag of pink and green buttons for $0.99 at the thrift store. I love thrift stores. They have loads of potential. At any point, you could round the corner and find the best deal you have ever seen. Granted, it is probably going to be an awesome deal on something you probably don’t need, but it will still be awesome. See how pretty my bargain buttons are?

Wonderfully, the buttons I found on this particular occasion were perfect for my next project because pink and green are the colors of the playroomI have been working so diligently at the past year or so. Buttons, buttons, and more buttons!! Sitting around in my craft room waiting for some love were white letters to decorate for the playroom – I had picked them up at JoAnn Fabric at some point, on a big sale of course.

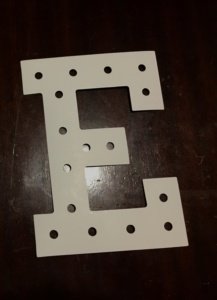
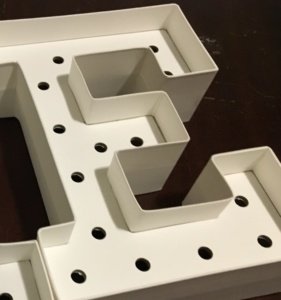
Consequently, here are the letters I started with, the link will take you to Amazon but know that they do exist at the craft store if you have a coupon burning a hole in your pocket!

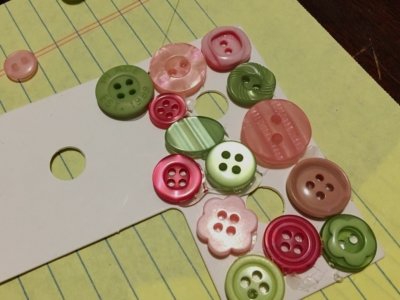
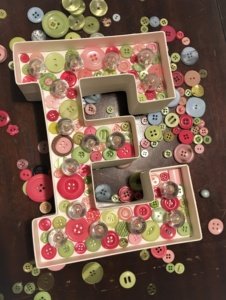
Now for the fun part. While I used the lighted cardboard letter shown above, you really could use almost anything. And I mean almost anything. As long as it can take the heat of hot glue, you can probably cover it in buttons.

How to Make Your own Button Creations

DIY Button ArtWhat could you use? Other forms of letters like wood ones, paper ones, plastic, your own cardboard shapes, canvas, paper you will frame, vases, decor items, candles, and the list goes on. Have you decorated anything with buttons?

Materials I used:

  • Buttons – I got mine at the thrift store for $0.99, yay!
  • Lighted Cardboard Letter, or whatever object you would like to decorate. Mine probably cost around $5 with a coupon or sale. (I used this one: American Crafts Letter Kit, E)
  • Hot Glue Gun (I already had one)
  • Scrap paper or covering for your workstation

Time: about 30 minutes for this letter.

Total Cost: About $6 for my materials, but could be more or less depending on what you decorate and what supplies you have on hand.

Tips:

  • First of all, layout at least a few buttons ahead of where you are so that you can arrange them how you like.
  • I put the glue on the project, not on the button. I don’t know which would be best though. Any hot glue gun experts?
  • While my buttons do not overlap because I wanted to ensure that the lights would have enough room, if you don’t have this constraint, you don’t have to stick to one dimension! Overlap those buttons, place some on top or in between to add more dimension.
  • Choose your colors wisely. I picked a pink and green theme (to go with an existing room theme). You can use any button if you want an eclectic look, or go with only one or two colors in different shades. While it doesn’t matter what you go with, just put a little thought into it before you start.
  • Now you have fun and don’t be shy! Just start gluing. Don’t be afraid, the buttons can’t hurt you. 🙂

Do you have any tips for button art? I would love to here them or see any of your projects or creations. Here is some more inspiration from pinterest. I LOVE the button animals!


Posted on Leave a comment

How to Make and Use a Freezer Paper Stencil

Hello Kitty.

Initially, I was very negative about Hello Kitty. I’m not sure why, but I think it has to do with my knee-jerk negative reaction toward anything popular. However, I have come to terms with the fact that my 1 and 3-year-old little girls are all about Hello Kitty. They love it. My one-year-old will say “kitty cat” repeatedly whenever she glimpses something with the Hello Kitty brand on it. Yep, branded characters work.

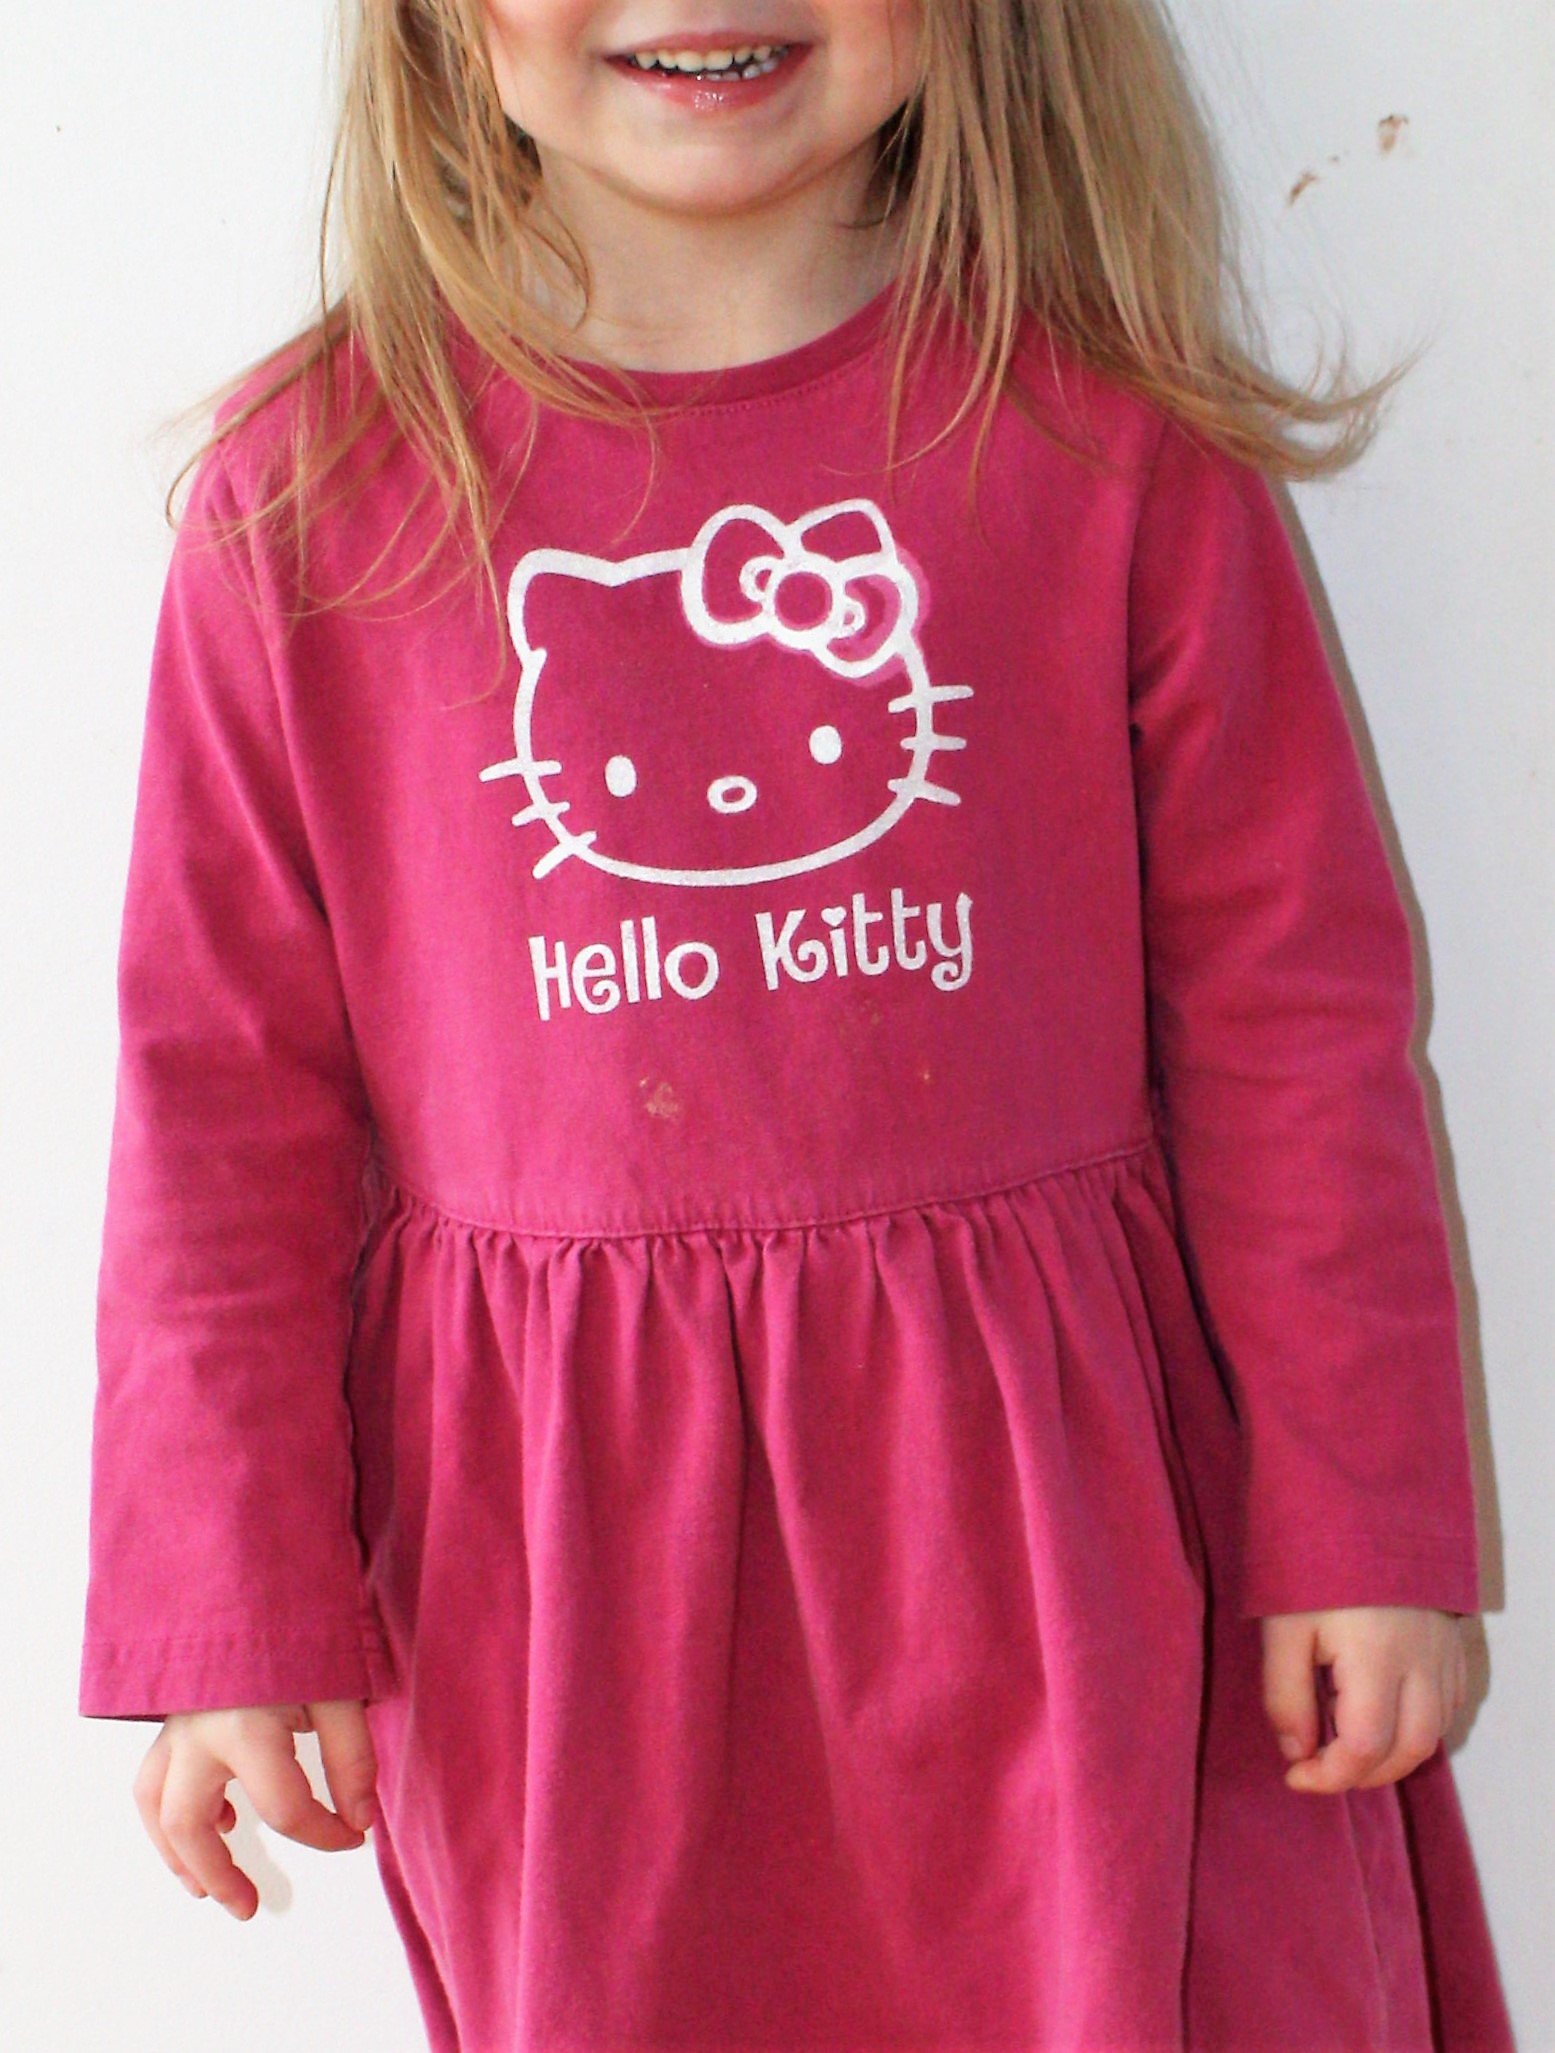
Well, enough of that. My girls love Hello Kitty, so we made a Hello Kitty dress together. I happened upon a very nice 4T dress at the thrift store. I love thrift stores. It is 100% cotton, long sleeved for winter, pink, and only $2. Oh, and it has pockets. Dresses with pockets are the best thing ever. It was a great deal, and it made the perfect base for this project. Since I knew the item didn’t cost me much, it allowed me to go forward without fear of ruining something valuable.

If you have a cutting machine like the Silhouette Cameo and you don’t have freezer paper, you are missing out on some great projects. I don’t have the latest version of the machine, but it is still going strong. You can buy freezer paper in most grocery stores. It should be near the other rolls of waxed paper, parchment paper, etc. It has a paper side, and a glossy plastic coated side. The reason it is so neat for crafting is that the plastic melts slightly when heated and makes a temporary bond with fabric. That is to say, you can use your iron to make your stencils stay put! If you can’t find it at your grocery store or prefer to buy online, Amazon sells it here.


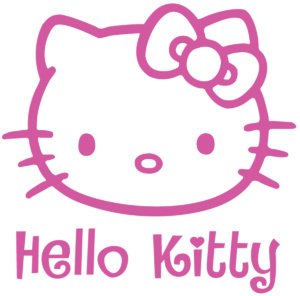
Next, I searched for an appropriately simple little image for the dress. This is the one I found.

hellokitty
Hello Kitty File Picture
Click image for Free SVG File Download


Once you find the image you want to use, open it up in Silhouette Studio or in Inkscape. I actually did this in both programs, because even with the Designer Edition of Silhouette Studio, it won’t let me export SVG files. Boo! But it does let you open them…

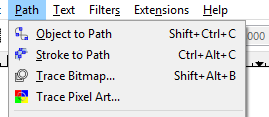
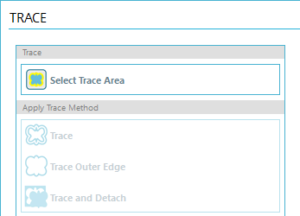
Anyhow, once you open the image, you need to trace it. Here are the two variations I use most often. There are tutorials on both of these if you search the web, but feel free to ask in the comments if you need help with this.


In Inkscape, use the “Trace Bitmap” dialogue to create an svg file from your image.


In Silhouette Studio, use the Trace function to select your image and create your cut file.


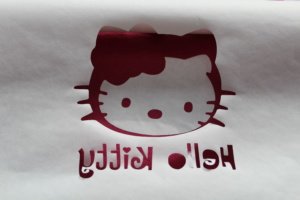
Once your image is traced, you should have a cutting file like the one above. It looks the same as the image, but it is made of lines that scale and is a file your machine can cut out.


And finally, how to actually use your stencil and create your image! These are roughly the steps I took.

  1.  Prepare your image for cutting (described above).
  2. Cut a piece of freezer paper down to the size of your cutting mat. I placed mine with the coated side upward. If your mat is especially sticky, you may want to place it the opposite way. The important thing here is that your design will be right side up when the coated side of the paper is placed on the fabric. If your image has text (like mine) this is especially important. Hopefully you will not have to cut yours out twice like I did to get it right!
  3. Cut out your design and carefully remove it from the mat.
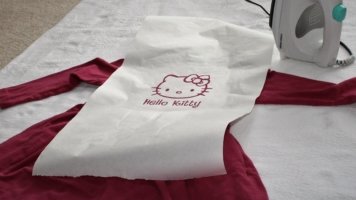
  4. Place the pieces of the design that you DON’T want painted onto your fabric. They will keep the paint off these spots and help form the design. Iron them in place with a medium hot iron, it only took a few seconds for me. Also, it may help to do one piece at a time. If you have text, don’t forget the insides of letters like ‘o’.
  5. Once your design is in place, make sure all the edges that you don’t want painted are covered and place it in a good spot for painting. I used a big box and several plastic bags for this.
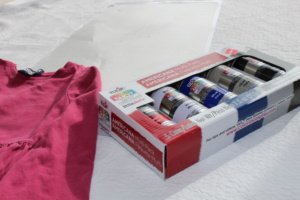
  6. Paint! My knowledge of fabric paint is fairly limited. However, I spotted these fabric spray paints on sale at the craft store and thought I would try them out. They seem to have worked fairly well if you account for my impatience between coats. I knew I ought to follow the directions of using light coats and waiting 5 minutes between them. I knew it, but I didn’t follow it. I think this is the main culprit for the slight seepage of paint I got around Hello Kitty’s bow.
  7. Once paint is dry (or at least mostly dry!), peel away the freezer paper and admire. The paint I used said it would be ready to use in 30 minutes, but not safe to wash for at least 72 hours.

Here is the final result, and my cute little model. She loves it, of course.

Have fun making cute clothes! If you want to make a cute valentine’s item, check out some of my Valentine’s Day cutting files. I think they would probably make cute shirts!

HeartCard

Heart Overlay

Heart SVG Cutting File

Happy Valentine’s Day!

Follow my blog with Bloglovin

Posted on Leave a comment

How To Create a Cutting file from a Photo Using Inkscape

I frequently use the freely available program Inkscape to alter and create new cutting files. It can handle more than Silhouette Studio and can also output a DXF file, which is a file format that Silhouette Studio can open and use.
Before and After


You can download Inkscape HERE (as of April 2016).
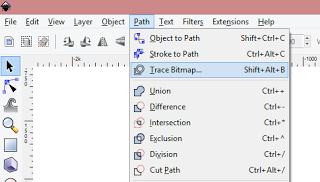
Normally, I would use Inkscape’s handy “Trace Bitmap” feature. This is located under Path->Trace Bitmap. It has lots of options which you can play around with for your image if you like, but I could tell that I wasn’t going to get what I wanted from this particular image.
The Trace Bitmap Function Doesn’t work as well on images with busy backgrounds!
The problem was that my image has a lot going on in the background and is hard to separate out from the foreground.
I’m guessing that there are some Photoshop gurus out there who could probably separate the background and foreground of this image and then use Inkscape’s Trace function. However, I am not one of those gurus and I don’t own Photoshop! Sad, I know. Alternatively, I could have tried to mess around with the image in GIMP (a fairly nice free alternative to Photoshop) – but I wasn’t up for that seemingly overwhelming task. Sometimes the dumb but straight forward way can be quicker anyhow!
Covered in Paths
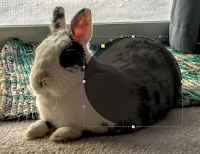
Now, this method takes some patience, but you can get exactly the image you want and don’t have to hassle with photo editing. The basic idea is to use several circular paths to bend and form into the shape we need. If you have not played around with path nodes before, this may look confusing, but once you start, it is not too difficult.


Now for the tutorial. Begin by opening your image up in Inkscape, then do the following:


  1.  Draw a circle using the shape tool shown below and place it over part of your image.
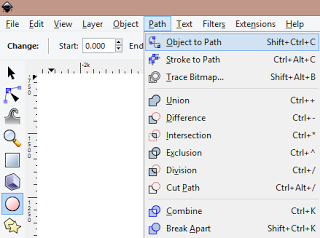
  2.  Change to the arrow tool, click your circle, and select Path->Object to Path. This will ensure that your circle is a path and not just a shape.
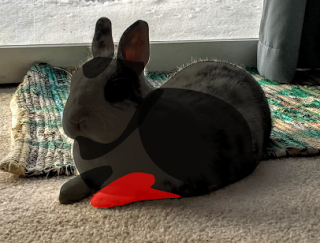
  3. Now, go ahead and copy this circle and paste it several times on your image. I needed about 7 blobs (which started as circles) to cover my image. You may need more or less depending on the size and shape of your image.
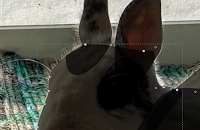
  4. Now for the fun part! Click on the node tool (Arrow 1 in the image below). Then, click on your shape to start conforming it to your image. If you look closely at Arrow 2 in the image below, you will see a node highlighted in red. If you click a node, you can move it around.
  5. Drag the nodes to spots along the edges of your image. Once the node is on the edge of your image, move the little round “whiskers” (I don’t know what these are really called). These bend the edges of your circle and allow you to match the contour of your image. There are also tools for change the node type from a rounded one to a pointy one (right above Arrow 1). Also, keep in mind you can remove nodes by selecting one and hitting delete and you can add nodes by double clicking where you want one.
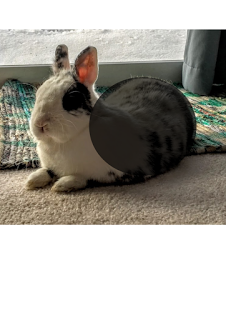
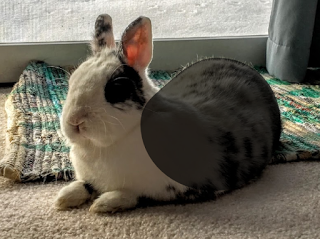
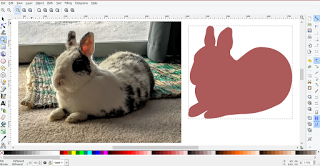
  6. Once you have your image covered in OVERLAPING paths, select all the paths (but not the image itself) and click Path -> UNION. This will combine all of your shapes into one, and if you did a good job matching the contours and filling all the space, you should have the image you wanted! You can see our bunny Geronimo loved being turned into a cutting file.


Here is the resulting file that I created. Feel free to download it and use it for your own creations.


FREE SVG FILE DOWNLOAD


Posted on Leave a comment

How To Make a Giant Curtain Rod For Under $20


Well, I don’t know about you, but I have definitely found that window treatments of all variations seem extremely overpriced! It hardly matters what color and style you pick, it is going to be expensive. Having just moved into a new house, we have lots of windows that need love and attention. I can only go as quickly as our budget allows, so the further I can stretch each dollar, the sooner I will have all the windows covered!

Not wanting to sacrifice on quality, but wanting to have awesome wall to wall, ceiling to floor, room darkening curtains, I set out to find a solution. Here is what our room looked like before. Notice there are cheap blinds, and some variation of curtain do-dad above the windows. These

Now, my curtains themselves I bought on sale online at Kohls with a good sale and a good coupon for sure. For a total of 10 panels (it is a really big room, about 23 feet across I think), the curtains themselves cost around $200. I’m sure there are plenty of other posts and pinterest links around which could tell you how to make the curtains and save money on them as well. However, with limited time and a baby on the way, that project wasn’t going to happen.

I love how my curtains turned out. They also help a lot with regulating the temperature in the room also. We didn’t test it scientifically, but we are pretty sure they saved us money on our heating bill this past winter.

Time for the details. The following are the supplies I used for making and hanging the curtain rod, and approximate prices. I’m sorry I don’t have more pictures of the process, I hadn’t intended to post this and don’t have many.

Supplies:

  • Electrical Conduit – about $2 each
These come in lengths of 10 feet at my hardware store, so I needed 3 of these.
  • Spray Paint – about $5
I used a Rustoleum spray paint that works on metal
  • Epoxy
For gluing the dowel connectors. You don’t need this if your rod is less than 10 feet long.
  • Wooden Dowel(s) – about $1 each
For connecting the conduit from the inside – test at the hardware store to make sure you find ones that fit tightly INSIDE your conduit pieces. I used two that were about 2 feet long each.
  • The Cheapest Curtain rod you can find
I used one I had on hand to steal wall brackets and finials from. I priced these at the hardware store, and it was MUCH cheaper to just buy a complete curtain rod from the clearance section if you can find one.


My plundered finial. Pardon the cobwebs.


Before Painting
You can barely see the connection!


Wall bracket


Once you have the materials, the assembly isn’t too hard. Although, I admit that I had some help. My husband mounted all the wall brackets for me, and my dad finished the project off by connecting the rods with the dowels and spray painting it for me. I finished it off by hanging the curtains and adding the finials.
Compare the Before and After!
  1. Cut the conduit to length. I cut three equal pieces that totaled about a half foot less than the length of my room. By ‘I’, I should say, the nice guy at the hardware store cut them with a hacksaw for me. This left enough room for the finials, but did cut it a bit close.
  2. Connect the conduit with the dowel rods and epoxy. This is mostly trial and error – if the dowel rods fit very tightly, you may not need the epoxy.
  3. Paint the rod (and possibly the finials and brackets if they don’t match).
  4. Mount the wall brackets.
  5. Hang the curtains and arrange as you like.
  6. Add the finials. Mine were a bit smaller than the opening of the conduit, so I added some cardboard and used hot glue to get them on.
  7. ADMIRE!


I confess, although this process doesn’t need to take very long, it took months around here. We had the curtain mounted using pre-made conduit connectors (they connect on the outside and don’t look nearly as nice) and unpainted for a long time. I have the excuse of having been pregnant and fully intend to use it. The curtain was functional, but not pretty. I am so happy it is done now! Enjoy the pictures of before and after. Let me know if you need more details on any of the steps. 


Posted on Leave a comment

How To Make Custom Monogrammed Travertine Coasters with your Silhouette Cameo

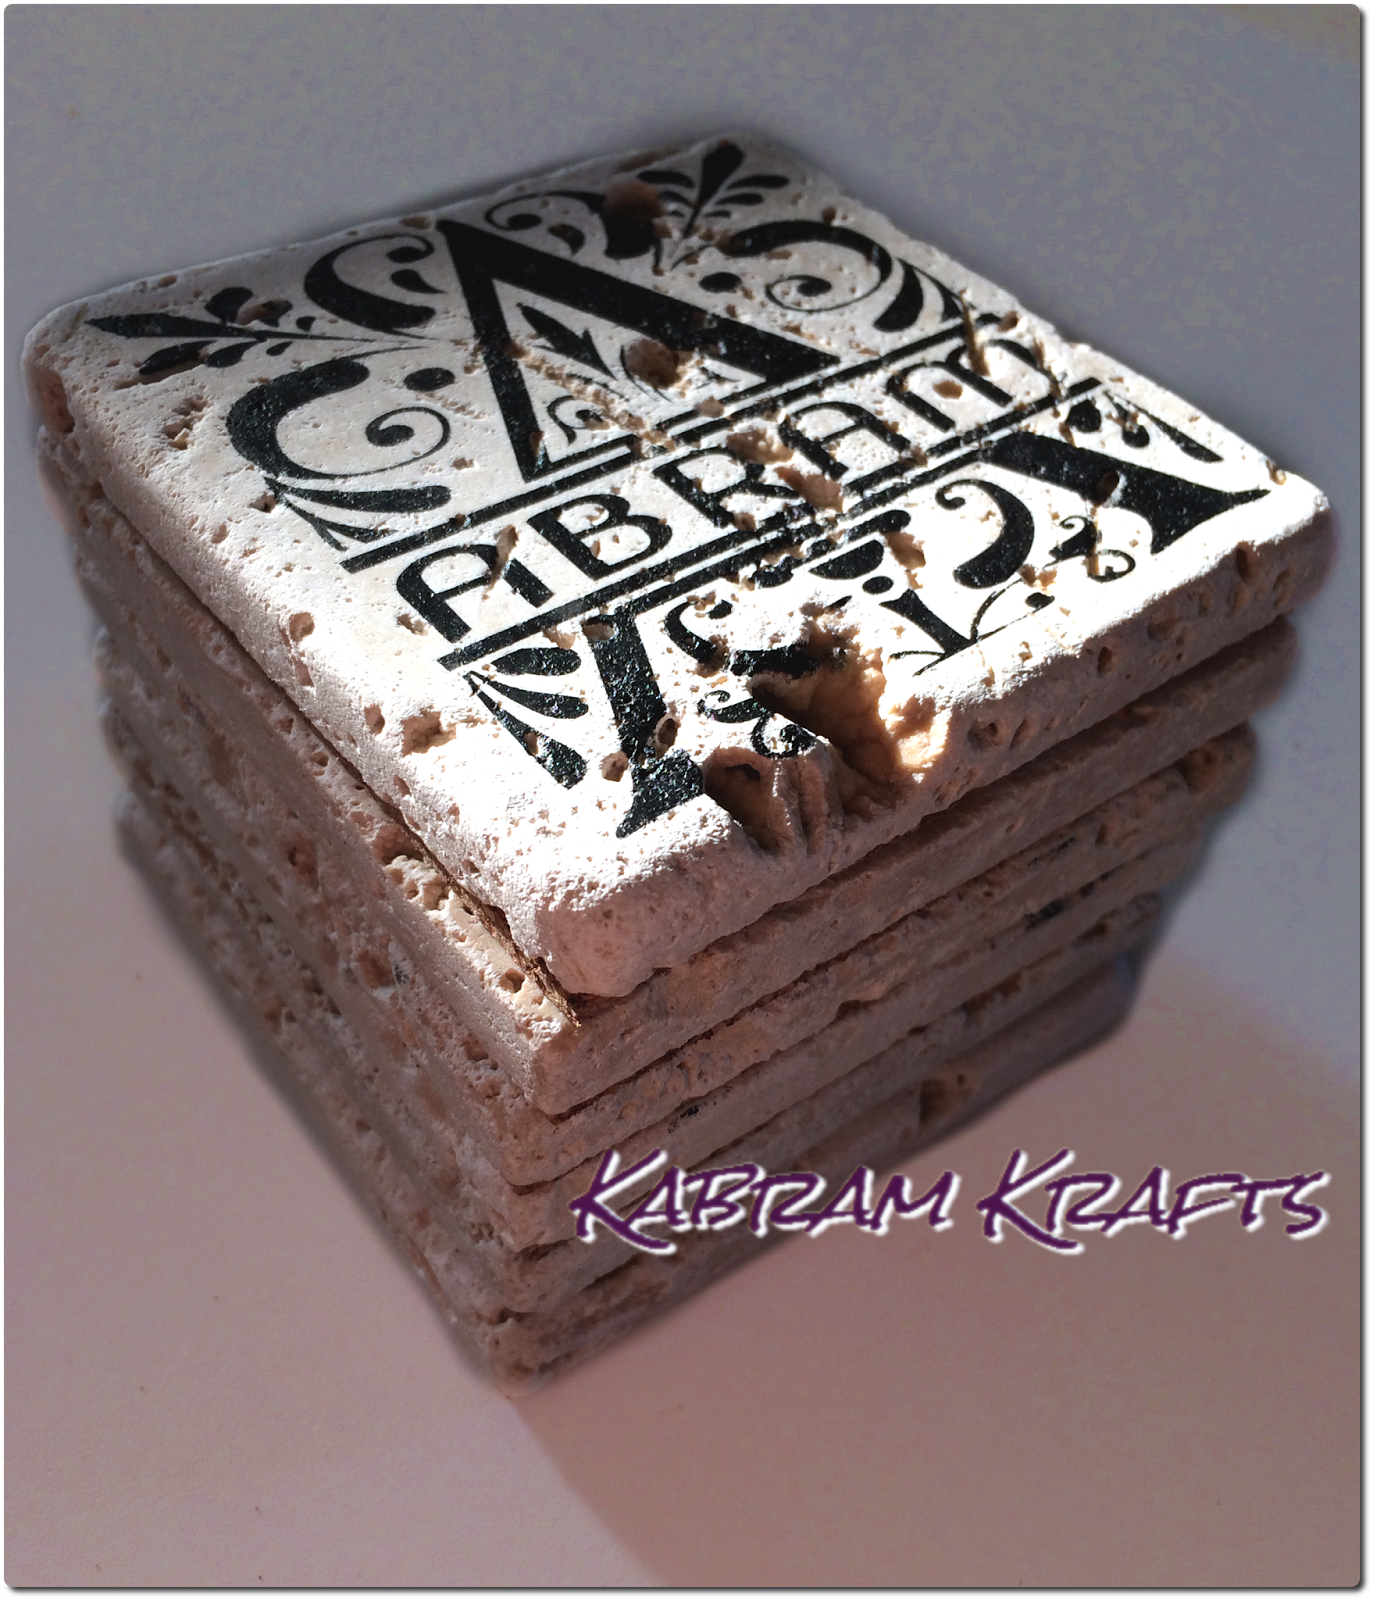
I absolutely love how these turned out! Our set of coasters had been almost completely demolished by our one-year-old and I knew my husband would appreciate some new ones. The natural texture and indentations in the tiles are really highlighted and enhanced by the design. My worry had been that the design would be obscured, but it was not a problem at all.

First things first – you need a design! I had seen lots of monograms on Pinterest, and thought that ours would make for some great coasters. I plan on making a separate post on how I made this monogram using Regal font. Here is how my monogram design turned out:
Once you have your design, size it to fit your coasters. My coasters are 4″ x 4″, so I made my design just under that size and cut a 4″ square around it.
Next, cut out your designs with your Silhouette Cameo (or whatever cutting machine you have), one for each coaster. Weed your designs and adhere your transfer tape. Remember, take away the parts of the vinyl design that you WANT to show up, since this is going to be a stencil.
My tiles were a bit dusty from rubbing together in the package, so I wiped them off with a damp cloth before I applied my vinyl stencils. Once they are clean and dry, apply your stencils to each tile. I made a total of 6 coasters, but forgot to take a picture of this part! If I make some more, I will update this page so you can see how it works.
Finally, the fun part! Once your vinyl is on, it is time to apply the ink. I used a black speedball caligraphy ink and a make-up sponge. The ink permanent and water-proof. I tested it on the back of a tile first, and it looked great! Put a small amount of ink on your make-up sponge and dab it gently over the stencil. Try not to get any on the edges of the coasters past the stencil, and make sure you just apply a little at a time. If you put too much down at once, it may seep under your stencil.
Wait until it is dry (it took only a matter of seconds for mine) and start peeling off that stencil to reveal your design! Your coasters are beautiful now, but not quite done.
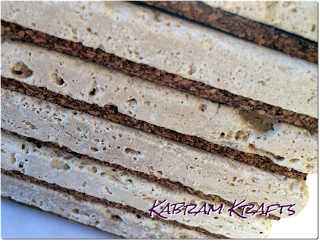
To ensure that they do not scratch your furniture, you will probably want to apply some sort of protective backing. I bought a roll of thin cork material, and some spray adhesive. Cut your cork into squares just smaller than your coasters. Apply adhesive according to your adhesive spray – for mine I applied a medium coat to both the tile and the cork, waited a few seconds, and then held them together.
Below is a side view of my coasters once the cork was applied.
What do you think? I would love to hear your thought, I think they came out well, but love hearing suggestions. Let me know if you have any questions too, I am happy to help.