
Fun With Buttons
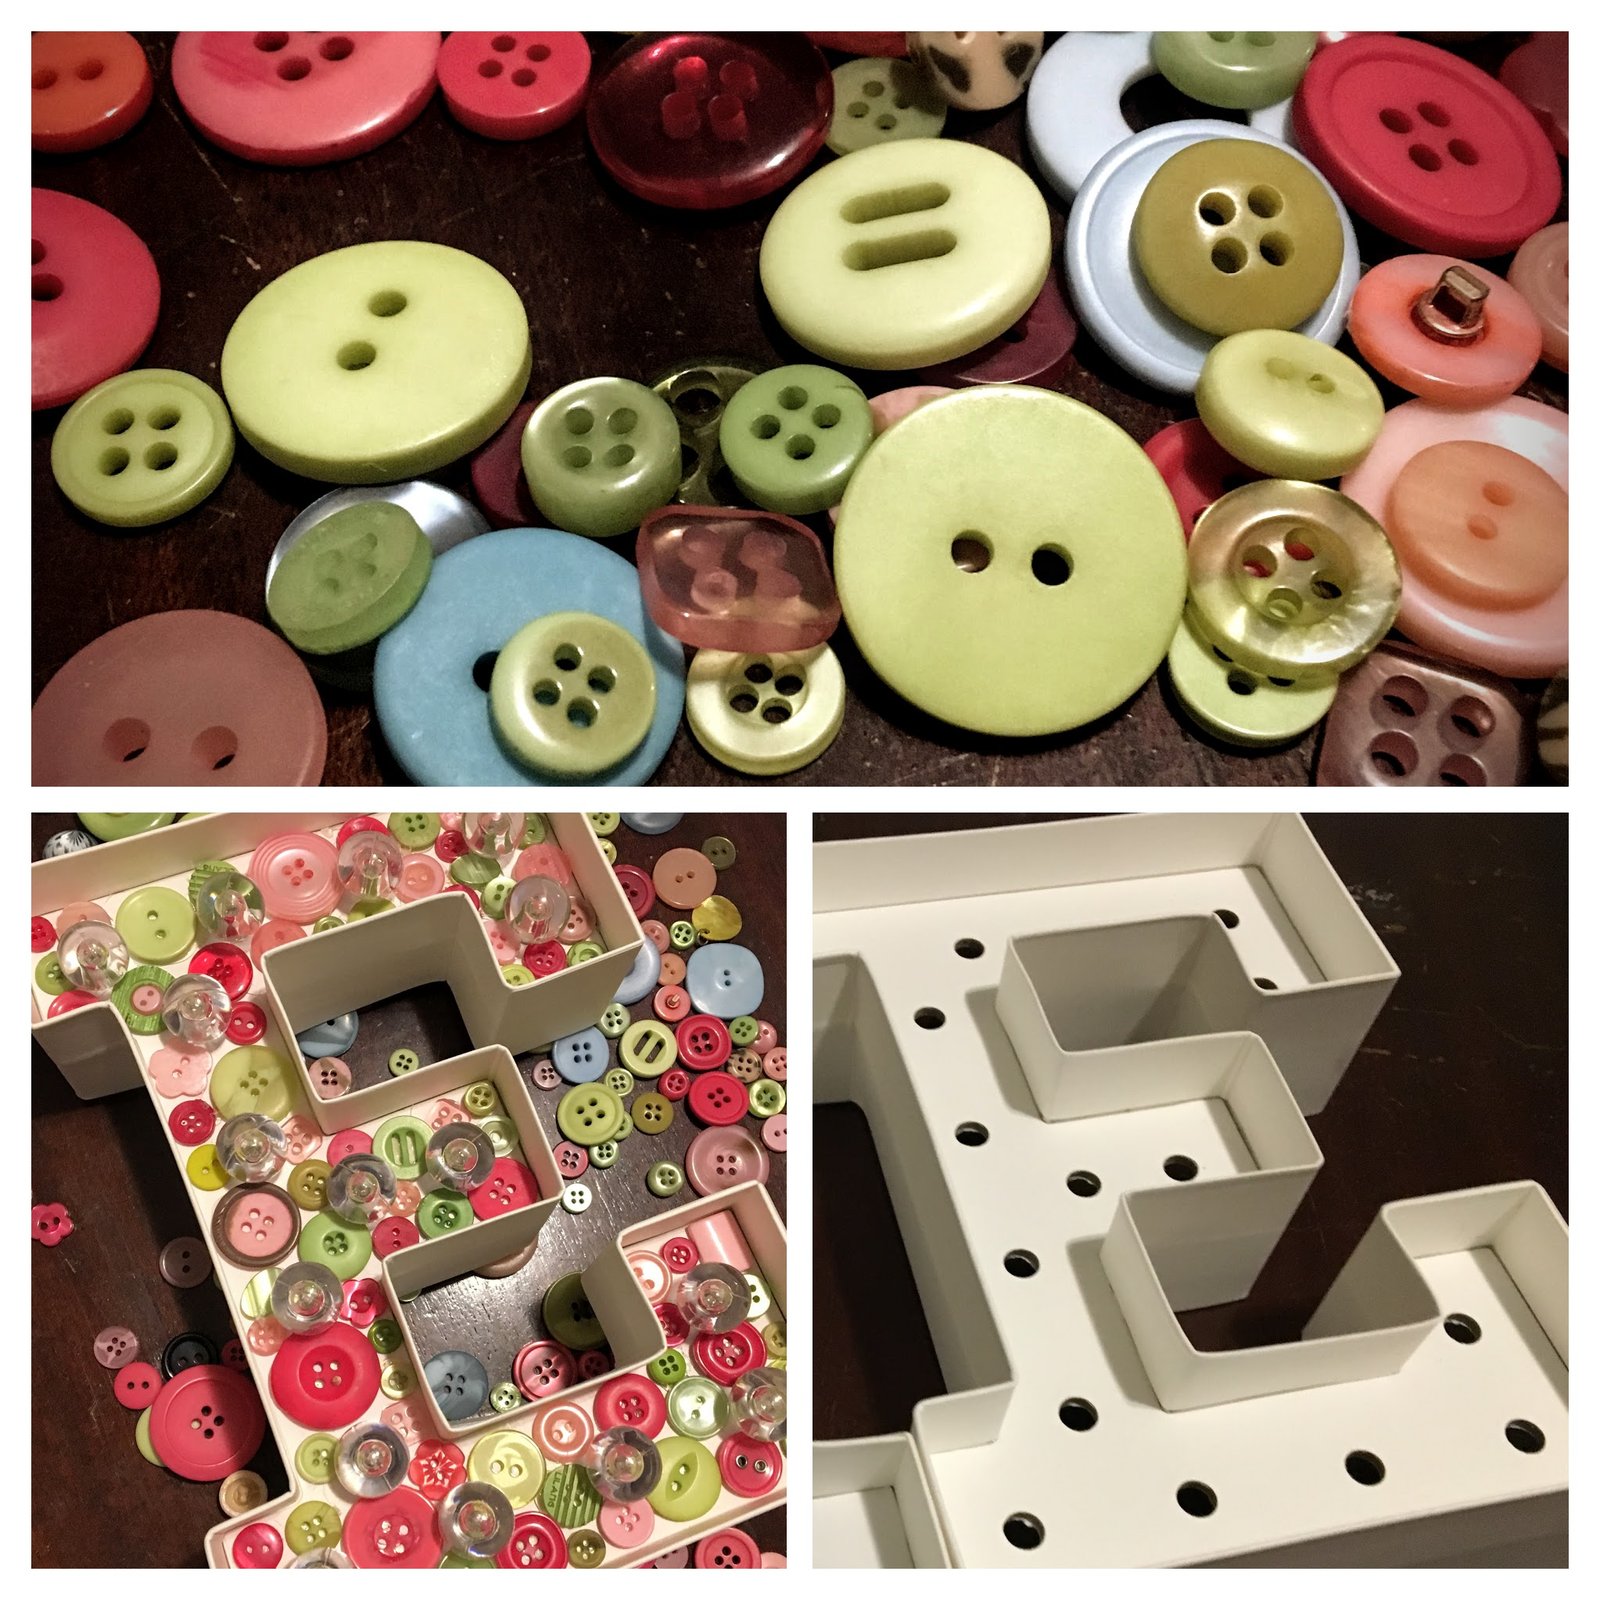
Do you have a lot of buttons? Well, I have at least a modest amount stowed away in a small jar. I feel like it is a collection that will increase over the years. Perhaps someday, I will be a little old lady with a hoard of buttons. At any rate, I was definitely happy to find a bag of pink and green buttons for $0.99 at the thrift store. I love thrift stores. They have loads of potential. At any point, you could round the corner and find the best deal you have ever seen. Granted, it is probably going to be an awesome deal on something you probably don’t need, but it will still be awesome. See how pretty my bargain buttons are?

Wonderfully, the buttons I found on this particular occasion were perfect for my next project because pink and green are the colors of the playroomI have been working so diligently at the past year or so. Buttons, buttons, and more buttons!! Sitting around in my craft room waiting for some love were white letters to decorate for the playroom – I had picked them up at JoAnn Fabric at some point, on a big sale of course.
Consequently, here are the letters I started with, the link will take you to Amazon but know that they do exist at the craft store if you have a coupon burning a hole in your pocket!
Now for the fun part. While I used the lighted cardboard letter shown above, you really could use almost anything. And I mean almost anything. As long as it can take the heat of hot glue, you can probably cover it in buttons.

How to Make Your own Button Creations
 What could you use? Other forms of letters like wood ones, paper ones, plastic, your own cardboard shapes, canvas, paper you will frame, vases, decor items, candles, and the list goes on. Have you decorated anything with buttons?
Materials I used:
- Buttons – I got mine at the thrift store for $0.99, yay!
- Lighted Cardboard Letter, or whatever object you would like to decorate. Mine probably cost around $5 with a coupon or sale. (I used this one: American Crafts Letter Kit, E
)
- Hot Glue Gun (I already had one)
- Scrap paper or covering for your workstation
Time: about 30 minutes for this letter.
Total Cost: About $6 for my materials, but could be more or less depending on what you decorate and what supplies you have on hand.
Tips:
- First of all, layout at least a few buttons ahead of where you are so that you can arrange them how you like.
- I put the glue on the project, not on the button. I don’t know which would be best though. Any hot glue gun experts?
- While my buttons do not overlap because I wanted to ensure that the lights would have enough room, if you don’t have this constraint, you don’t have to stick to one dimension! Overlap those buttons, place some on top or in between to add more dimension.
- Choose your colors wisely. I picked a pink and green theme (to go with an existing room theme). You can use any button if you want an eclectic look, or go with only one or two colors in different shades. While it doesn’t matter what you go with, just put a little thought into it before you start.
- Now you have fun and don’t be shy! Just start gluing. Don’t be afraid, the buttons can’t hurt you. 🙂


")
Do you have any tips for button art? I would love to here them or see any of your projects or creations. Here is some more inspiration from pinterest. I LOVE the button animals!