SVGs Aren’t Just for Vinyl — Let’s Mix It Up!
If you’ve been crafting with SVGs for a while, you probably think of them as designs for vinyl decals or laser cuts — but they’re so much more versatile! As the weather cools and we spend more time inside, it’s the perfect season to experiment with mixed media crafting — blending paper, fabric, paint, and wood with your favorite SVG files.
Today, I’m sharing a few ideas to help you bring your SVG designs to life in new, tactile ways that add warmth and dimension to your projects.
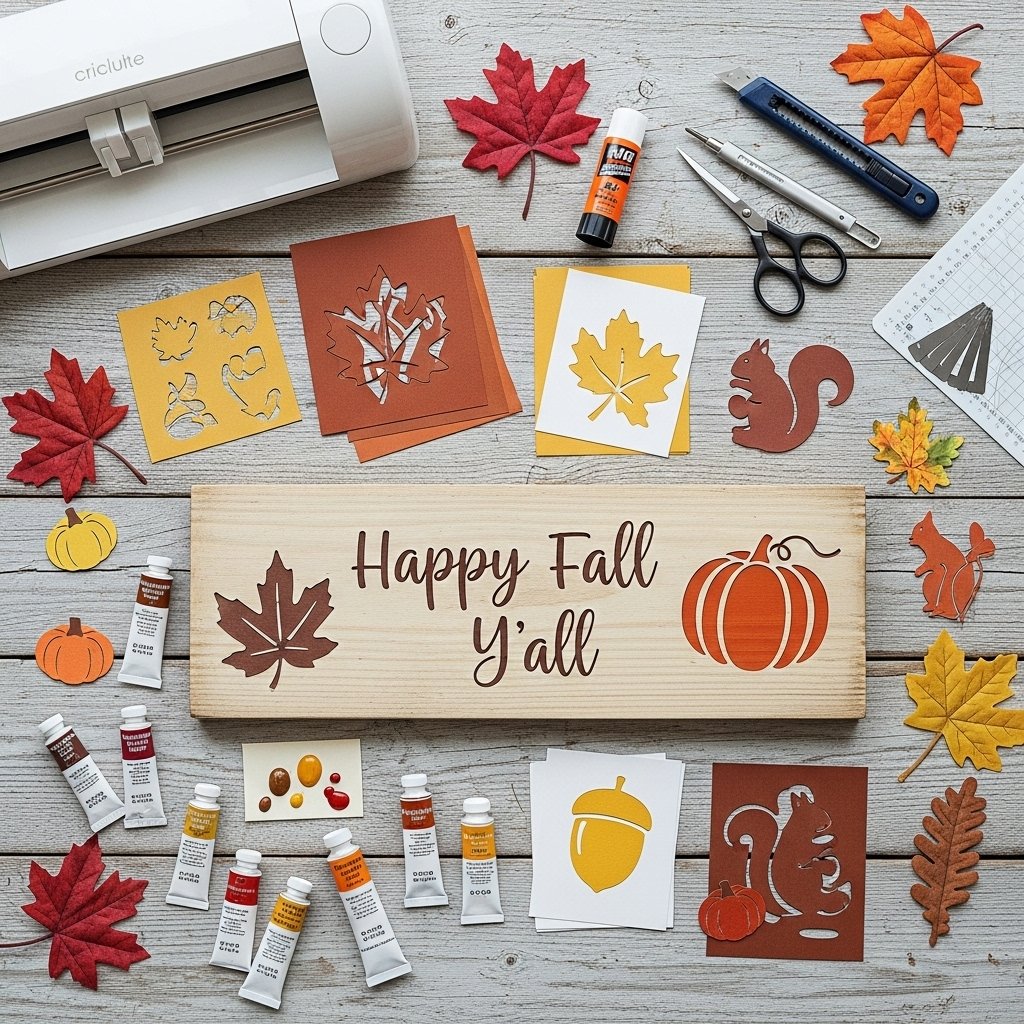
🎨 Project 1: Stone Coasters or Trivets with Laser-Cut or Cricut Stencil Overlay
SVGs make excellent stencils for coasters – stone, wood, etc.
Cut your design from removable vinyl or transparency film to create a crisp stencil overlay. Then paint through it onto your project, let it dry, and peel it back for that professional look.
Try this:
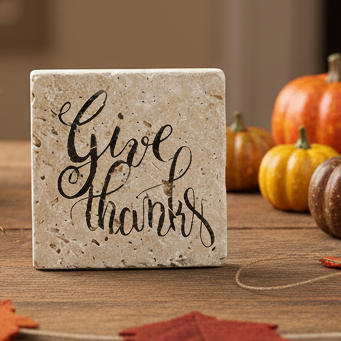
- Use a simple quote SVG (“Give Thanks,” “Bless This Home,” or “Stay Cozy”).
- Cut from stencil vinyl using your Cricut or laser cutter.
- Paint the sign in warm autumn tones — deep orange, mustard, and cream.
- Finish with a light matte sealer for durability.
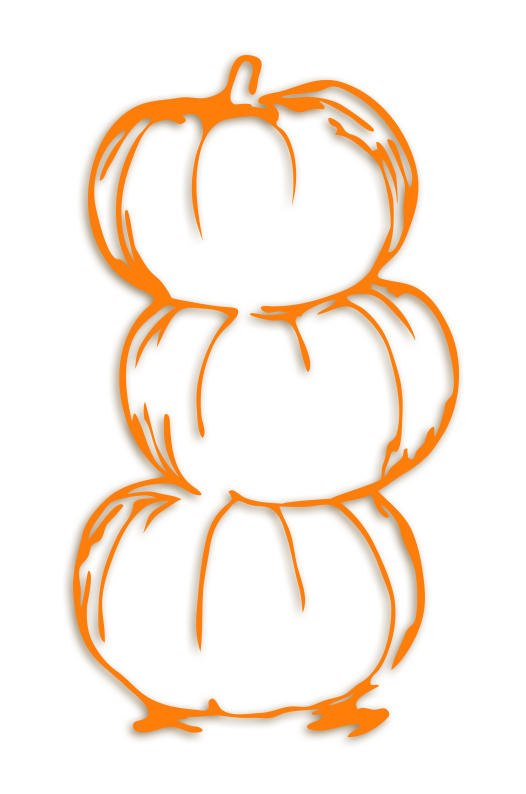
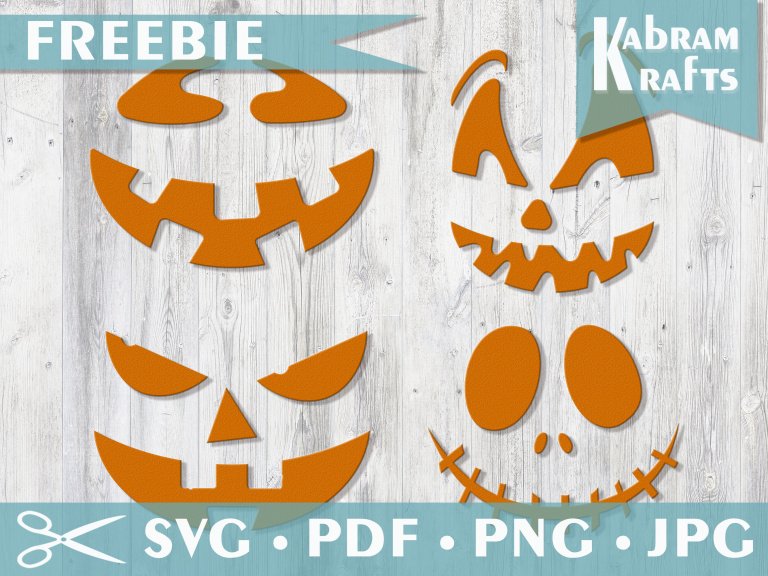
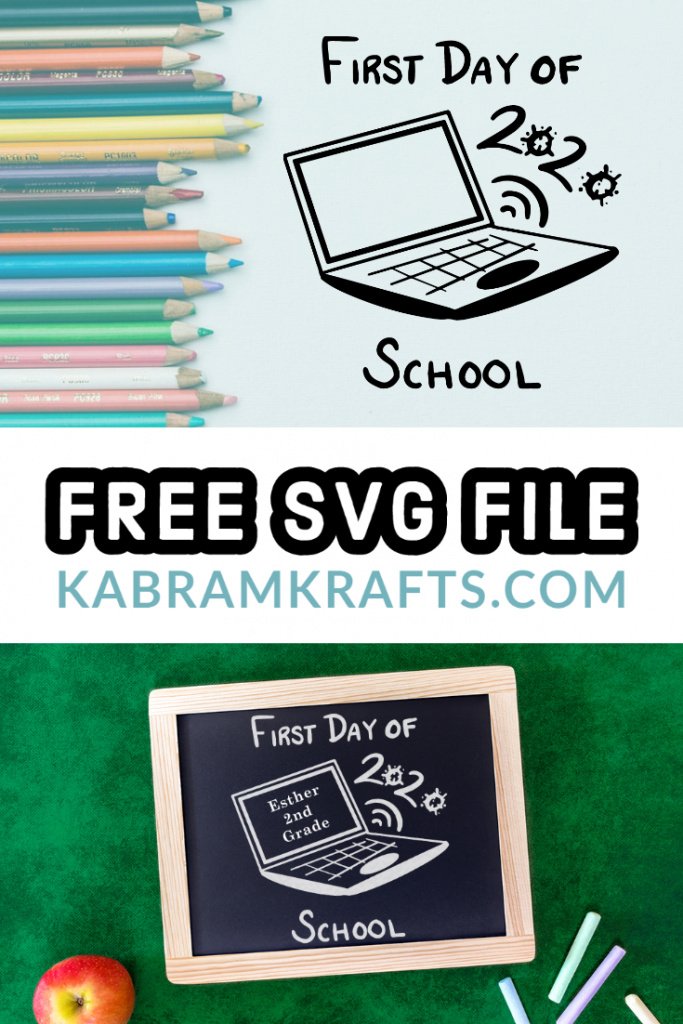
Free File – the “Give Thanks” SVG file is one from my freebie archives. Check it out here!
Tip: If you’re using a laser-cut stencil, tape the edges down well before painting to avoid overspray.Connect
✂️ Project 2: Paper + Fabric Combination Cards
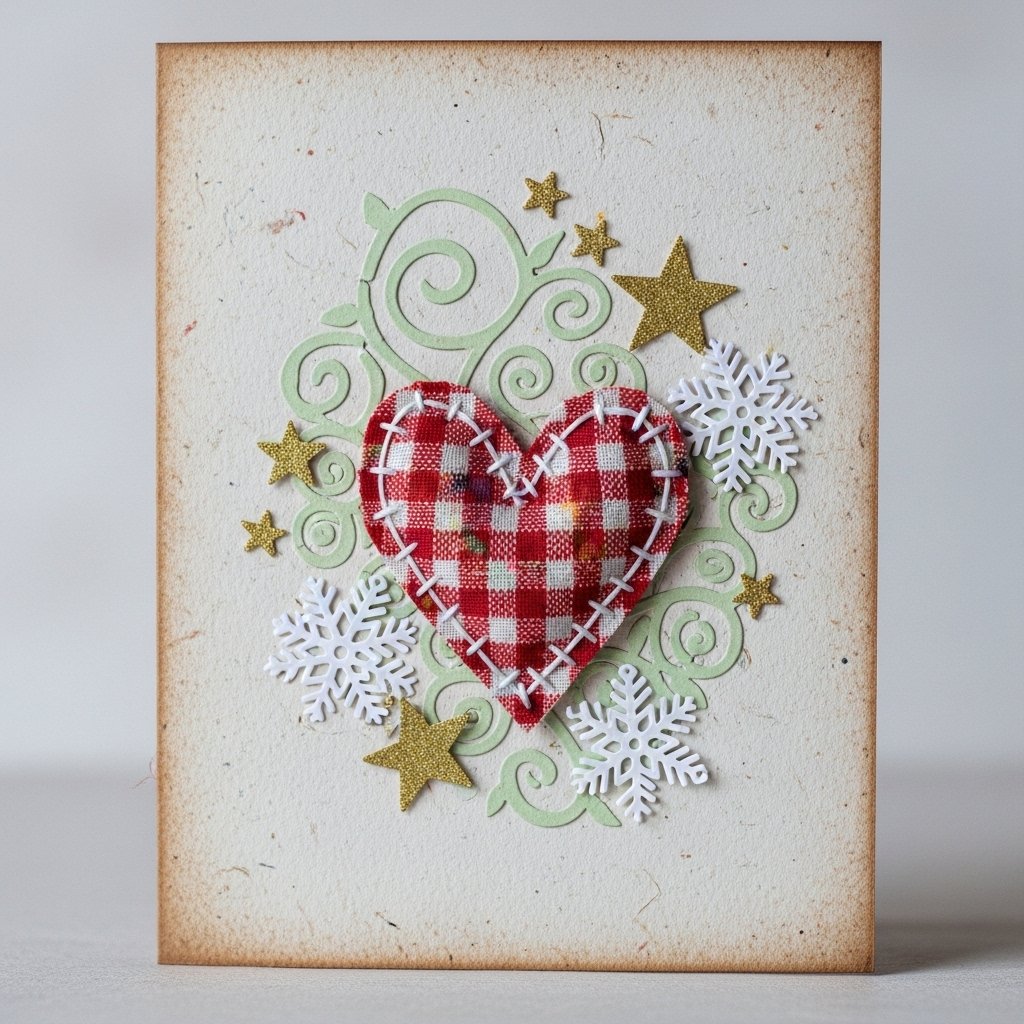
Combine SVG-cut cardstock shapes with fabric scraps or felt pieces for texture and charm.
You can even stitch or glue them onto handmade cards or gift tags for a rustic look.
Try this:
- Cut leaves, pumpkins, or stars from paper and layer over a square of burlap or cotton.
- Add a stitched border with thread or a faux-stitch pen.
- Use heat-bond or craft glue to hold fabric in place.
This project is great for Thanksgiving place cards or early winter gift tags — fast, personal, and perfect for using up your scrap bin!
🖼️ Project 3: Vinyl Accents on Painted Canvases
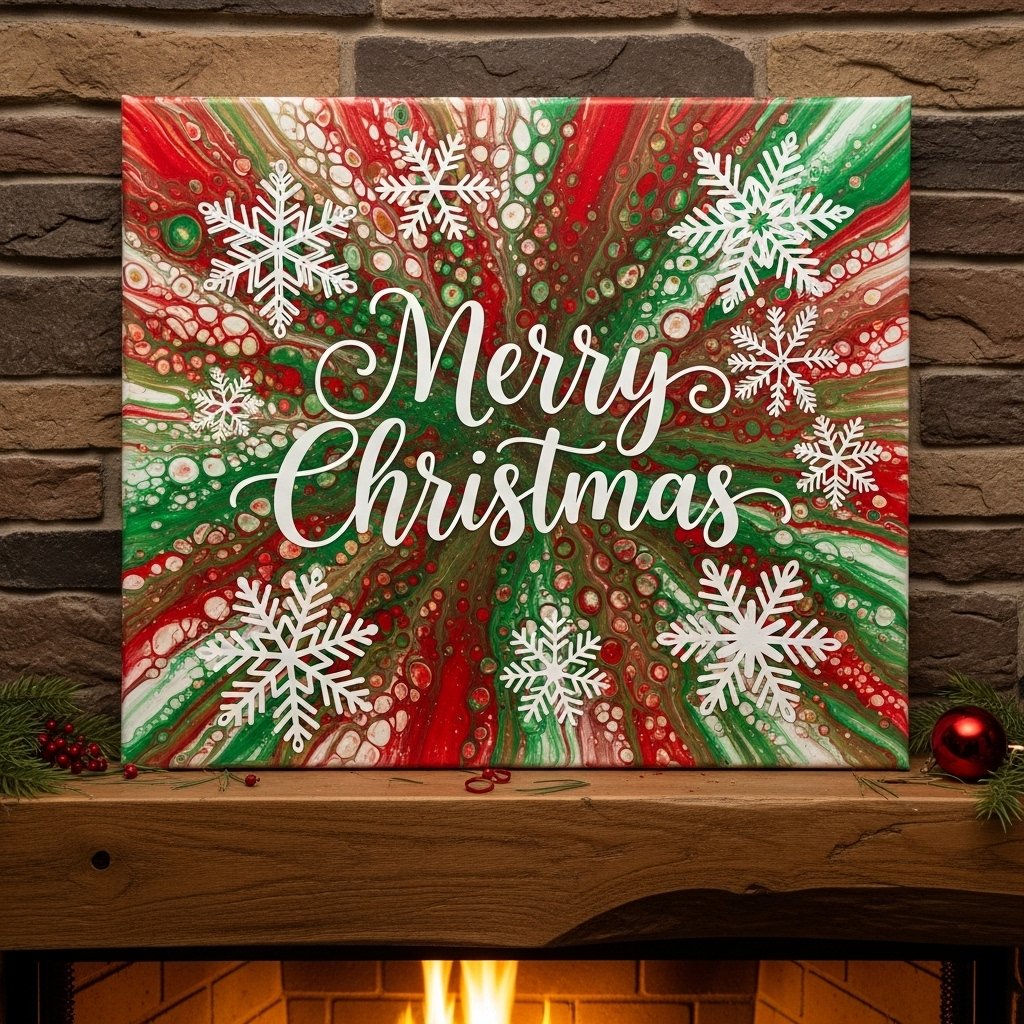
A painted canvas gets an instant upgrade with vinyl embellishments.
Try mixing acrylic paint backgrounds with SVG-cut vinyl words, shapes, or outlines to add contrast and polish.
Try this:
- Paint a simple winter background (snowy scene, ombre blue, or abstract swirls).
- OR – Try acrylic paint pouring for something different and fun!
- Add “Joy,” “Peace,” or “Thankful” in adhesive vinyl.
- Finish with layered snowflakes, stars, or hearts cut from metallic vinyl.
You can even seal it with Mod Podge or clear acrylic spray for a long-lasting, mixed media effect.
🧩 Tips for Mixed Media Success
- Layering: Always plan from base to top — paint → paper → vinyl → embellishments.
- Adhesives:
- Paper & fabric: Glue sticks or double-sided tape.
- Wood & canvas: Mod Podge or spray adhesive.
- Vinyl: Stick-on vinyl or transfer tape.
- Sealing: For pieces combining materials, a matte acrylic sealer or decoupage glue helps protect and blend layers.
📸 Share Your Mixed Media Creations!
I’d love to see how you combine SVGs with other crafting materials!
Share your projects on social media with #KabramKrafts — it helps inspire others and might just get featured in a future roundup.
Mixing SVGs with traditional crafts opens up endless creative possibilities.
Whether you’re layering vinyl on canvas, painting through a stencil, or sewing fabric accents onto cards, the beauty of mixed media is that it’s personal and perfectly imperfect.
Grab your glue, brushes, and cutting machine — and let’s make something amazing!