
We recently moved into a new house, and I am afraid my walls are mostly still blank. I have an area of our main floor that I have been using as a command center to gather odds and ends, pay the bills, stash the printer, etc. Someday, it will get a pretty little white desk, but unfortunately that is not in the budget yet.
What could I do to make the space more usable right now without spending money? It turns out I could do quite a lot. Well, technically, I did spend $1.50 on the frames, and a little bit at some point in time on the spray paint and a few other materials… but the point is, I didn’t go out and buy things I didn’t have already.
I had an old black framed bulletin board lying around, so I decided it needed a spray paint makeover! What doesn’t, right? Well, it turned out that I had paper and paint just the same teal color as a file holder I had on hand, so my colors were chosen.
Now, for the fun part!
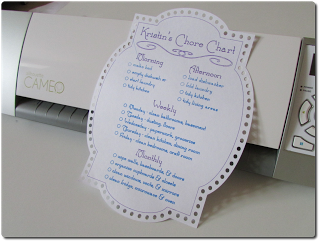
I had already worked on some nice little chore charts with my Silhouette Cameo machine as you can see here if you like. I started by spraying my three thrift store frames white. After tweaking the text on my chore charts, I sketched the text on a plain piece of white cardstock. Then, I cut out the frames with a pattern I made. Basically, the pattern I came up with involved a shape (created from overlapping circles) that repeats across the area I wanted to have for a frame. It doesn’t look like much by itself, but trust me, when it is repeated, it looks awesome! Here is the shape I repeated to form the pattern:
 |
| Free SVG File Download |
Here is the bulletin board I started with (well, almost… I forgot to take a true before picture, before the teal paint and application of the stencil):
 |
| Before the white paint (but after the teal – sorry!) |
STEP 1: Paint the cork board part of the bulletin board the background color of your choice (teal!).
STEP 2: Make a stencil using copies of the shape given above (or another one, of course). Size the template according to the inner cork dimensions of your bulletin board.
STEP 3: Cut out your stencil from contact paper or vinyl (I used clear contact paper). You may need to use multiple strips to get the necessary width.
 |
| The Stencil is On |
STEP 4: Apply your stencil. This is the hardest step. At first I tried to remove all the negative space (the diamond shape pieces) before applying it to the board, but since I was using clear contact paper, this proved very difficult. So, I applied it to the board and it was a lot easier to pick off all the diamonds. Be very careful applying the second strip. You want the stencil to align just right in the center where they come together, so BE CAREFUL! I had to trim a little bit with an exacto knife to make the stencil just right. It didn’t come out as perfect as I would have liked, but the result was still awesome!
STEP 5: Spray paint it white (or whatever color you like better)! Spray it from above just to make sure it doesn’t seep under the edge. Make sure you cover it well, then wait for it to dry.
STEP 6: Peel off the stencil and marvel at your handiwork!
 |
| All Done! |
Doesn’t it look awesome? I framed the chore charts with a cutout frame using the same stencil and color. I hung them below and added a dry erase marker to check off my chores! Let me know if you have any questions. I am smiling at how nice it looks, and at how I conveniently chopped off the part of the picture that shows my messy folding table desk.


