Posted on Leave a comment

Etsy Shop – Now LIVE!

Forgive the exclamations in this post. I have launched my etsy shop – finally – and am SUPER duper dee dooo excited!!

Etsy Shop Now Live

Click Here to see my shop front

For now, I have lots of travertine stone coasters stocked in my new etsy shop. However, I plan to add more items as soon as I can write them up. Please take a look and admire the wondrous beauty that is travertine tile! Lemonade, sadly, not included.

These coasters look nice sitting on the table, on the shelf, or in the kitchen. Simply take a look at my etsy store for all your coaster needs. Plus, they are made from natural travertine tile and will protect your furniture well.

Now go take a look at my new Etsy Shop!

Posted on 2 Comments

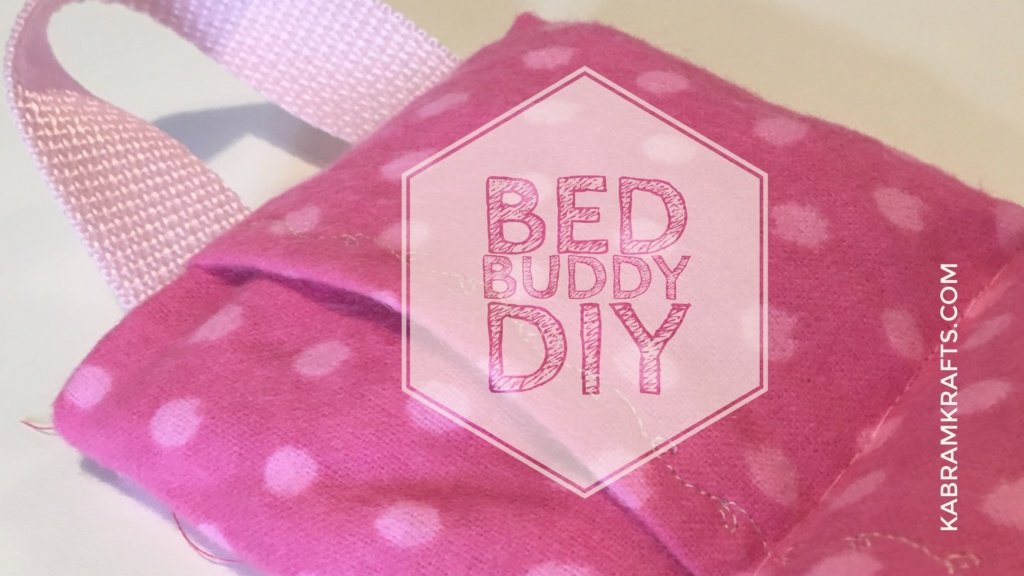
UPDATED: How to Make a DIY Bed Buddy (a cozy microwave heating bag)

Cozy DIY Bed Buddy for my Little Girls

Well, it has been a while since I made my first DIY bed buddy. You can take a look at that first attempt in this post. This time, I had already made a bunch of rectangular bean bags for my little girls. So, I already had the first step done. For the design, I kept it very similar to the one I originally came up with.

DIY BED BUDDY

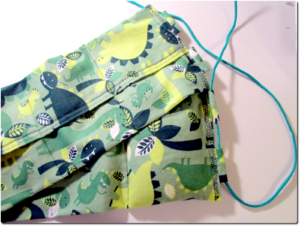
The only major change I made was how I made and attached the handles. Surveying my awesome dinosaur bed buddy, I decided that the handles were both overly complicated and a possible choke hazard! Take a look. See how long the handles are?

Change: New Straps

My mind can see some child deciding that this would make a good necklace and choking themselves. Hence, I keep this one put up and came up with a different method to use for the handles. First, I used a strap instead of a string. Second, I made it much shorter. Third, I didn’t make the extra little “strap holder” parts and sewed the handles directly into the seams.

DIY BED BUDDY
DIY Bed Buddy – First Attempt

My girls love to have things that make them like Mommy or Papa. My daughter has been toting her new mini bed buddy all over and calling it her “buddy bean bag” instead of her bed buddy.

Microwave Your DIY Bed Buddy

Pop it in the microwave for 30 – 60 seconds and you or your children can cuddle up with it. For the large one, I like to microwave it for 2 and half minutes for my husband or a little longer for myself. It feels great on sore shoulders or a pounding head.

New (to me) Adobe Software

As a side note of sorts, I just last month got a subscription to the latest Adobe software. If you look at this tutorial that I made, you will see why I have been having so much fun with it! Mainly, I had wanted to be able to use Adobe Illustrator to work with SVG’s and thought Photoshop would be a nice bonus. However, it includes access to a large number of programs AND a large number of apps. Now, I can’t stop playing with images on my phone.

If you can manage to accumulate a large number of $1 no rush credits on Amazon and also happen to have academic status, you can get a year’s subscription without paying an arm and a leg. I really had no intention of plugging Adobe just now, but I really haven’t been able to stop playing with it since I signed up!

Adobe Creative Cloud Student and Teacher Edition Prepaid Membership 12 Month – Validation Required

And, without further ado, my little tutorial. I am sure I missed a fair number of details, so feel free to ask if there is something not clear.

DIY Bed Buddy Tutorial

DIY Microwave Bed Buddy

Also, I did go into a lot more detail in my original DIY Bed Buddy post if you need a more in depth look at things.

Well, that is certainly all I have for today. Please, share your projects with me if you make a version of this or something similar. I would love to see how your DIY Bed Buddy turns out!

Posted on 5 Comments

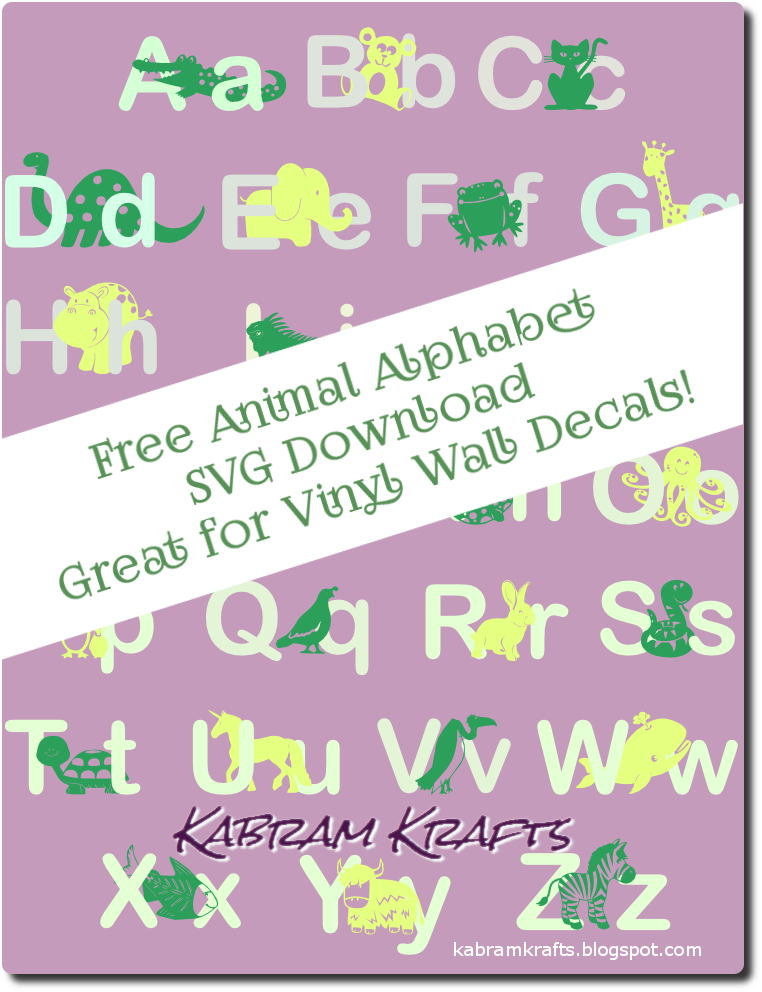
Awesome Animal Alphabet Cutting File Download

Hello Everyone!

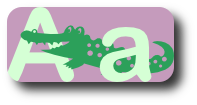
This has been a long time in the making and I am really excited to share it with everyone. It has been a while since my last post with our new baby and a lot of fun summer activities getting in the way. At any rate, I have been plodding away a letter at a time making this file for use in our wonderful playroom (another incomplete project in itself).

FREE SVG FILE DOWNLOAD

My vision is to use these files in different colors of vinyl either in a big row around the room or a cluster. I made a concerted effort to keep each animal one solid piece so that there won’t be any smaller vinyl pieces to mess with. The animals themselves were either made from scratch by me or modified from free clipart I found online. Please let me know if you think I have made an error and modified a file that truly belongs to someone else – I make an effort to keep to freely available clipart for my modifications.

Use this file for personal use only, please. This file is free for now, although it may at some point be listed in my (future) etsy shop. Please download and enjoy!

PS – I will update with pictures of these cut out and placed in our playroom as soon as that event actually happens! – NOW UPDATED WITH PICTURES!!!

Posted on Leave a comment

How To Make Custom Monogrammed Travertine Coasters with your Silhouette Cameo

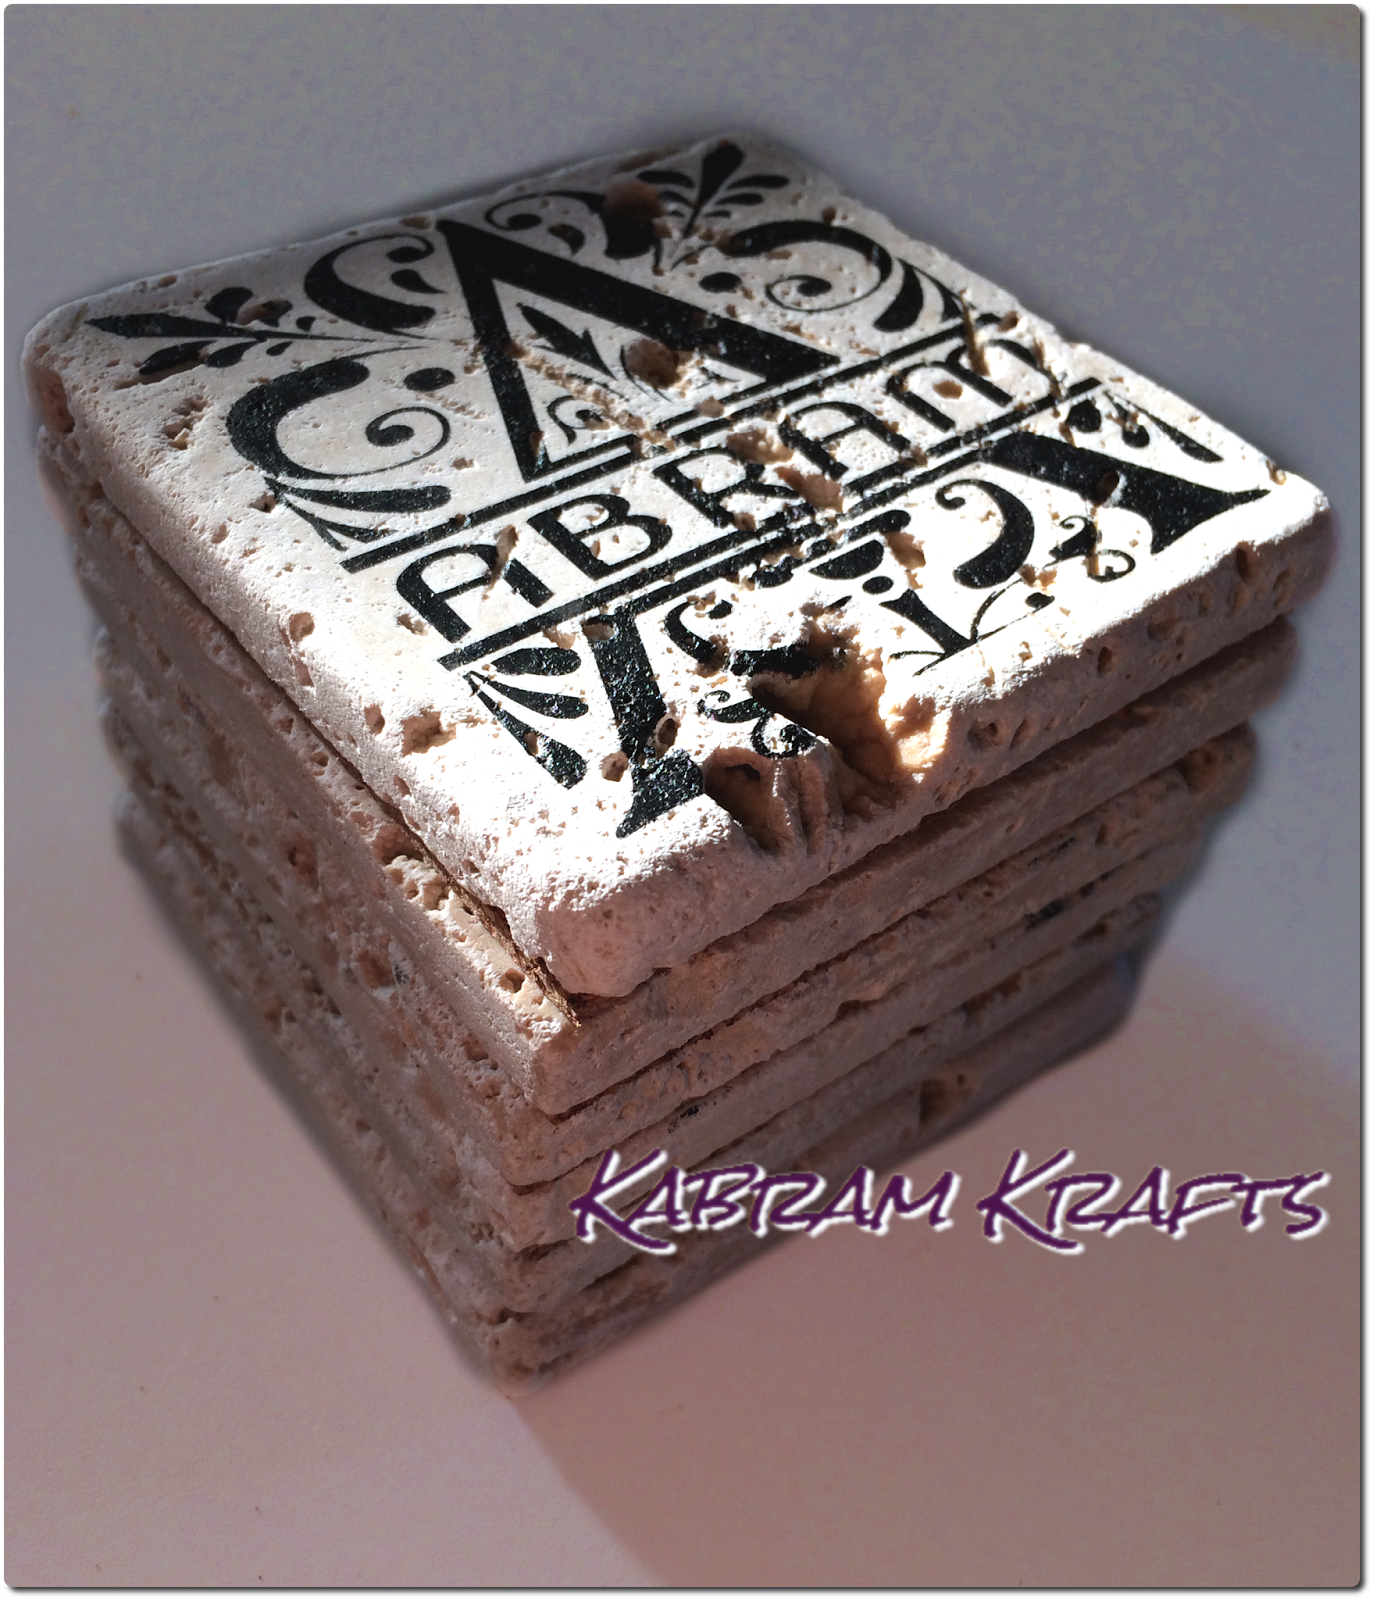
I absolutely love how these turned out! Our set of coasters had been almost completely demolished by our one-year-old and I knew my husband would appreciate some new ones. The natural texture and indentations in the tiles are really highlighted and enhanced by the design. My worry had been that the design would be obscured, but it was not a problem at all.
First things first – you need a design! I had seen lots of monograms on Pinterest, and thought that ours would make for some great coasters. I plan on making a separate post on how I made this monogram using Regal font. Here is how my monogram design turned out:
Once you have your design, size it to fit your coasters. My coasters are 4″ x 4″, so I made my design just under that size and cut a 4″ square around it.
Next, cut out your designs with your Silhouette Cameo (or whatever cutting machine you have), one for each coaster. Weed your designs and adhere your transfer tape. Remember, take away the parts of the vinyl design that you WANT to show up, since this is going to be a stencil.
My tiles were a bit dusty from rubbing together in the package, so I wiped them off with a damp cloth before I applied my vinyl stencils. Once they are clean and dry, apply your stencils to each tile. I made a total of 6 coasters, but forgot to take a picture of this part! If I make some more, I will update this page so you can see how it works.
Finally, the fun part! Once your vinyl is on, it is time to apply the ink. I used a black speedball caligraphy ink and a make-up sponge. The ink permanent and water-proof. I tested it on the back of a tile first, and it looked great! Put a small amount of ink on your make-up sponge and dab it gently over the stencil. Try not to get any on the edges of the coasters past the stencil, and make sure you just apply a little at a time. If you put too much down at once, it may seep under your stencil.
Wait until it is dry (it took only a matter of seconds for mine) and start peeling off that stencil to reveal your design! Your coasters are beautiful now, but not quite done.
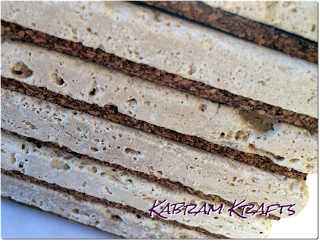
To ensure that they do not scratch your furniture, you will probably want to apply some sort of protective backing. I bought a roll of thin cork material, and some spray adhesive. Cut your cork into squares just smaller than your coasters. Apply adhesive according to your adhesive spray – for mine I applied a medium coat to both the tile and the cork, waited a few seconds, and then held them together.
Below is a side view of my coasters once the cork was applied.
What do you think? I would love to hear your thought, I think they came out well, but love hearing suggestions. Let me know if you have any questions too, I am happy to help.