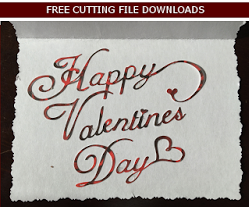
Aren’t Elephants awesome? They are such elegant creatures, but yet so strong and mighty too. I rounded up some free images I found on the web and created some awesome cutting files!
I am envisioning the elephants with the heart as an awesome note card or love note design – stuck in a frame, it could be a very simple cut and go card. I’m not sure what I will use the African Elephant design for, but perhaps it would make a good vinyl application to my daughter’s nursery. Lately I have been envisioning her walls bedecked with multitudes of vinyl animals.
There is also an elephant sketch file that would work well on the front of a baby shower card or perhaps a baby announcement.
Finally, I found the last elephant as a free tattoo design that would look awesome in vinyl, or perhaps cut as a stencil.
If you use these in any of your project, definitely show me! I would love to see how your crafty brains put these to use.
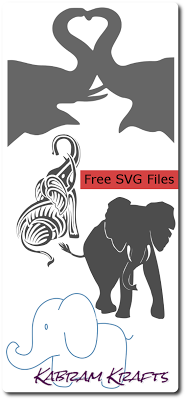