
![]() |
| Before and After |
![]() |
| The Trace Bitmap Function Doesn’t work as well on images with busy backgrounds! |
![]() |
| Covered in Paths |
Here is the resulting file that I created. Feel free to download it and use it for your own creations.
![]() |
| FREE SVG FILE DOWNLOAD |

![]() |
| Before and After |
![]() |
| The Trace Bitmap Function Doesn’t work as well on images with busy backgrounds! |
![]() |
| Covered in Paths |
Here is the resulting file that I created. Feel free to download it and use it for your own creations.
![]() |
| FREE SVG FILE DOWNLOAD |
Spring is approaching and I am thrilled. The sound of the birds chirping, and even the geese coming to nest by our pond is making me anxious for spring, gardening, and playing outside. Sadly, I know that I can’t count winter out yet.
Through the winter I have been slowly plodding away at making our basement playroom a colorful retreat. I think it is turning out lovely. While I still have a number of projects to fully complete the room, it is already a room we love playing in.
Functionally, the storage bins are fantastic. They hold TONS more than I imagined and it is great to have an easy cleanup routine. Our girls also love having a table and chairs near their play kitchen. They set up their animals to eat little meals. Also, don’t forget to add adult seating! The bench was a great addition to the room, and I love the green chevron pattern.
Painting some of our existing furniture with the leftover room paint has also been great. I painted the top of our train table to get rid of the harsh green in the room. I also painted a little wooden bench that I found at the thrift store. One last painting project is not yet complete – a kids desk that will be stocked with supplies and markers on the wall above.
We have waaaaay too many stuffed animals, but my husband and daughters are very attached to them, so I put up a hanging storage from IKEA for them. Note that I had to hang it from a diagonal bar as I wanted to ensure that I hit a stud when I installed it, and of course there was not one anywhere nearby! It is very secure now though, so if any young child should decide to play Tarzan, at worst it will break the mesh and bring stuffed animals crashing down around them.
![]() |
The alphabet border is one that I compiled myself and cut out with my Silhouette machine in vinyl.
I really like how it turned out, though it took me a while to get it up on the wall in an orderly fashion.
Have a great day and enjoy the warmer weather while it lasts!

Valentine’s Day is almost here. I love to celebrate holidays and occasions, but honestly, I haven’t had much energy for preparing such things as of late. Still, I wanted to at least make a nice card for my husband with my Silhouette Cameo cutting machine. After all, I love designing files for it, so perhaps I should use them once in a while.
This card uses a couple of Valentine’s Day SVG cutting files I posted previously:
Happy Valentine’s Day Sentiment
My card is fairly basic. I used a piece of white cardstock for the base and then added the heart overlay on the front, and the sentiment inside. I used a thin paper with red roses printed on it. There are, I’m sure, many of you ladies who would be able to make a much much more elegant card from these files, but this is what I was able to do while my two baby girls were running around!
Give it a whirl, it doesn’t take too long. Be sure to write a loving note and seal it with a kiss. Ha! I didn’t even put mine in an envelope. My husband probably won’t even notice anyhow. Hope you have a wonderful Valentine’s Day.
I love to see your creations – feel free to leave a photo or link so I can take a look at what you come up with too!

Valentine’s Day is fast approaching. It has been such a mild winter here in Michigan it is hard to believe it is already February. We did have a good snow last night though to remind us that winter is not over yet!
I found a nice striped heart image online that inspired this cutting file. If I get around to making any cards this year I will post a picture of what it looks like cut out and adhered to a card!
UPDATE: I did get around to using this for a card. It looked very nice cut out on a rose printed background. Check it out here.
As always, please feel free to use this file for personal use only. I always love to see what you create with it!
![]() |
| FREE SVG File Download |
Also check out my other Valentine’s Day cutting files:

A lot of my time lately has been absorbed in planning and executing a playroom design in one of our basement bedrooms. It is a small room, though not too tiny, and had really REALLY ugly purple trim when we moved in. Well, okay, so the purple itself wasn’t such a bad color, but it was a really bad color for trim!
The first chore was cleaning and painting the room, including the trim. My theme colors for the room were in part chosen by the three clearance paint cans I found at Target in green, pink, and yellow. I ran with it and now everything in the room needs to be one of these three colors (or white).
![]() |
| During Painting |
Also, the outlets were a dark dark brown color and really clashed with the room, so of course I wanted those to be white too! Unfortunately, we couldn’t get the power back after the switch and had to have an electrician come out and help us, but now it is beautiful. This held me back for longer than I care to admit. I should have called the electrician in much sooner, but I kept thinking I would be able to solve it on my own. On the positive side of things, I did learn quite a bit about wiring in my attempts.
![]() |
| Paint Almost Complete! |
I was also very glad to pull down the blue sheers and old purple cork board. The combination of new white trim and removing the old dusty curtains really lightened the room up! Sorry I took the picture at night – not much natural light coming in.
When the paint was dry, I really got moving. I was so excited to have the room in a usable state again after the electricity fiasco! Along the back wall I used the Kallax shelving from IKEA to create a lot of storage and a bench for adults to sit on. It is very handy to have somewhere to sit when your kids are playing, so don’t forget about yourself in the plans.
![]() |
| At last! It is coming together as I envisioned. |
I splurged a bit on the bench fabric from JoAnn’s and used some foam I had left over from another project to upholster the top. I think it came out really nice and it was my first upholstery project. I will post more details in later posts for a lot of these projects. One project that is nearing completion is the vinyl animal alphabet I plan to add to the green wall on the right. I have it all cut out and ready to put up. I already posted the file HERE, but it will be much more fun to see an example of it all cut out.
![]() |
| Getting in on the Playtime |
Labeling the bins with pictures is still on my to do list, but I really like how the “PLAY” and elephants from Hobby Lobby livened the room up.
![]() |
| Closet lights and Mirrors |
Our girls did not hesitate to start using the space. The kitchen and kids table worked out really well with the color scheme too. In the closet, I made use of some super nifty wavy mirrors (from IKEA again) and lit the space up with some neat string lights. I was really quite excited to learn that they make light socket adapters with two outlets in them. This turned out to be the perfect place to plug in my string lights AND have them be on a switch to boot. I also have a curtain across the door (not in the picture) that I plan on lengthening. The closed still has some additions in the planning stage. These include IKEA spice rack book shelves and foam pillow rolls for the floor to make it a really cozy reading nook.
More pictures and project details to come! Let me know if you need details on anything.

Snow is coming, I can feel it! In my hometown in Colorado there was a snow day today, but we have been seeing quite the balmy weather here in Michigan. It has been in the 50’s in December! Awesome! Although, I do like a white Christmas, so I am torn.
![]() |
| Etched Snowman Mugs |
At any rate, this latest file is the product of a friend’s etched glass project. She wanted a set of etched glass mugs for a gift she was making and we thought this little snowman was just right for the job. I think her mugs came out very cute! And, as I hate wasting such nice little cuts, I stuck the leftover stencil insides on the window for a little seasonal cheer.
If you are curious about the etching, it is really fairly simple. You cut out a stencil on vinyl (or contact paper if you want to cheap out – it seems to work just fine for this). Apply your stencil to your glass object – in this case it was a rectangle with a snowman cut out of it. Leave the part you want etched blank, the stencil should cover what you DON’T want etched.
Apply a nice little layer of etching cream with a foam brush. Let it sit according to the directions on the bottle. Wipe off the excess (or put it back into your bottle), and rinse. Be careful not to wipe the cream onto other parts of the glass or wash it off where it hits the glass outside the stencil if at all possible. Remove your stencil and admire!
Hope you like him and Merry Christmas!
![]() |
| SVG Download |

Happy October!
Hope everyone is enjoying the cooler weather and getting in some quality outdoor time before the weather turns colder. I have been having fun drawing new designs.
This is a design I drew by hand and then edited in inkscape. Part of its charm is that it is not perfectly symmetric. I envision it on a card or a wall, or perhaps on a background. Let me know what you make with it, I love seeing other people’s projects!
As always, these are free for personal use only. Thanks!
![]() |
| FREE SVG DOWNLOAD |
Have a wonderful day and thanks for stopping by!

I have been working on creating some new cut files lately. I start by doodling around and then work to clean up the images in Inkscape. Anyone have any suggestions for other files I might work on? Also, I am thinking of putting up a tutorial for creating cut files from your own doodles – hopefully coming soon!
![]() |
| FREE SVG Download |

Hello Everyone!
This has been a long time in the making and I am really excited to share it with everyone. It has been a while since my last post with our new baby and a lot of fun summer activities getting in the way. At any rate, I have been plodding away a letter at a time making this file for use in our wonderful playroom (another incomplete project in itself).
![]() |
| FREE SVG FILE DOWNLOAD |
My vision is to use these files in different colors of vinyl either in a big row around the room or a cluster. I made a concerted effort to keep each animal one solid piece so that there won’t be any smaller vinyl pieces to mess with. The animals themselves were either made from scratch by me or modified from free clipart I found online. Please let me know if you think I have made an error and modified a file that truly belongs to someone else – I make an effort to keep to freely available clipart for my modifications.
Use this file for personal use only, please. This file is free for now, although it may at some point be listed in my (future) etsy shop. Please download and enjoy!
PS – I will update with pictures of these cut out and placed in our playroom as soon as that event actually happens! – NOW UPDATED WITH PICTURES!!!

Well, I don’t know about you, but I have definitely found that window treatments of all variations seem extremely overpriced! It hardly matters what color and style you pick, it is going to be expensive. Having just moved into a new house, we have lots of windows that need love and attention. I can only go as quickly as our budget allows, so the further I can stretch each dollar, the sooner I will have all the windows covered!
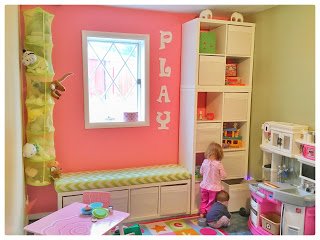
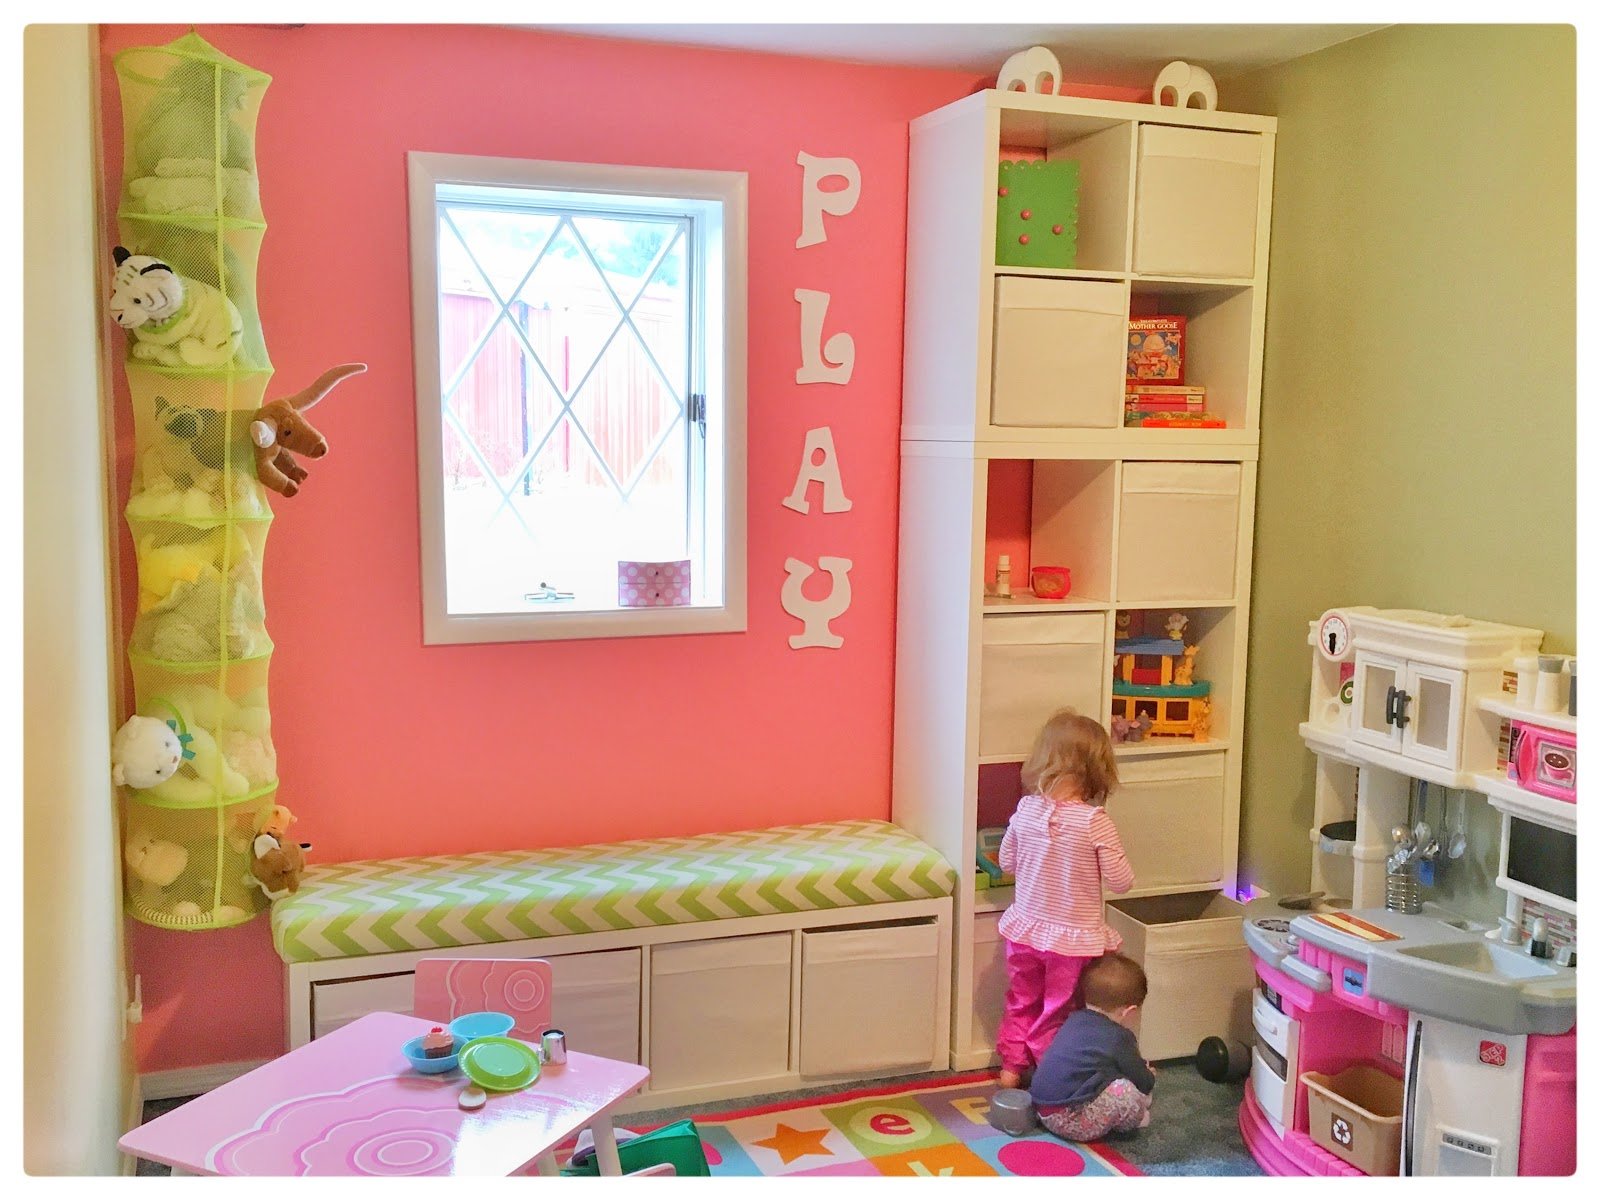
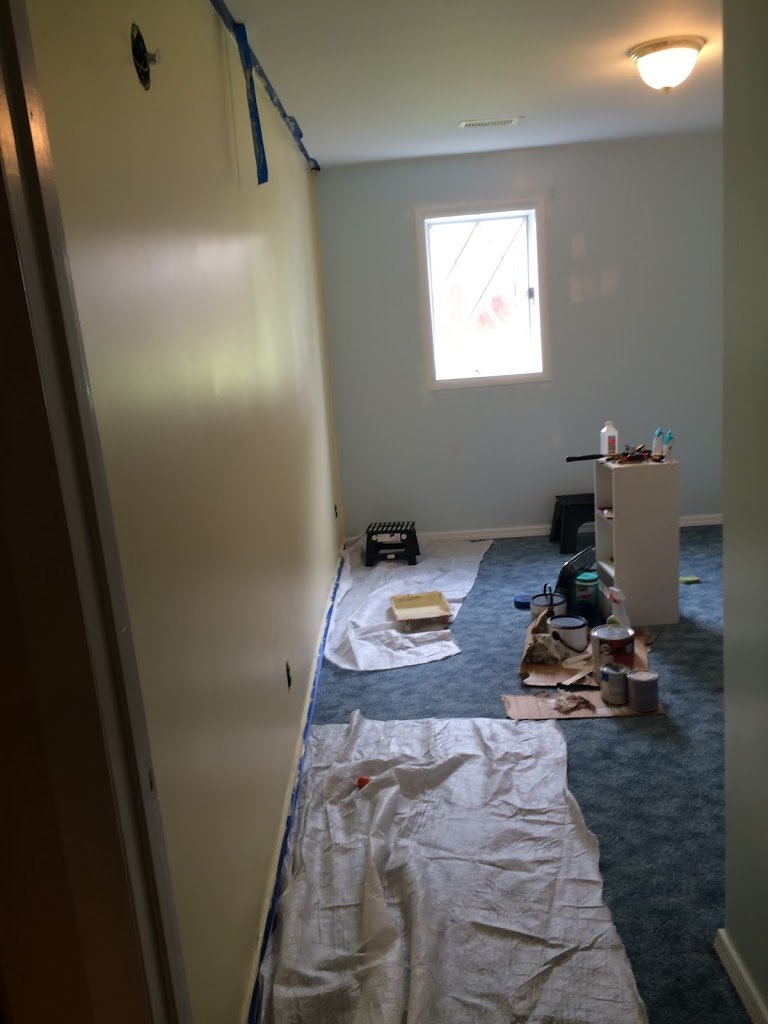
Not wanting to sacrifice on quality, but wanting to have awesome wall to wall, ceiling to floor, room darkening curtains, I set out to find a solution. Here is what our room looked like before. Notice there are cheap blinds, and some variation of curtain do-dad above the windows. These
Now, my curtains themselves I bought on sale online at Kohls with a good sale and a good coupon for sure. For a total of 10 panels (it is a really big room, about 23 feet across I think), the curtains themselves cost around $200. I’m sure there are plenty of other posts and pinterest links around which could tell you how to make the curtains and save money on them as well. However, with limited time and a baby on the way, that project wasn’t going to happen.
I love how my curtains turned out. They also help a lot with regulating the temperature in the room also. We didn’t test it scientifically, but we are pretty sure they saved us money on our heating bill this past winter.
Time for the details. The following are the supplies I used for making and hanging the curtain rod, and approximate prices. I’m sorry I don’t have more pictures of the process, I hadn’t intended to post this and don’t have many.
Supplies:
![]() |
| My plundered finial. Pardon the cobwebs. |
![]() |
| Before Painting |
![]() |
| You can barely see the connection! |
![]() |
| Wall bracket |