
Hello Kitty.
Initially, I was very negative about Hello Kitty. I’m not sure why, but I think it has to do with my knee-jerk negative reaction toward anything popular. However, I have come to terms with the fact that my 1 and 3-year-old little girls are all about Hello Kitty. They love it. My one-year-old will say “kitty cat” repeatedly whenever she glimpses something with the Hello Kitty brand on it. Yep, branded characters work.
Well, enough of that. My girls love Hello Kitty, so we made a Hello Kitty dress together. I happened upon a very nice 4T dress at the thrift store. I love thrift stores. It is 100% cotton, long sleeved for winter, pink, and only $2. Oh, and it has pockets. Dresses with pockets are the best thing ever. It was a great deal, and it made the perfect base for this project. Since I knew the item didn’t cost me much, it allowed me to go forward without fear of ruining something valuable.
If you have a cutting machine like the Silhouette Cameo and you don’t have freezer paper, you are missing out on some great projects. I don’t have the latest version of the machine, but it is still going strong. You can buy freezer paper in most grocery stores. It should be near the other rolls of waxed paper, parchment paper, etc. It has a paper side, and a glossy plastic coated side. The reason it is so neat for crafting is that the plastic melts slightly when heated and makes a temporary bond with fabric. That is to say, you can use your iron to make your stencils stay put! If you can’t find it at your grocery store or prefer to buy online, Amazon sells it here.

Next, I searched for an appropriately simple little image for the dress. This is the one I found.

Click image for Free SVG File Download
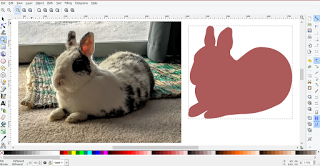
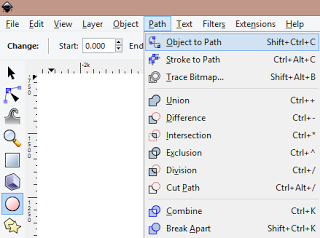
Once you find the image you want to use, open it up in Silhouette Studio or in Inkscape. I actually did this in both programs, because even with the Designer Edition of Silhouette Studio, it won’t let me export SVG files. Boo! But it does let you open them…
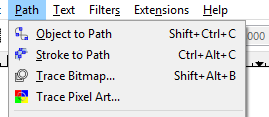
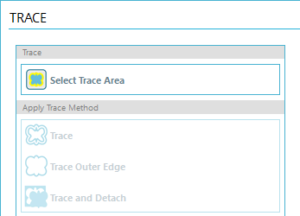
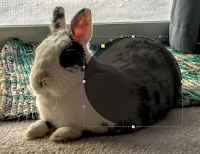
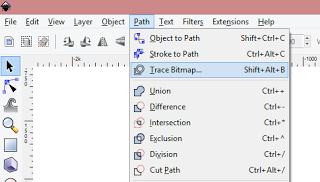
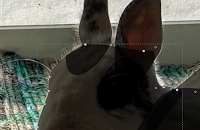
Anyhow, once you open the image, you need to trace it. Here are the two variations I use most often. There are tutorials on both of these if you search the web, but feel free to ask in the comments if you need help with this.
Once your image is traced, you should have a cutting file like the one above. It looks the same as the image, but it is made of lines that scale and is a file your machine can cut out.


And finally, how to actually use your stencil and create your image! These are roughly the steps I took.
- Prepare your image for cutting (described above).
- Cut a piece of freezer paper down to the size of your cutting mat. I placed mine with the coated side upward. If your mat is especially sticky, you may want to place it the opposite way. The important thing here is that your design will be right side up when the coated side of the paper is placed on the fabric. If your image has text (like mine) this is especially important. Hopefully you will not have to cut yours out twice like I did to get it right!
- Cut out your design and carefully remove it from the mat.
- Place the pieces of the design that you DON’T want painted onto your fabric. They will keep the paint off these spots and help form the design. Iron them in place with a medium hot iron, it only took a few seconds for me. Also, it may help to do one piece at a time. If you have text, don’t forget the insides of letters like ‘o’.
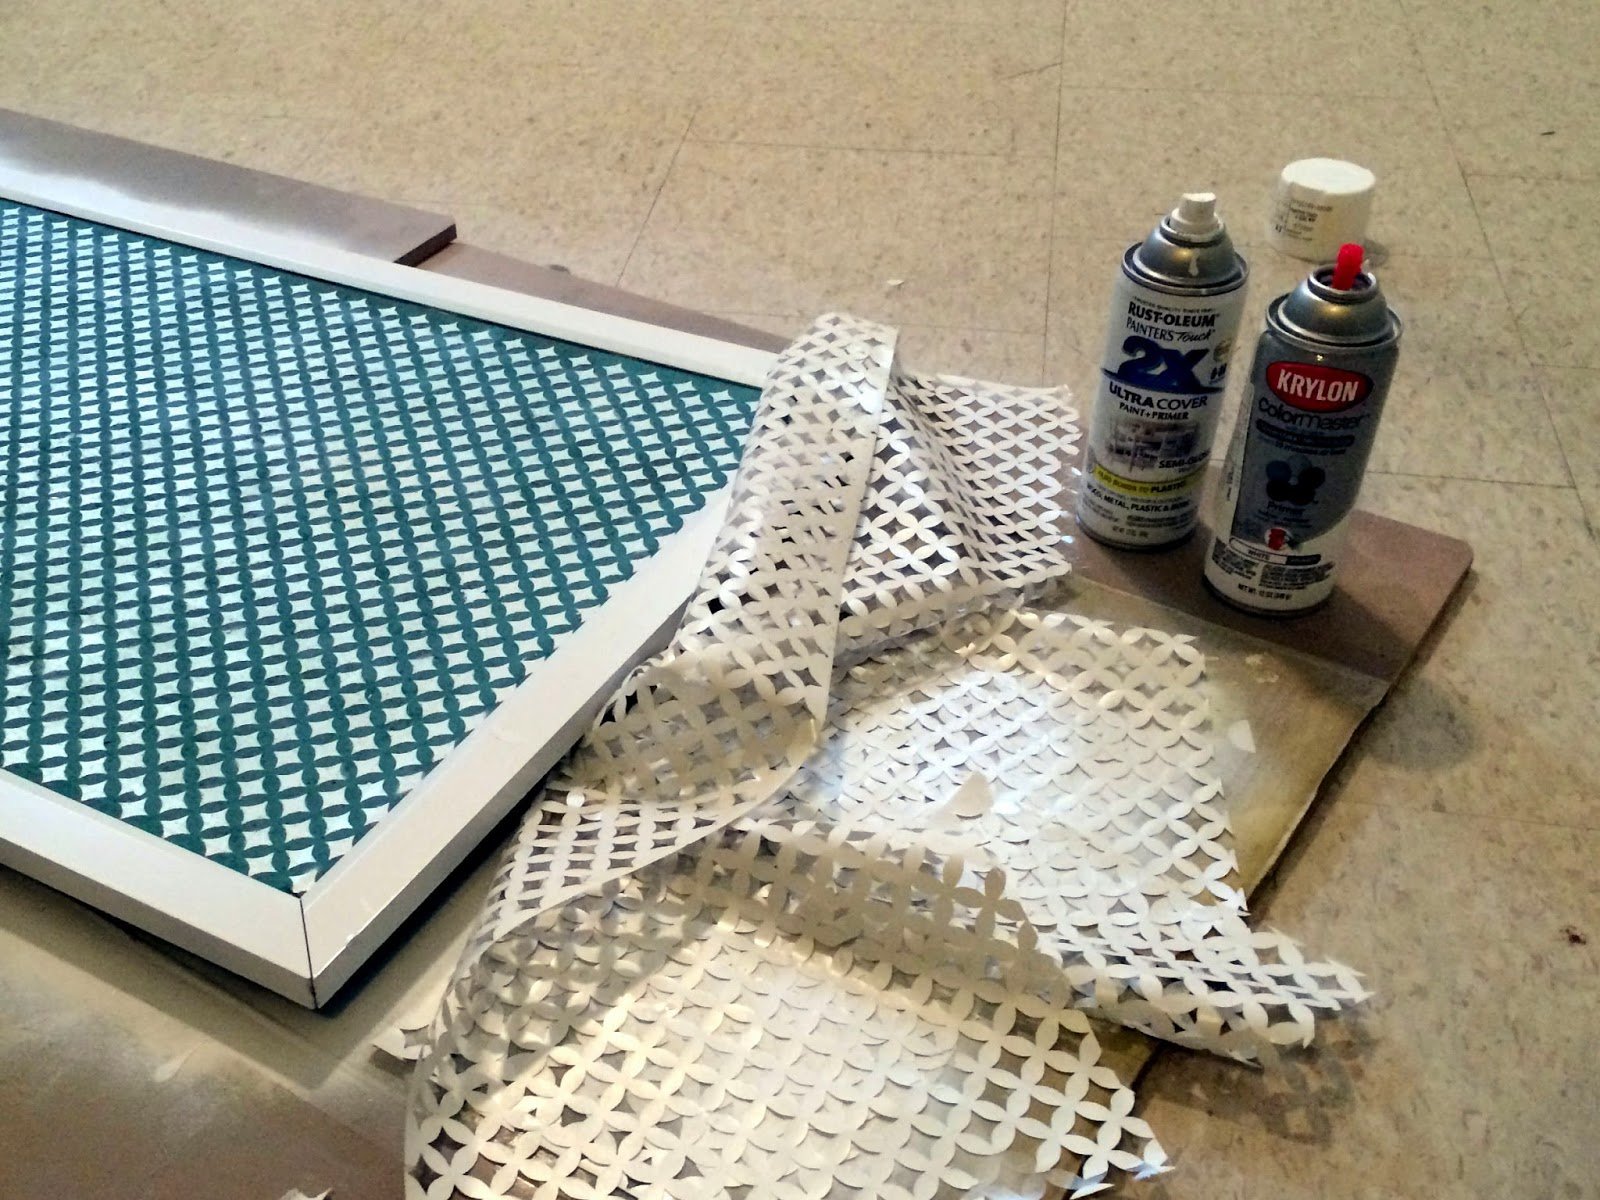
- Once your design is in place, make sure all the edges that you don’t want painted are covered and place it in a good spot for painting. I used a big box and several plastic bags for this.
- Paint! My knowledge of fabric paint is fairly limited. However, I spotted these fabric spray paints on sale at the craft store and thought I would try them out. They seem to have worked fairly well if you account for my impatience between coats. I knew I ought to follow the directions of using light coats and waiting 5 minutes between them. I knew it, but I didn’t follow it. I think this is the main culprit for the slight seepage of paint I got around Hello Kitty’s bow.
- Once paint is dry (or at least mostly dry!), peel away the freezer paper and admire. The paint I used said it would be ready to use in 30 minutes, but not safe to wash for at least 72 hours.

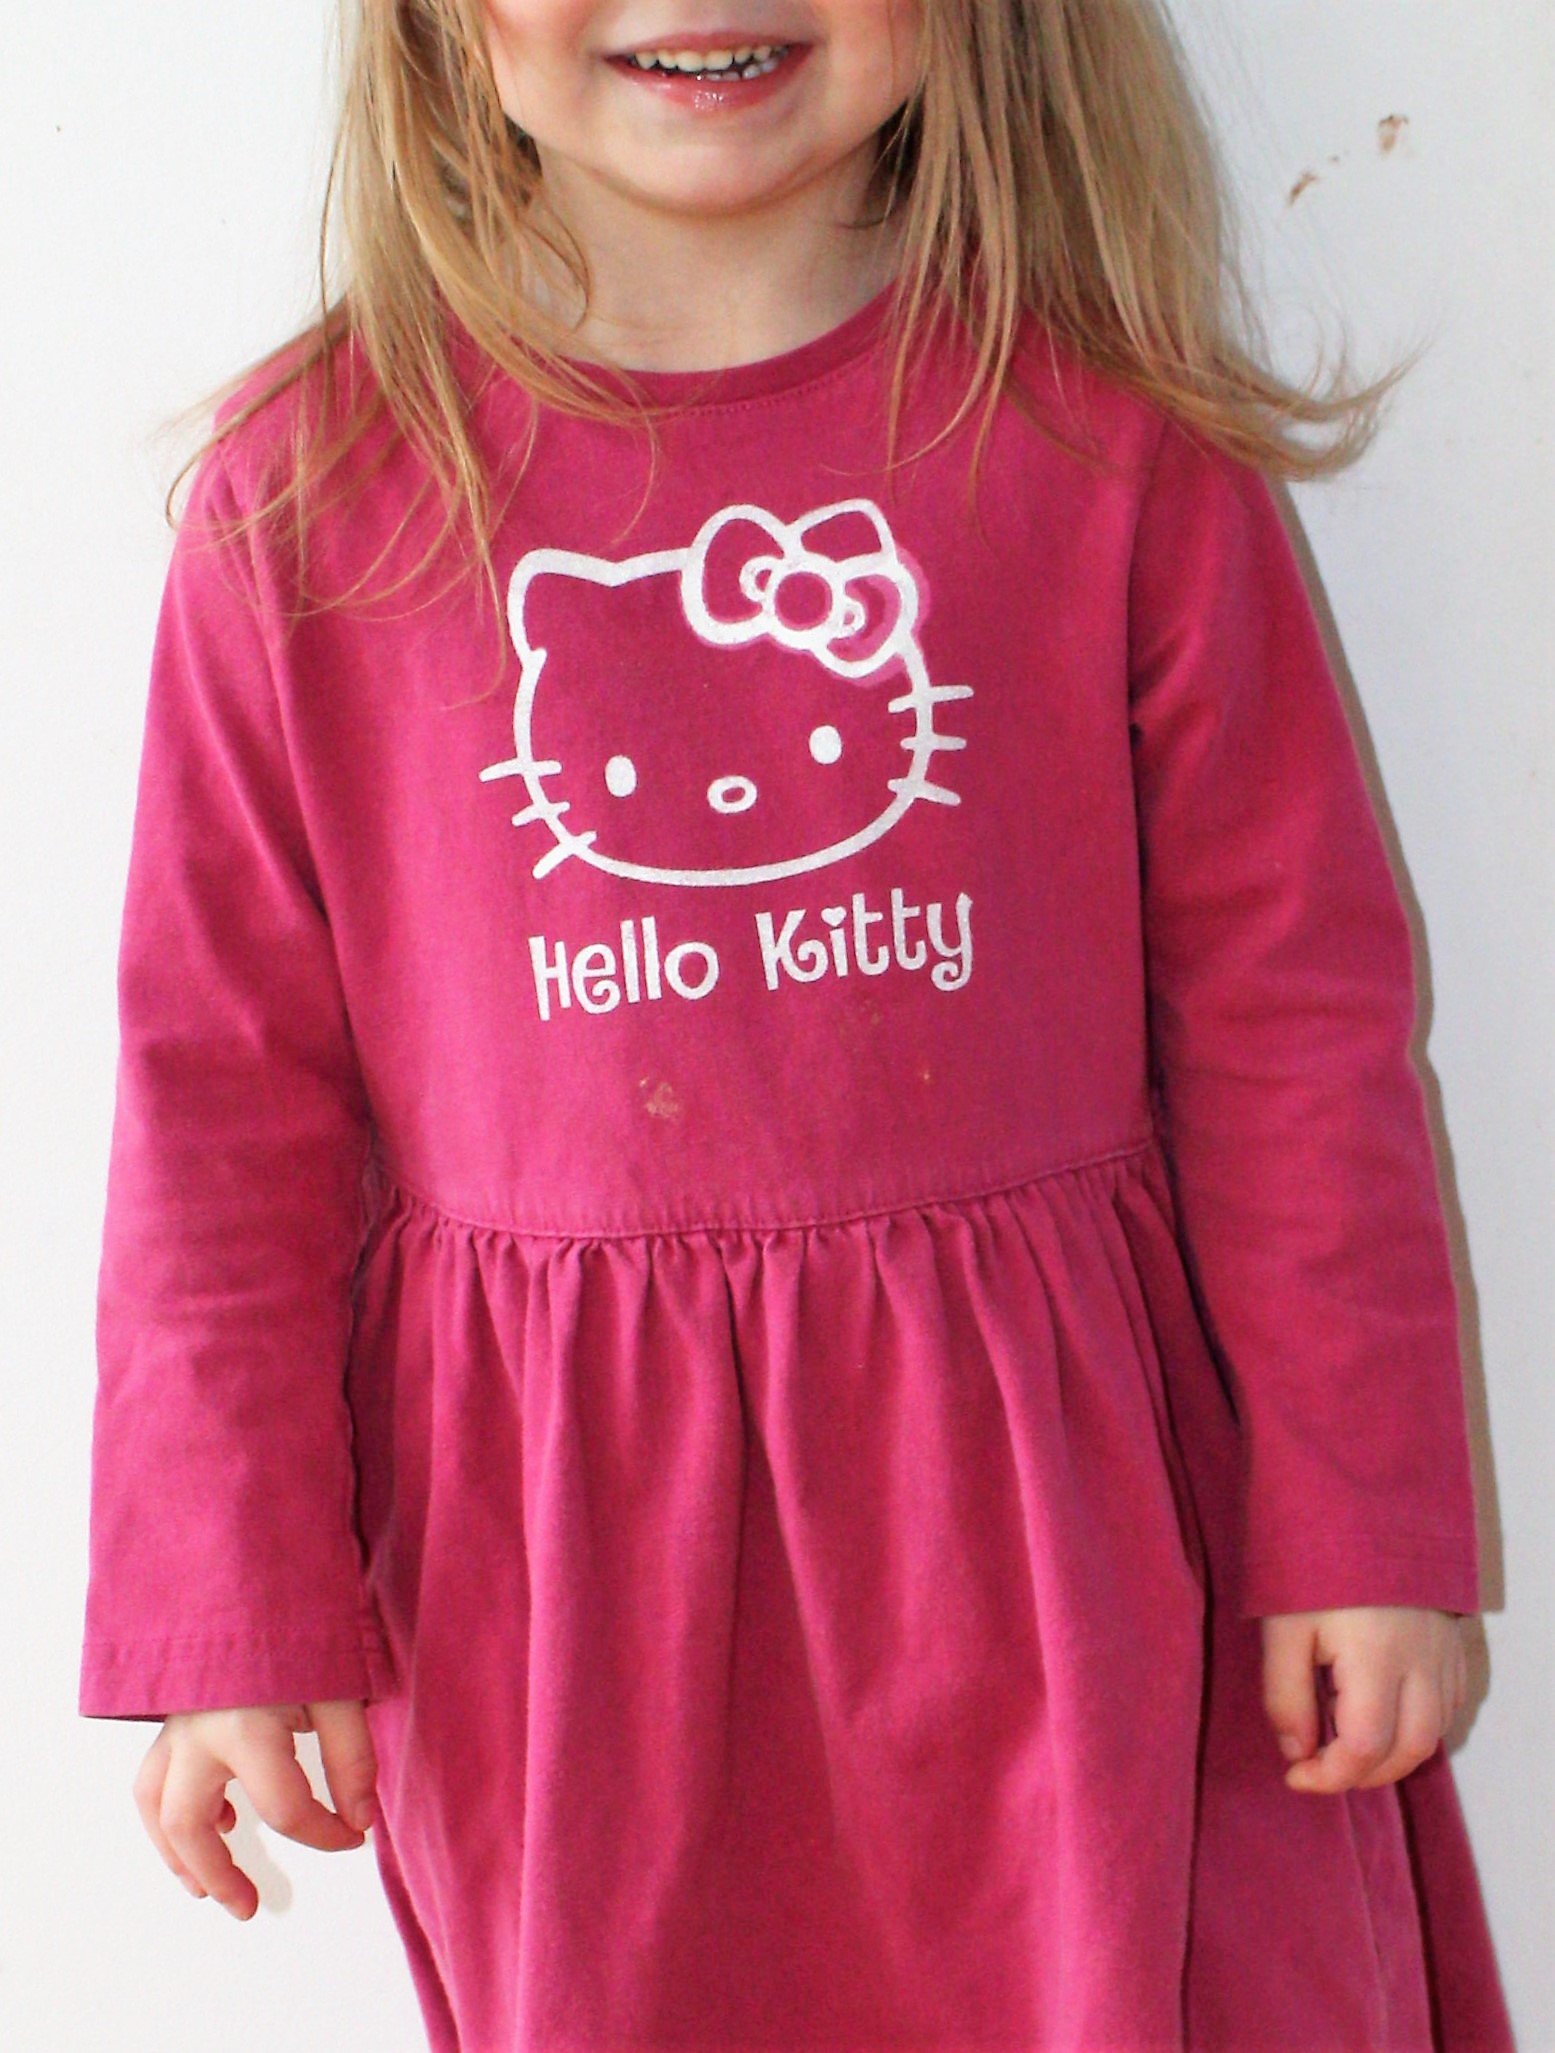
Here is the final result, and my cute little model. She loves it, of course.

")

Have fun making cute clothes! If you want to make a cute valentine’s item, check out some of my Valentine’s Day cutting files. I think they would probably make cute shirts!


Happy Valentine’s Day!


