
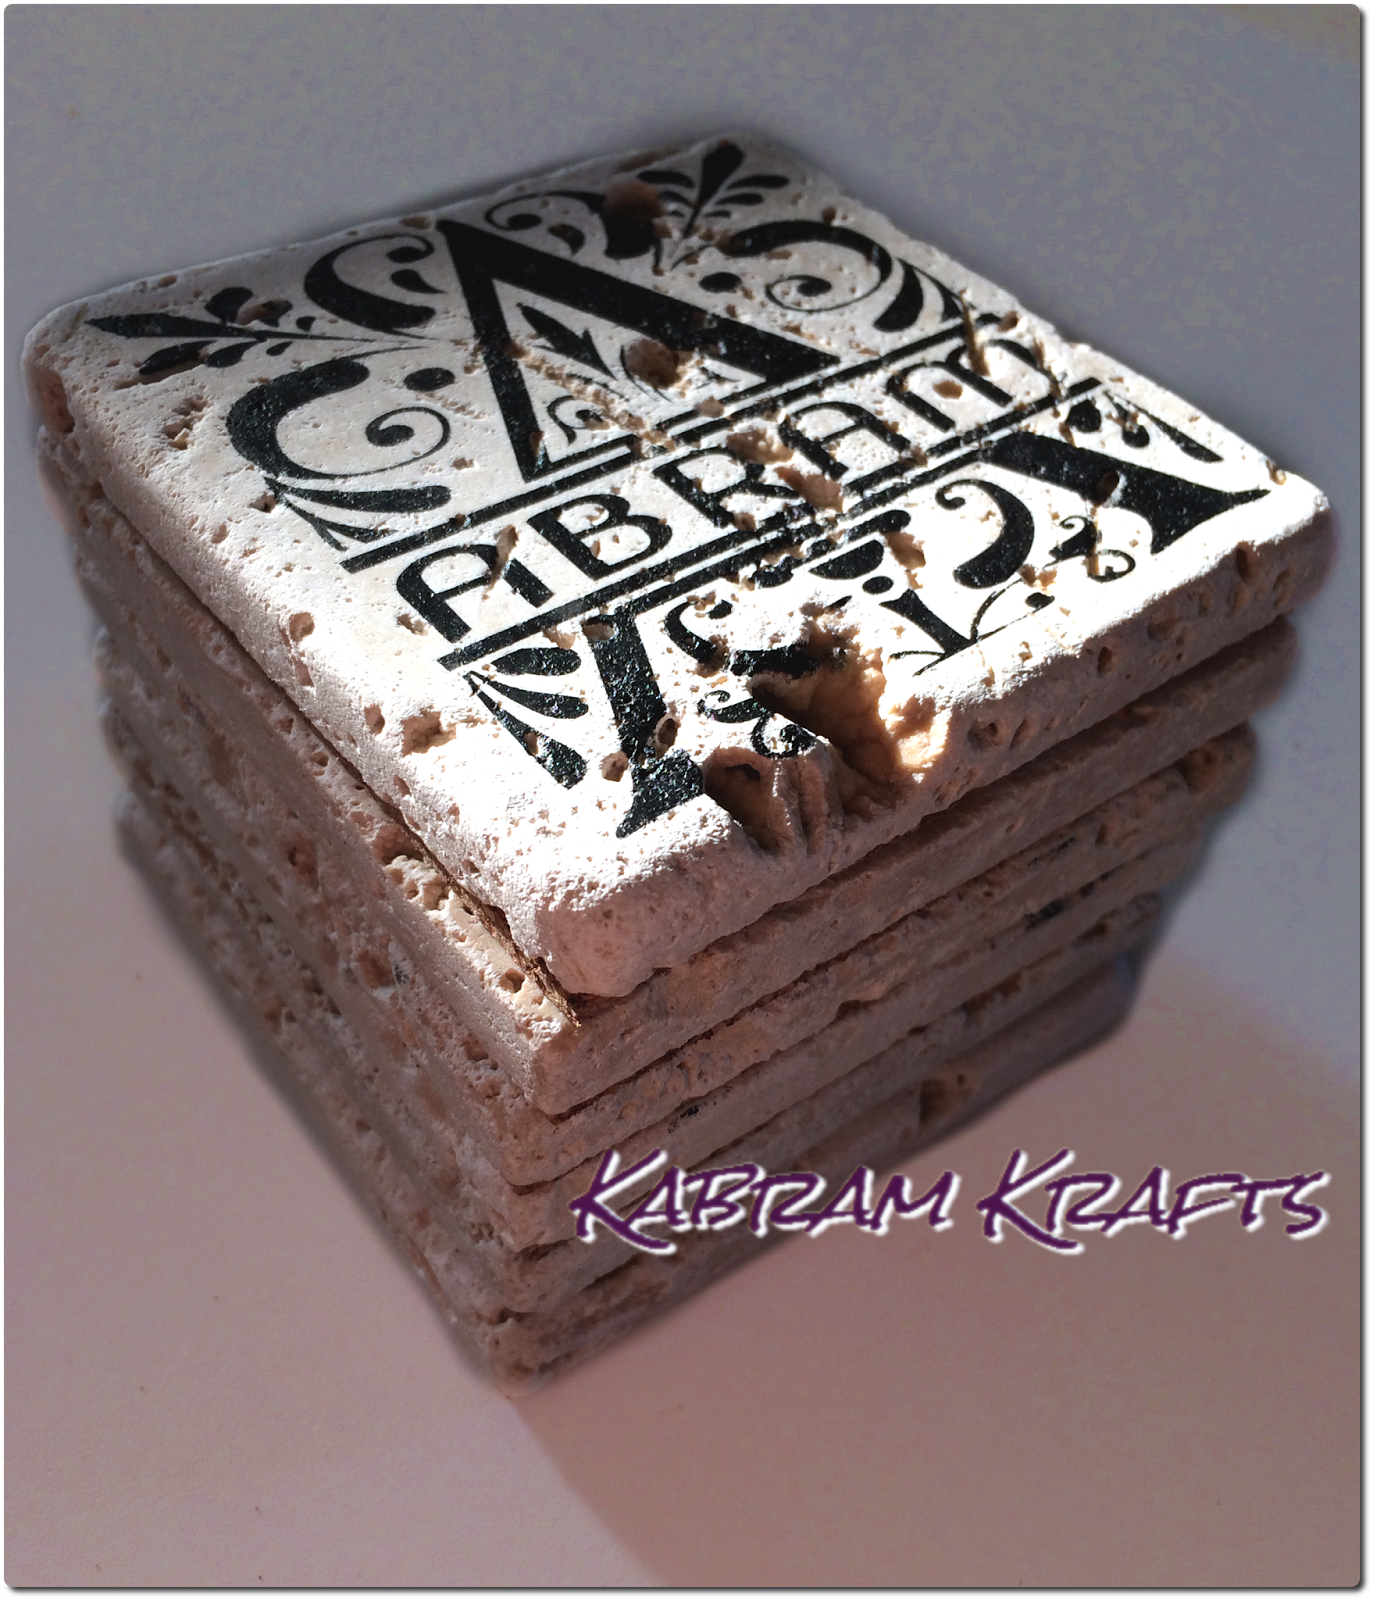
I absolutely love how these turned out! Our set of coasters had been almost completely demolished by our one-year-old and I knew my husband would appreciate some new ones. The natural texture and indentations in the tiles are really highlighted and enhanced by the design. My worry had been that the design would be obscured, but it was not a problem at all.
First things first – you need a design! I had seen lots of monograms on Pinterest, and thought that ours would make for some great coasters. I plan on making a separate post on how I made this monogram using Regal font. Here is how my monogram design turned out:

Once you have your design, size it to fit your coasters. My coasters are 4″ x 4″, so I made my design just under that size and cut a 4″ square around it.
Next, cut out your designs with your Silhouette Cameo (or whatever cutting machine you have), one for each coaster. Weed your designs and adhere your transfer tape. Remember, take away the parts of the vinyl design that you WANT to show up, since this is going to be a stencil.
My tiles were a bit dusty from rubbing together in the package, so I wiped them off with a damp cloth before I applied my vinyl stencils. Once they are clean and dry, apply your stencils to each tile. I made a total of 6 coasters, but forgot to take a picture of this part! If I make some more, I will update this page so you can see how it works.
Finally, the fun part! Once your vinyl is on, it is time to apply the ink. I used a black speedball caligraphy ink and a make-up sponge. The ink permanent and water-proof. I tested it on the back of a tile first, and it looked great! Put a small amount of ink on your make-up sponge and dab it gently over the stencil. Try not to get any on the edges of the coasters past the stencil, and make sure you just apply a little at a time. If you put too much down at once, it may seep under your stencil.

Wait until it is dry (it took only a matter of seconds for mine) and start peeling off that stencil to reveal your design! Your coasters are beautiful now, but not quite done.
To ensure that they do not scratch your furniture, you will probably want to apply some sort of protective backing. I bought a roll of thin cork material, and some spray adhesive. Cut your cork into squares just smaller than your coasters. Apply adhesive according to your adhesive spray – for mine I applied a medium coat to both the tile and the cork, waited a few seconds, and then held them together.

Below is a side view of my coasters once the cork was applied.

What do you think? I would love to hear your thought, I think they came out well, but love hearing suggestions. Let me know if you have any questions too, I am happy to help.