
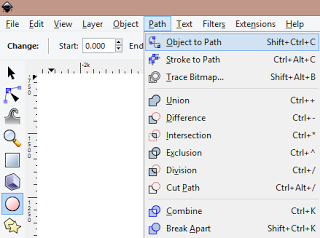
I frequently use the freely available program Inkscape to alter and create new cutting files. It can handle more than Silhouette Studio and can also output a DXF file, which is a file format that Silhouette Studio can open and use.
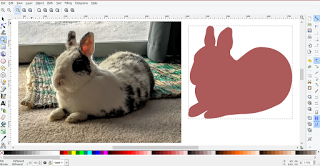 |
| Before and After |
You can download Inkscape HERE (as of April 2016).
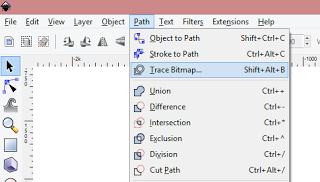
Normally, I would use Inkscape’s handy “Trace Bitmap” feature. This is located under Path->Trace Bitmap. It has lots of options which you can play around with for your image if you like, but I could tell that I wasn’t going to get what I wanted from this particular image.
 |
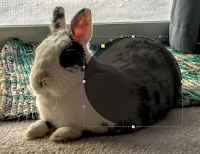
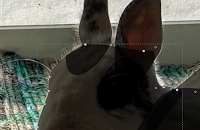
| The Trace Bitmap Function Doesn’t work as well on images with busy backgrounds! |
The problem was that my image has a lot going on in the background and is hard to separate out from the foreground.
I’m guessing that there are some Photoshop gurus out there who could probably separate the background and foreground of this image and then use Inkscape’s Trace function. However, I am not one of those gurus and I don’t own Photoshop! Sad, I know. Alternatively, I could have tried to mess around with the image in GIMP (a fairly nice free alternative to Photoshop) – but I wasn’t up for that seemingly overwhelming task. Sometimes the dumb but straight forward way can be quicker anyhow!
 |
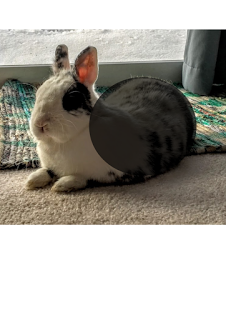
| Covered in Paths |
Now, this method takes some patience, but you can get exactly the image you want and don’t have to hassle with photo editing. The basic idea is to use several circular paths to bend and form into the shape we need. If you have not played around with path nodes before, this may look confusing, but once you start, it is not too difficult.
 |
Now for the tutorial. Begin by opening your image up in Inkscape, then do the following:
|


Here is the resulting file that I created. Feel free to download it and use it for your own creations.
 |
| FREE SVG FILE DOWNLOAD |