Don’t Fear the Foil Quill

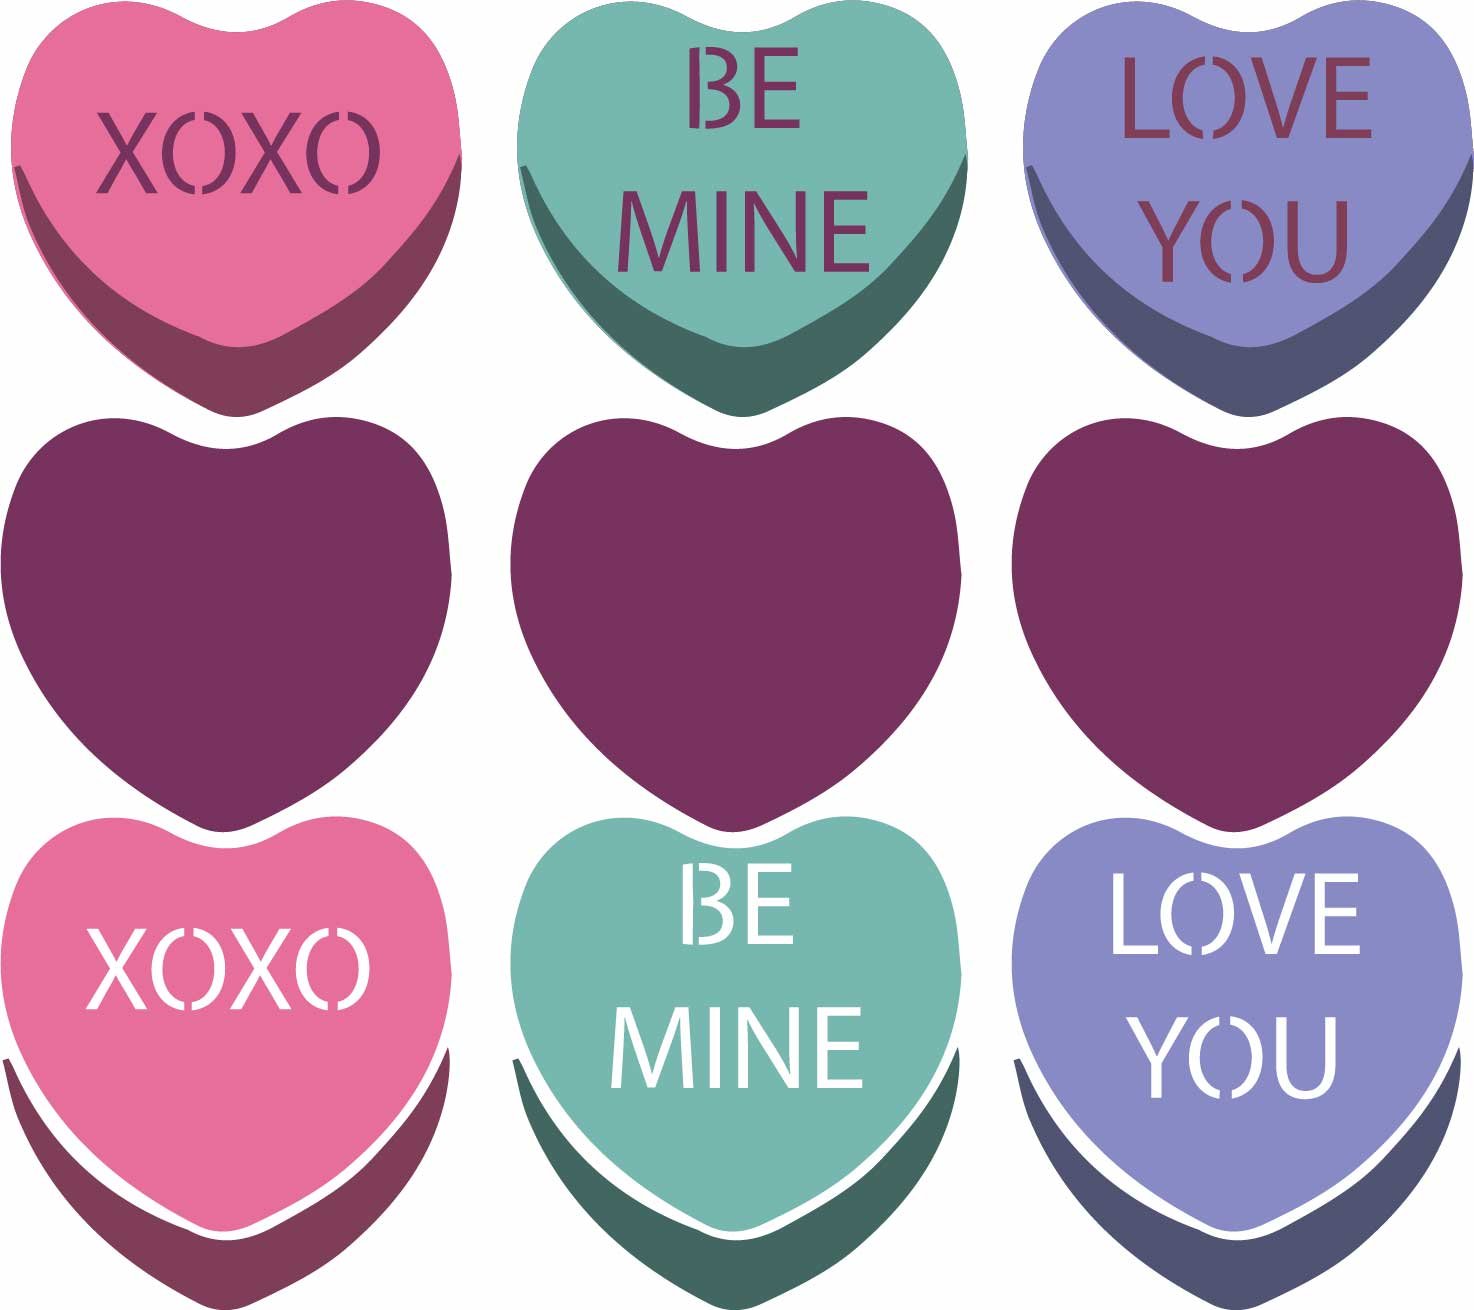
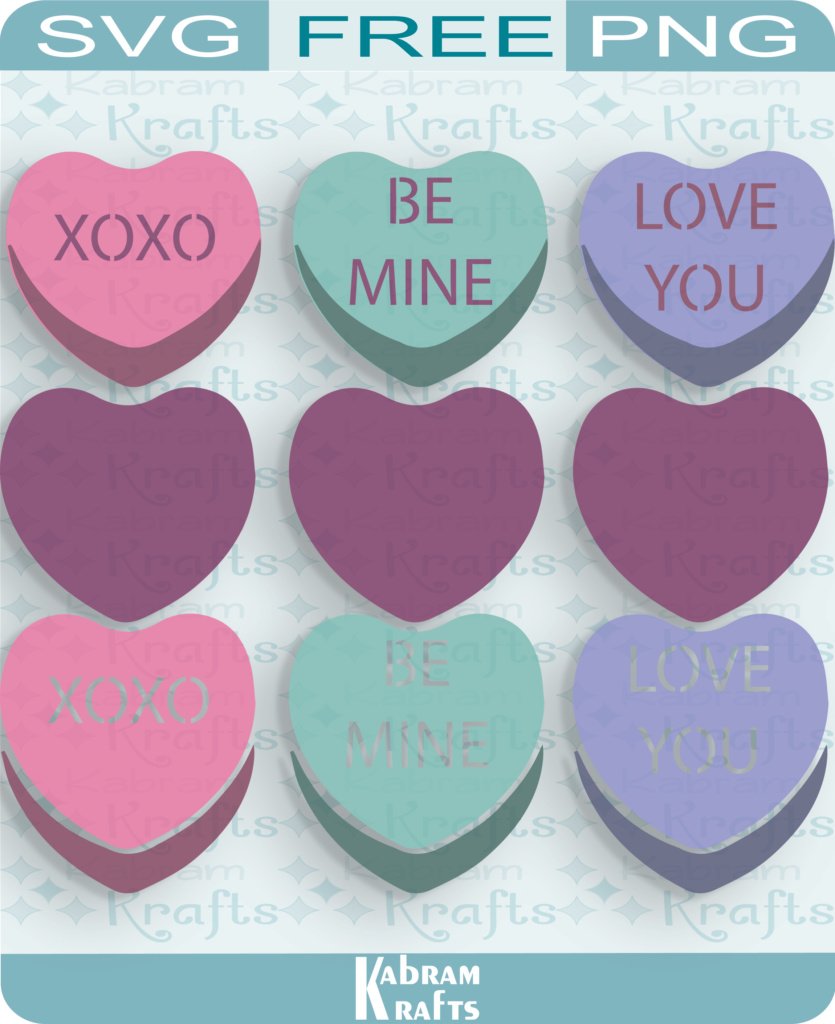
Valentine’s Day SVG Download! Message Hearts Part I.

As promised, I am back with a new version of the Valentine’s Day Candy Heart SVG freebies I shared last week. If you missed that one, be sure to check it out and grab the free layered SVG file I shared.
Valentine’s Day SVG Download! Message Hearts Part I.
My health is on the mend thanks to some powerful antibiotics. However, I am still mostly deaf in one ear thanks to an ear infection. My sympathies to those who have frequent ear infections or actual hearing loss!
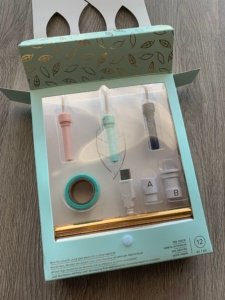
The Dreaded Foil Quill

Well, dreaded might be a bit exaggerated, but I got this fun tool AT LEAST 6 months ago. It has been sitting unopened in my closet. Why? Because I was intimidated by it. While I may have used the excuse of not having time, I truly was worried that I would mess it up and waste all that pretty foil sitting there waiting for me.

If you are in the same boat, pull it out and just try it. Well, if you have the right cords. First, I summoned my courage and attempted to plug it in, but the cord on this thing is only two feet long and needs to be plugged into a USB power port. (The one on the Cameo does not do the job). So, I paid a visit to Amazon and purchased one of these little USB Extension Cords.
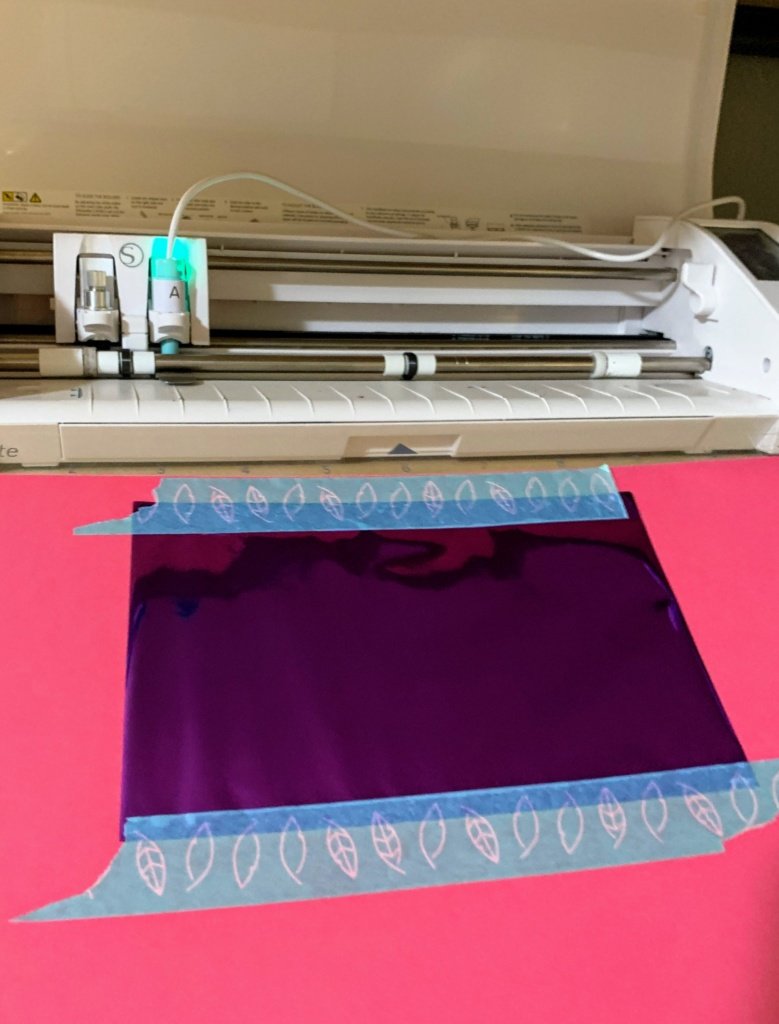
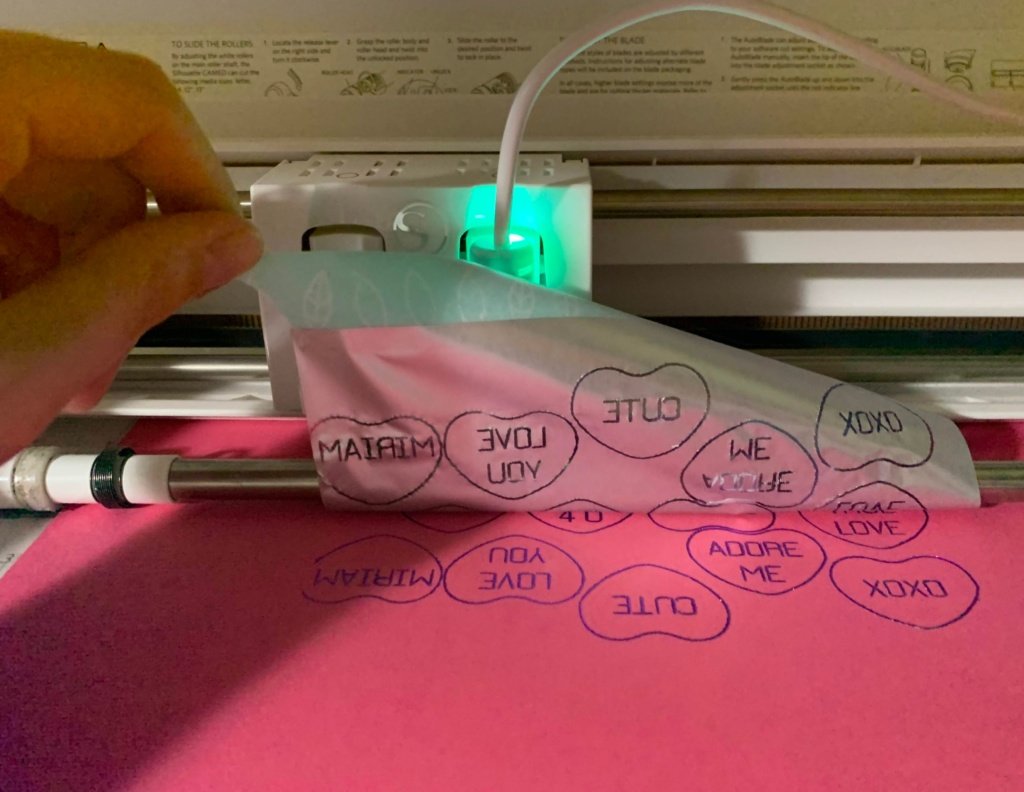
Once I got my extension cord, I was finally ready. After modifying the file, which I will link to at the end, I was ready to try it out. Not knowing how the Foil Quill would work in the Cameo 4, I put it in the second slot of my Cameo 3 and my cutting blade in the first slot.
While I am no expert in the foil quill as of yet, here is a screenshot of the settings I used, as they seem to have worked quite well! Make sure you select the correct tool for each part and add a Pause between the tools so you can remove the foil.
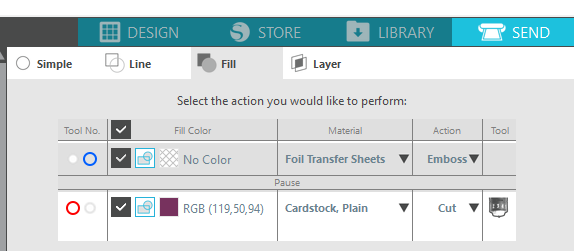
An important thing to note is that I put a PAUSE between the Foill Quill and the cutting job so that I could remove the foil before it tried to cut the hearts. This actually worked out really well. I was able to remove the foil with a bit of maneuvering without unloading the mat. Then, I simply pressed continue on my computer and it cut the foiled hearts out.
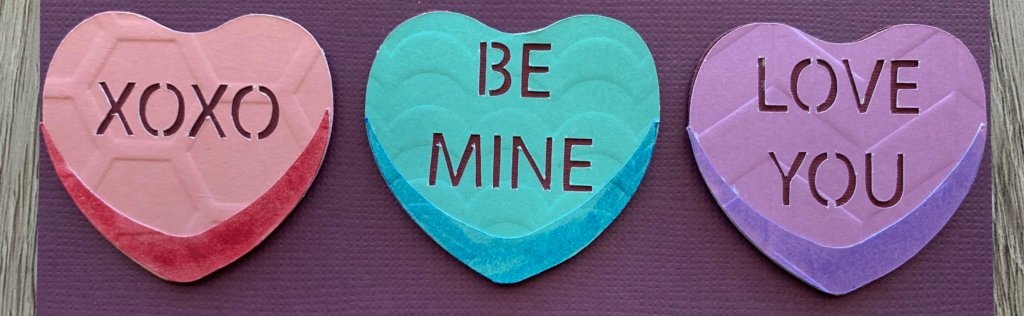
Step 1: Let the Foiling Begin

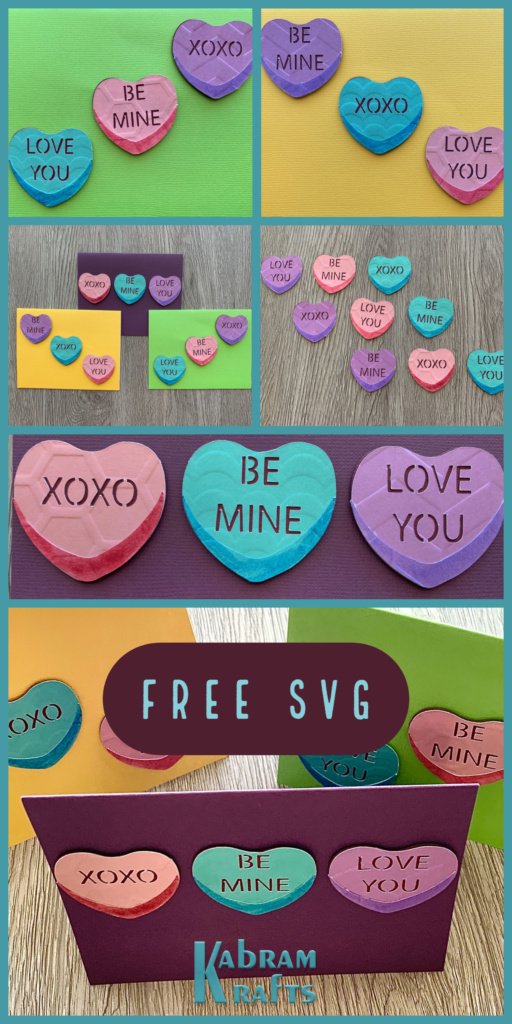
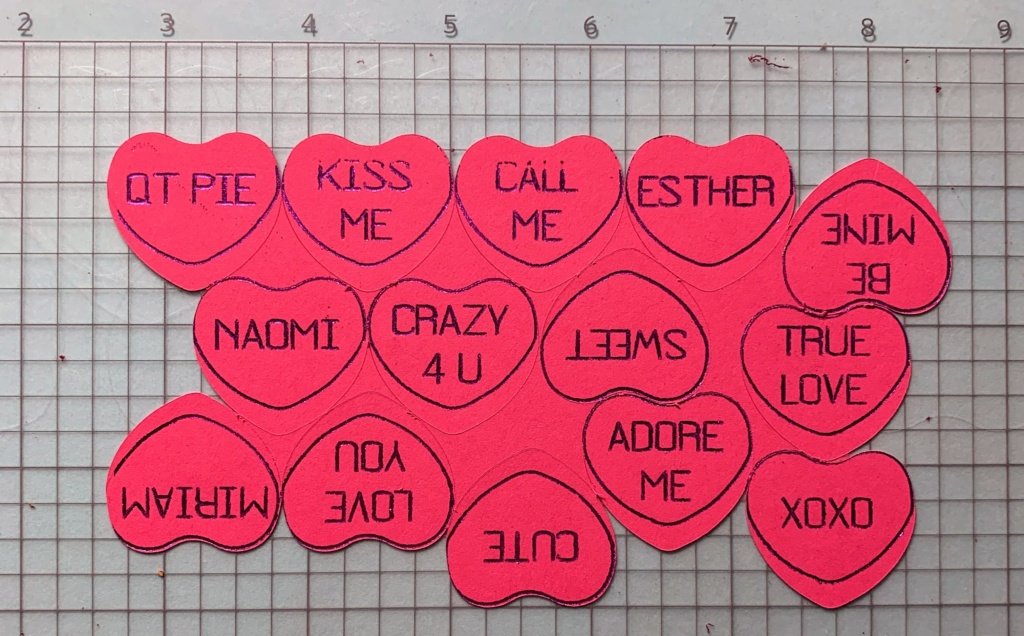
Checking to see how it came out was the best part. It worked (almost) perfectly. The only issue I had was on not aligning my design and the foil quite exactly. If you look in the image below, a couple of the hearts got a bit cut off in the foiling process. However, I was still happy with the results.

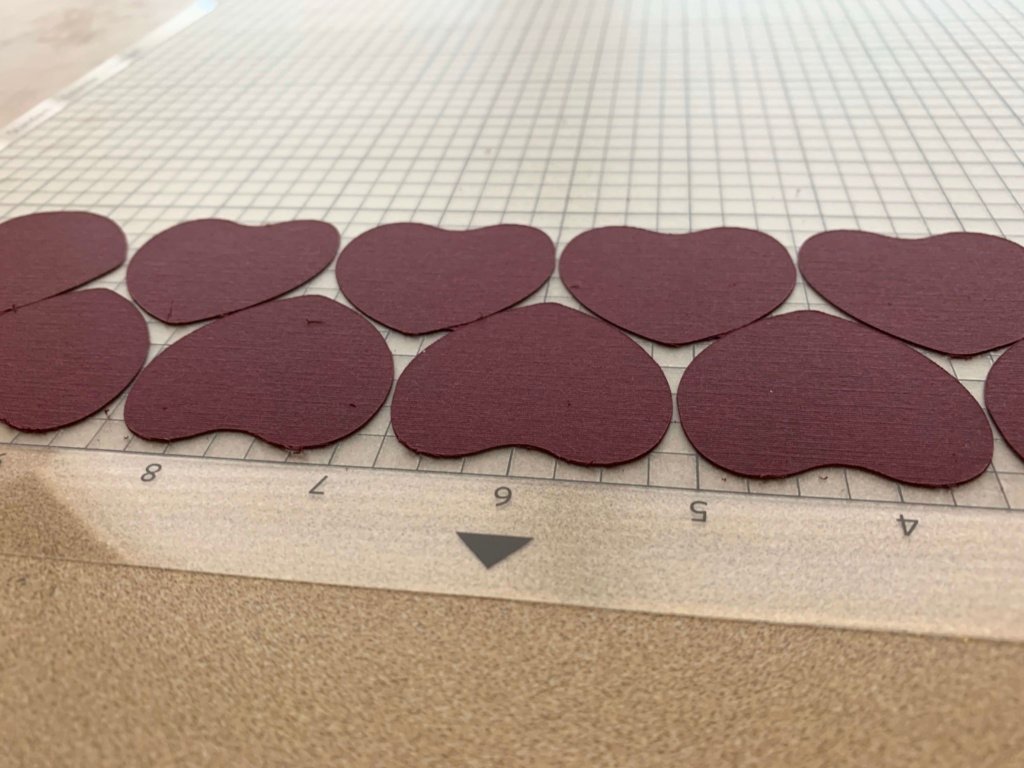
Step 2: Cut the hearts.
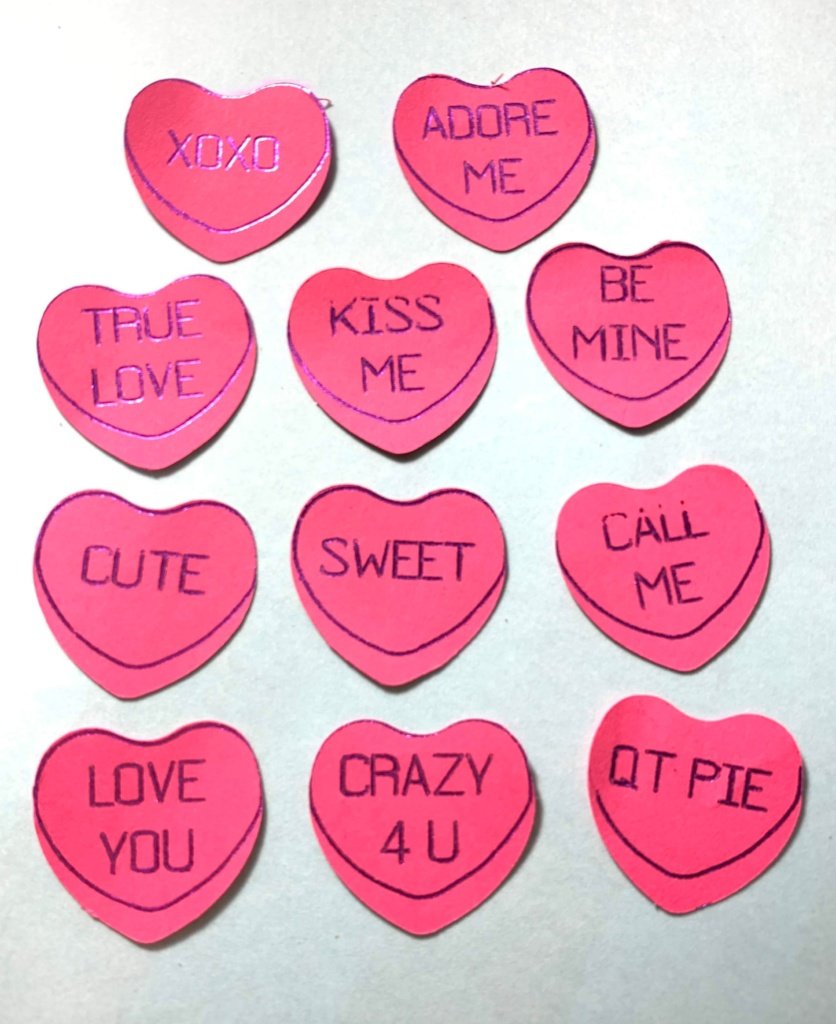
After removing the foiling, I hit continue – it shows up as a button on your computer screen. My Cameo completed the job and cut out the cardstock.

For the font, I used “LW Tall Sketch” from the Silhouette Store. It is a nice skinny font that looks great in all caps and didn’t have space between the inner and outer edge of the letters.
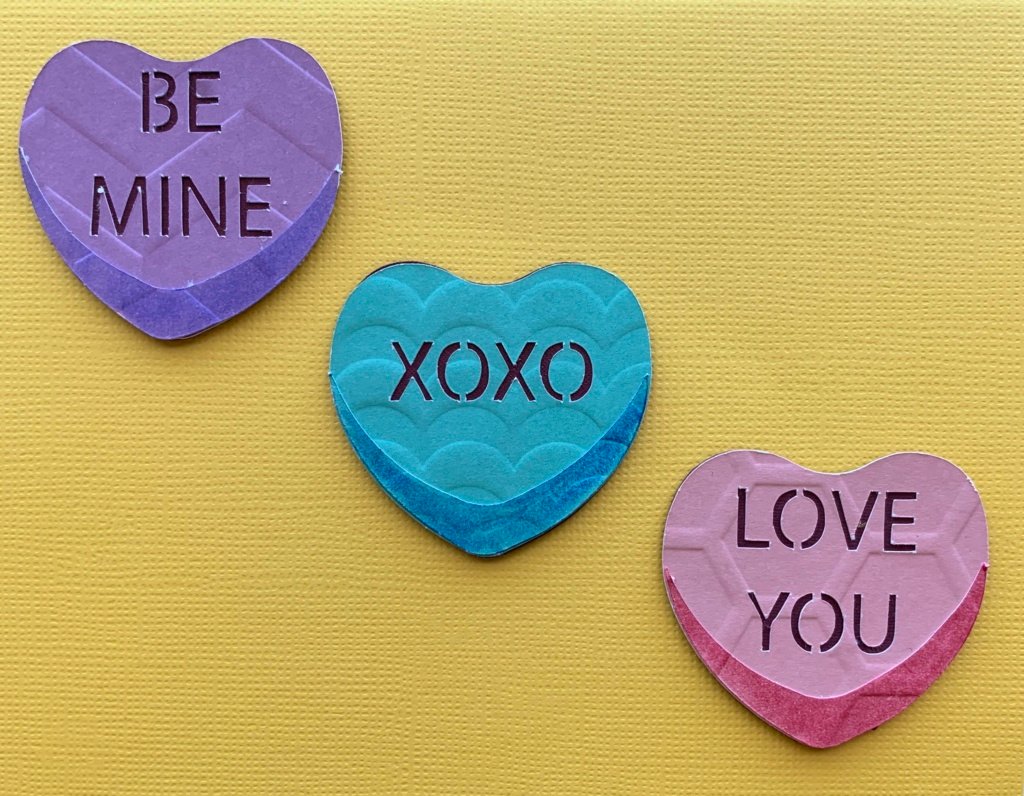
If you wanted to enhance the 3-D effect of the candy heart, you could shade in the bottom half of each heart with the same color pencil or marker.
Last Tips
Moral of the story, don’t fear the foil quill. It is your friend. The foil quill won’t hurt you (probably); it is hot. Follow the directions and heat it up for 5 minutes or so before you start.
Now, what should I do with these? I feel as though some of you clever card makers could do something really neat with them. I am envisioning some sort of see through container on the front of the card with these inside. Or maybe just a line of them on the front of the card. Who knows? Once I have designed them, my creative juices run out. So, I always love to see what my readers come up with. Drop me a picture if you create something awesome!
Now, hopefully this download link will work. A final tip – cut by the line color or fill – there is a no fill and a fill.
Candy Heart SVG Freebie
And lastly, here is the free SVG download!