Posted on 6 Comments

Free Flower SVG

Floral Stencil Cutting File

Okay, so this was just for fun. I really love exploring Inkscape! I was playing around and this is what I came up with. I think I will keep playing around, so look forward to some more files soon!

Free Flower Cutting File
Free SVG file download
Please credit me if you use this in any public projects, and I would love to see any projects it is used in!
Posted on Leave a comment

Graduation and Mother’s Day Cards

Cards for every Occasion

Well, I know that these occasions have now passed for most of us, but I thought I would share what I came up with anyhow.

I made a couple different Mother’s Day cards, and a graduation card for my little sister.

I was very happy with how the designs came out, though my color choices for the graduation card could have been improved. Oh well, I keep learning!

First, here is the graduation card and a free download of the svg and studio files:

2014 Graduation Card – Black Rose Font for the Year
Free SVG File Download

Below are the Mother’s Day cards I made. For the first one (purple), I used a floral card from the Silhouette Store and added a simple butterfly to it. The second one I used a frame I found on www.birdscards.com and added the sentiment in Blessed Day font. Here is the Mother’s Day card I made last year on my ecraft.

If you like my cards, be sure to check out the Birthday Cards I have made too!
Posted on Leave a comment

DIY Bulletin Board and Household Command Center Makeover

We recently moved into a new house, and I am afraid my walls are mostly still blank. I have an area of our main floor that I have been using as a command center to gather odds and ends, pay the bills, stash the printer, etc. Someday, it will get a pretty little white desk, but unfortunately that is not in the budget yet.

What could I do to make the space more usable right now without spending money? It turns out I could do quite a lot. Well, technically, I did spend $1.50 on the frames, and a little bit at some point in time on the spray paint and a few other materials… but the point is, I didn’t go out and buy things I didn’t have already.

I had an old black framed bulletin board lying around, so I decided it needed a spray paint makeover! What doesn’t, right? Well, it turned out that I had paper and paint just the same teal color as a file holder I had on hand, so my colors were chosen.

Now, for the fun part!

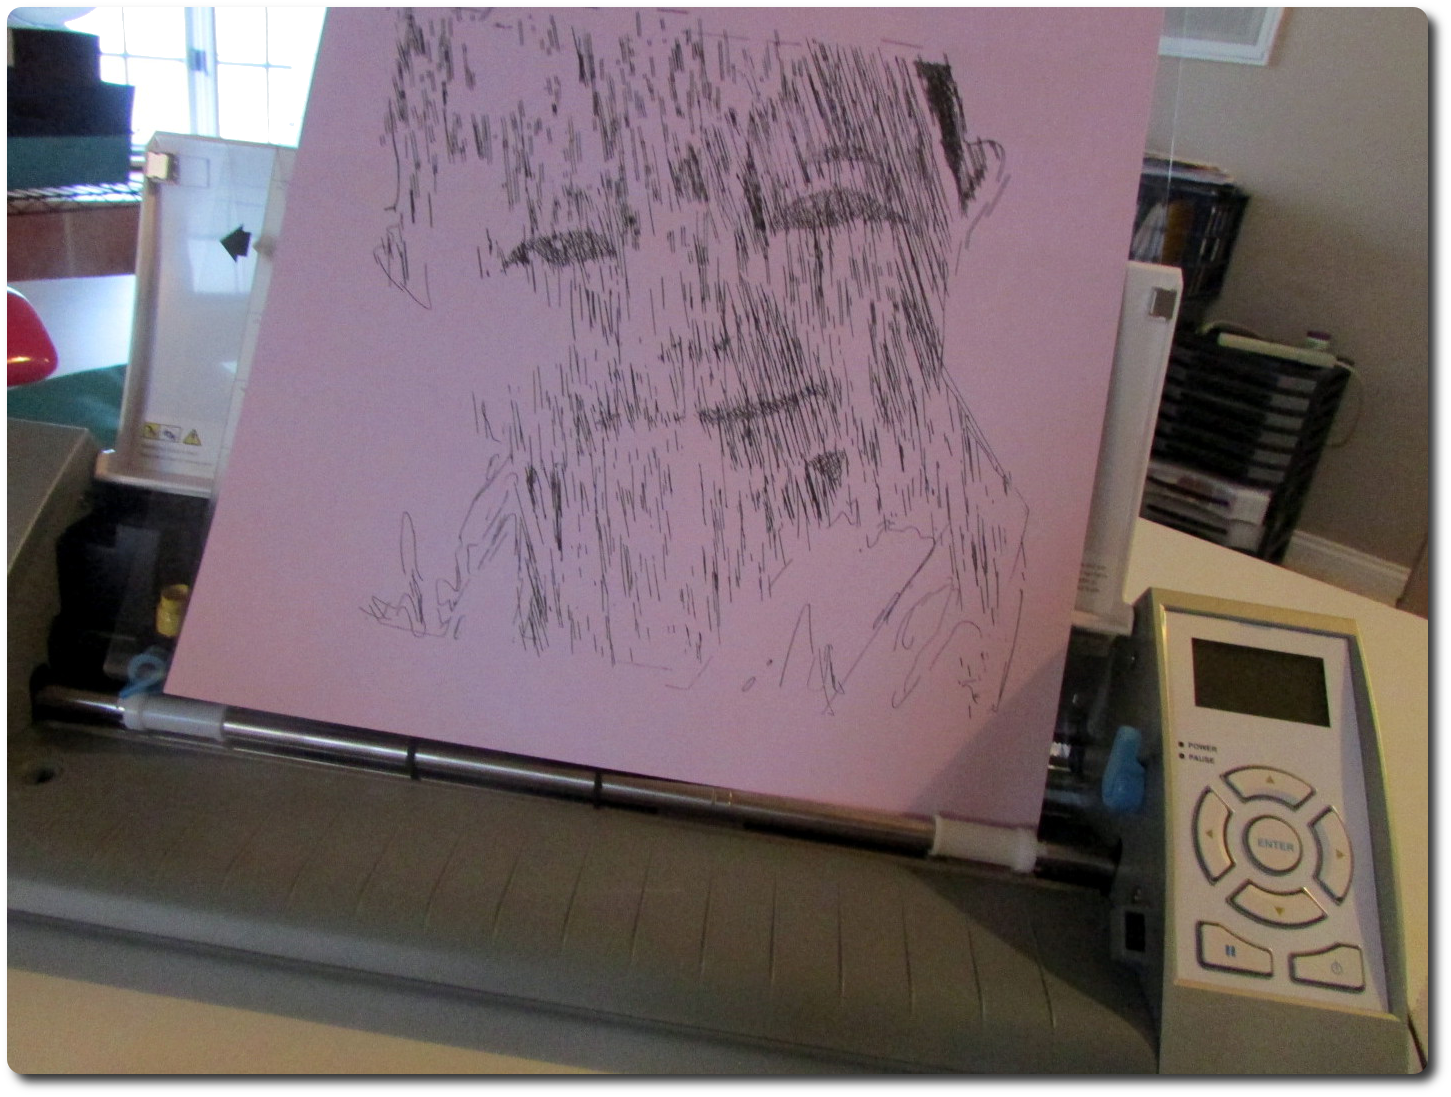
I had already worked on some nice little chore charts with my Silhouette Cameo machine as you can see here if you like. I started by spraying my three thrift store frames white. After tweaking the text on my chore charts, I sketched the text on a plain piece of white cardstock. Then, I cut out the frames with a pattern I made. Basically, the pattern I came up with involved a shape (created from overlapping circles) that repeats across the area I wanted to have for a frame. It doesn’t look like much by itself, but trust me, when it is repeated, it looks awesome! Here is the shape I repeated to form the pattern:

Free SVG File Download

Here is the bulletin board I started with (well, almost… I forgot to take a true before picture, before the teal paint and application of the stencil):


Before the white paint (but after the teal – sorry!)

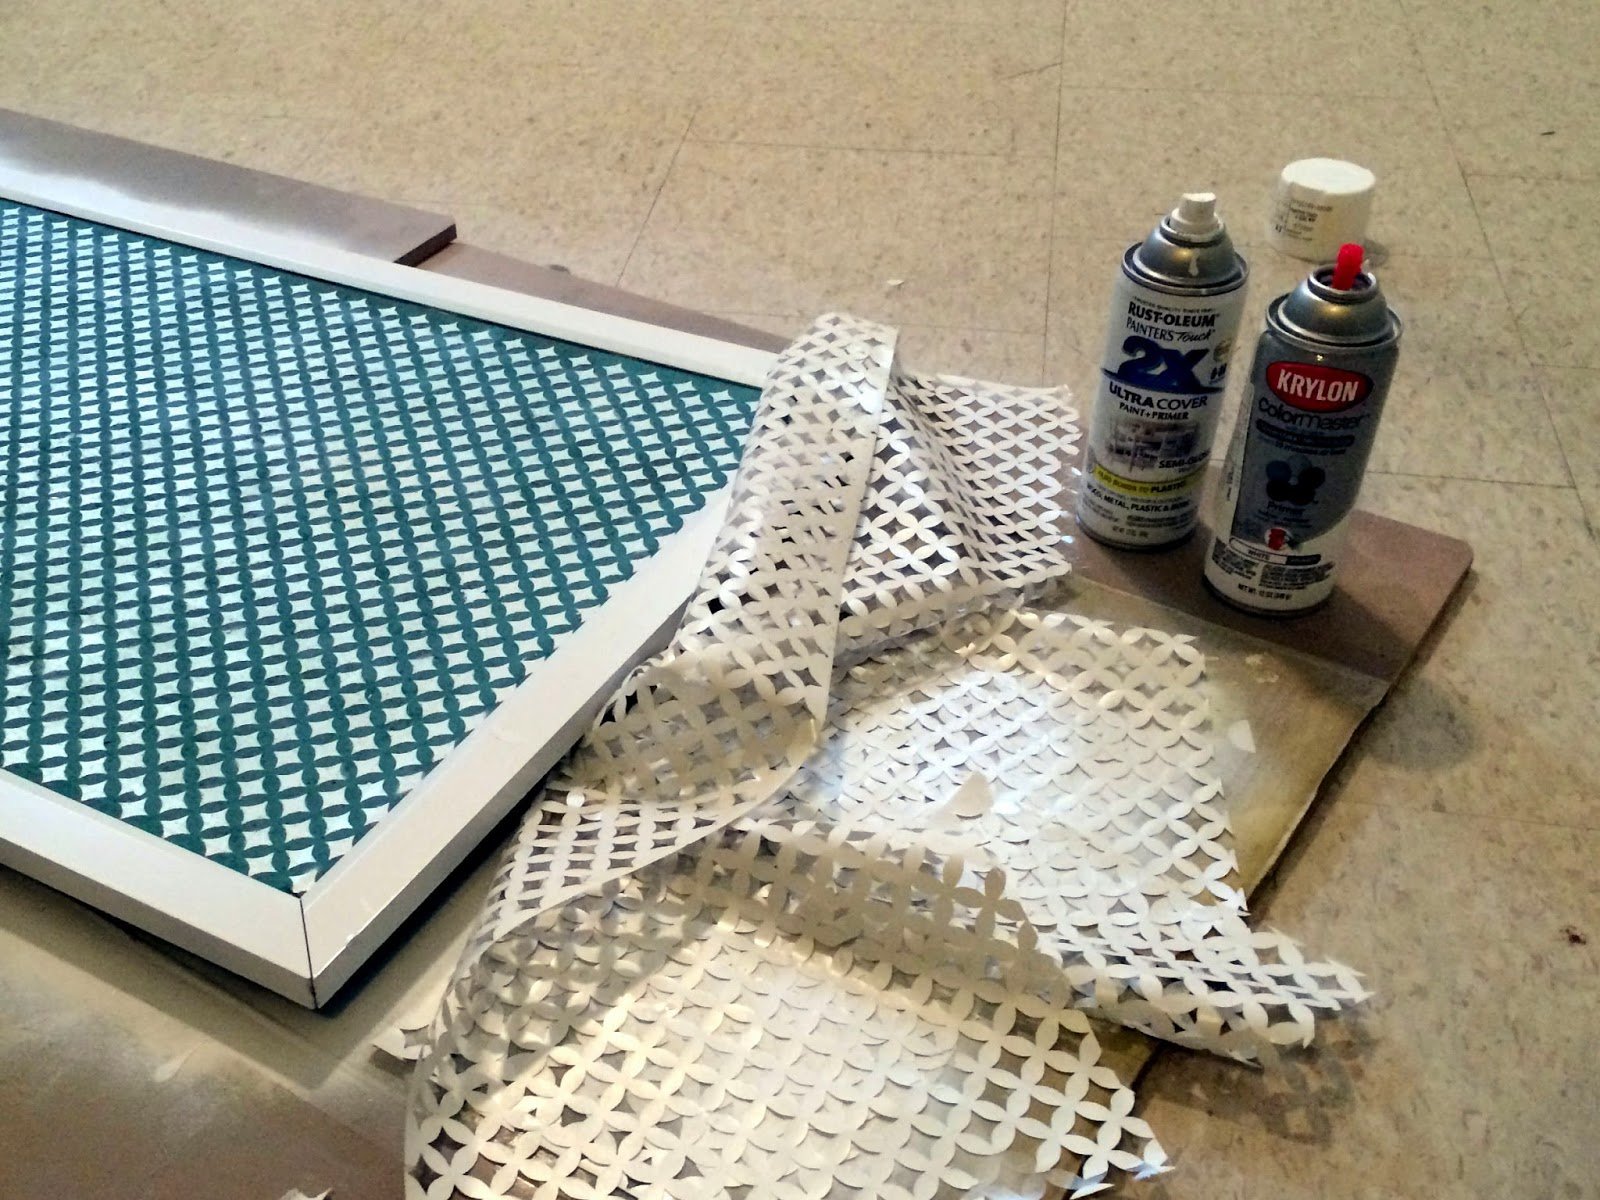
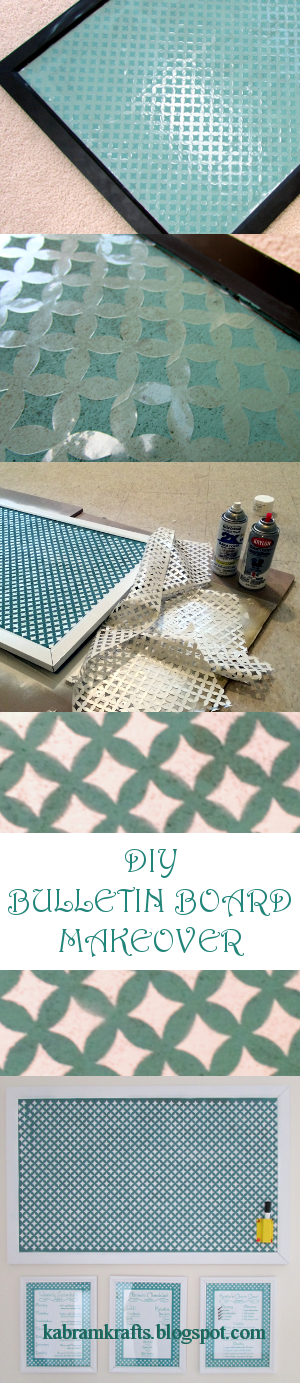
STEP 1: Paint the cork board part of the bulletin board the background color of your choice (teal!).

STEP 2: Make a stencil using copies of the shape given above (or another one, of course). Size the template according to the inner cork dimensions of your bulletin board.

STEP 3: Cut out your stencil from contact paper or vinyl (I used clear contact paper). You may need to use multiple strips to get the necessary width.
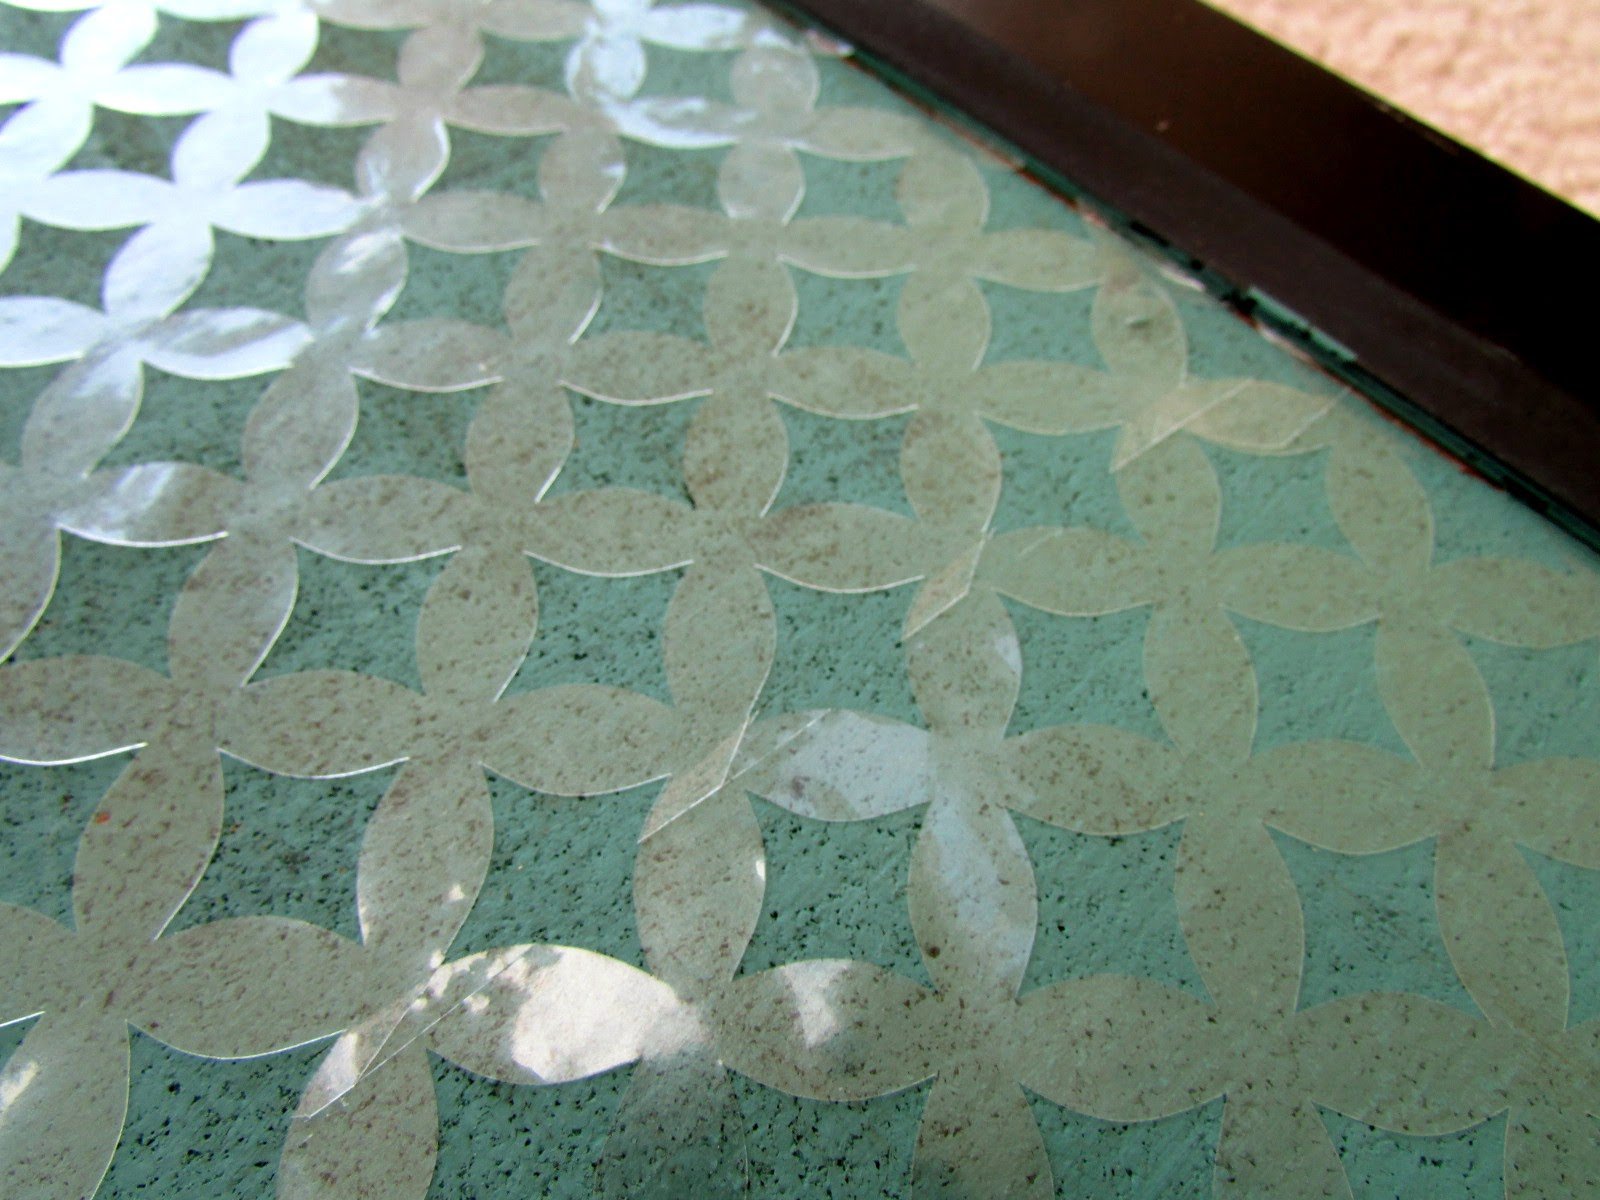
The Stencil is On


STEP 4: Apply your stencil. This is the hardest step. At first I tried to remove all the negative space (the diamond shape pieces) before applying it to the board, but since I was using clear contact paper, this proved very difficult. So, I applied it to the board and it was a lot easier to pick off all the diamonds. Be very careful applying the second strip. You want the stencil to align just right in the center where they come together, so BE CAREFUL! I had to trim a little bit with an exacto knife to make the stencil just right. It didn’t come out as perfect as I would have liked, but the result was still awesome!


STEP 5: Spray paint it white (or whatever color you like better)! Spray it from above just to make sure it doesn’t seep under the edge. Make sure you cover it well, then wait for it to dry.

STEP 6: Peel off the stencil and marvel at your handiwork!


All Done!

Doesn’t it look awesome? I framed the chore charts with a cutout frame using the same stencil and color. I hung them below and added a dry erase marker to check off my chores! Let me know if you have any questions. I am smiling at how nice it looks, and at how I conveniently chopped off the part of the picture that shows my messy folding table desk.


Posted on 1 Comment

Free Duckling SVG file for Spring!

Ducklings

Spring has Sprung! Sadly, that statement doesn’t yet ring true here – but I have high hopes. We have warm weather for the next week (and by warm, I mean above freezing) – so thesnow should melt soon! Perhaps we may start seeing green too.

At any rate, I found this adorable sketch pinned on pinterest with a dead link and no searching on my part has turned up its origins. If anyone knows, let me know! I took the liberty of converting to a cutting file because I simply couldn’t resist.

Here it is in all its wonderful spring like glory:


And, of course, a cute little image for pinterest. Have a great day!

Ducklings
 
Posted on 3 Comments

Hearts and Handprints

I’m just now getting around to posting these little projects I made. One was a (very) belated Christmas gift for my parents and the other was first Valentine for my husband from our baby daughter. Both turned out really cute. Also, I am throwing in a free cutting file (in both svg and dfx formats) that I adapted from a free image I found online. I was going to use it for Valentine’s day – but didn’t quite get to it! Let me know how it looks if you end up using it.

First, the adorable handprint, heart, and footprint picture! Inspired, of course, by pinterest. This turned out really well. It has Micah 6:8 (the first part) on it – “Act Justly, Love Mercy, Walk Humbly”. The most challenging part of this project was getting my daughter to cooperate. I actually did the handprints and footprints months ago and it sat around waiting for the words for what seemed like forever. My hold up was terror of messing up the lovely handprints I had worked so hard on.

Finally – I tried to write the words on with a paint pen and my attempt was a huge fail! I hated how it looked. Thankfully, I only had done one word and was able to paint it back to gold and try again. Not liking my handwritten attempt – I typed the words in and cut them out of vinyl with my Silhouette Cameo. MUCH better results! The only remaining worry is that the lettering might slip off of the paint, but you could probably fix that with a clear top coat of some kind.

Anyhow, this is how it turned out:

BABY TIP : I finally got her left hand when she was deep in sleep. I had to let her nap on the floor and then do the print quickly (her left hand was particularly challenging since she sucks her left fingers!). It did cost the nap though as she woke up after the handprint. The footprints were much easier!

Since footprints were easier, I used them to make a nice Valentine’s day card for daddy. Paint was so messy and unpredictable, so I decided to try embossing ink. It work better than I imagined. I simply dabbed her foot with the embossing ink (I had it in a tube, but an ink pad might work even better) and pressed the foot on the paper. I did one foot at a time, so after the first one, I put on the powder and embossed it, then did the second to form a heart.

I used my Silhouette Cameo to cut a heart shape around it. After measuring where the footprints ended up, I matched the size and positioning of my shape in Silhouette Studio and cut it out. If you don’t have a cutting machine, I’m sure it would look just as cute if you cut out a heart by hand, or even just left it as a rectangular card.

The shape I used was a modified version of the lacey heart I found at Bird’s Cards.

And, finally, the free cut file that I made. I found the image on the right online and made it into a cutting file. I also inverted it in case you want to cut out one piece instead of embedding it into another shape. Let me know if you make anything with these files, I would love to see it!
FREE SVG FILE DOWNLOAD
Posted on Leave a comment

Experimenting with my new Silhouette Cameo!

Engagement Silhouette

New Silhouette Cameo = Excitement

I can’t stop feeling thrilled about my new silhouette cameo, which I was really blessed to receive as a Christmas bonus from my work – LTIIT. And… working on my new craft table was awesome!

First Project

After opening up and marveling at how light it was compared to my ecraft, I knew exactly what I wanted to try cutting out first. Awhile ago, I had made a file from one of our engagement photos that I was really excited about. It is an image of us standing together and it made a great silhouette.

Unfortunately, the ecraft could not cut this image out no matter what I tried. It would always mess up either my husband’s pants, or my nose and face. I think that due to the no mat cutting approach of the ecraft, it would always slip a little. Or, maybe my machine is just out of alignment. At any rate – the cameo got it on the first pass! Here is a picture of the finished cut:

Feel free to download the SVG for this file below.
 

Sketching with my Silhouette Cameo

My next thought was about sketches. Now, while the ecraft has a pen and theoretically can cut and draw an image simultaneously, the results are always less than stellar. The pen usually skips or doesn’t write, and the cut is not lined up properly. So, though I don’t yet have the cameo’s sketch pens, I decided to try a makeshift option. I wrapped a pen in some cardstock, stuck it in the cameo, and tada! Here is what I got:


So, how did I do it?

Well, for both images, I played around in both gimp and inkscape – both free programs you can download online! For the engagement silhouette, I simply picked a photo that I thought would make a good silhouetted and played with it in gimp. I changed the brightness and contrast dramatically.  Turned the image to grayscale. Simplified it quite a bit and then pulled it into inkscape and hit “Object to Path”. Once I had a path, I simplified it further in inkscape and played a little with the nodes until I was satisfied. Since I don’t have the designer edition of the cameo software, I saved it as a dxf file for import into the cameo studio, and cut it out!

Making the Sketch File

The sketch was a bit more complicated. I started by following directions from this blog post that I pinned. The best thing I learned from that post was about the Eggbott Extension for Inkscape which allows you to fill a path with a hatch. This looks like a sketch and gives you a bunch of open paths – exactly what you want for a cameo sketch file.
 
However, I wasn’t satisfied with the very straight looking results in the post. I explored further and found the path effects editor already in Inkscape! Once you have a bunch of open paths, click one of them and go to Path -> Path Effect Editor. In the drop down, select “Sketch” and hit add. Then play around with the options until you get something you like. Once I had done this and liked my result, I then selected each part one at a time and hit “Object to Path” once more. The results of the Path Effect Editor aren’t turned into paths automatically, so I think this step is necessary. Now, you have a nice sketch! Save as a dxf file, and import it into your cameo software (this took more than a few seconds on my computer – it was a big file!).
Let me know if you have any questions!
Posted on Leave a comment

Vinyl Cutting File For a Church Sanctuary

My mother recently got excited about my electric cutting machine and the vinyl wall decals I have been making. Amazingly, it was just what her church had been looking for. She enlisted my help and we designed and cut out a message that my parents helped them install in their sanctuary.

The saying says “To know Jesus ….. and make Him known.” It wasn’t very hard to make. I use the free program Inkscape to make my svg files, and then simply import them into eCraftShop Pro for cutting out on my ecraft. The only trouble I had was that to make it large enough (we are talking a foot high, by many many feet long), we had to turn it vertically and made sure to put masking tape on the back (for the dual purpose of providing better traction for the rollers, and making sure the blade didn’t cut all the way through – for some reason it kept trying to, despite being on the lowest pressure setting). Anyhow, once all was in place, it turned out very nicely!

Check it out:

Feel free to download and use the SVG file HERE.