UPDATE: I modified my chart slightly and changed the border to match my bulletin board makeover project. I think the end result turned out very nicely – check it out here!
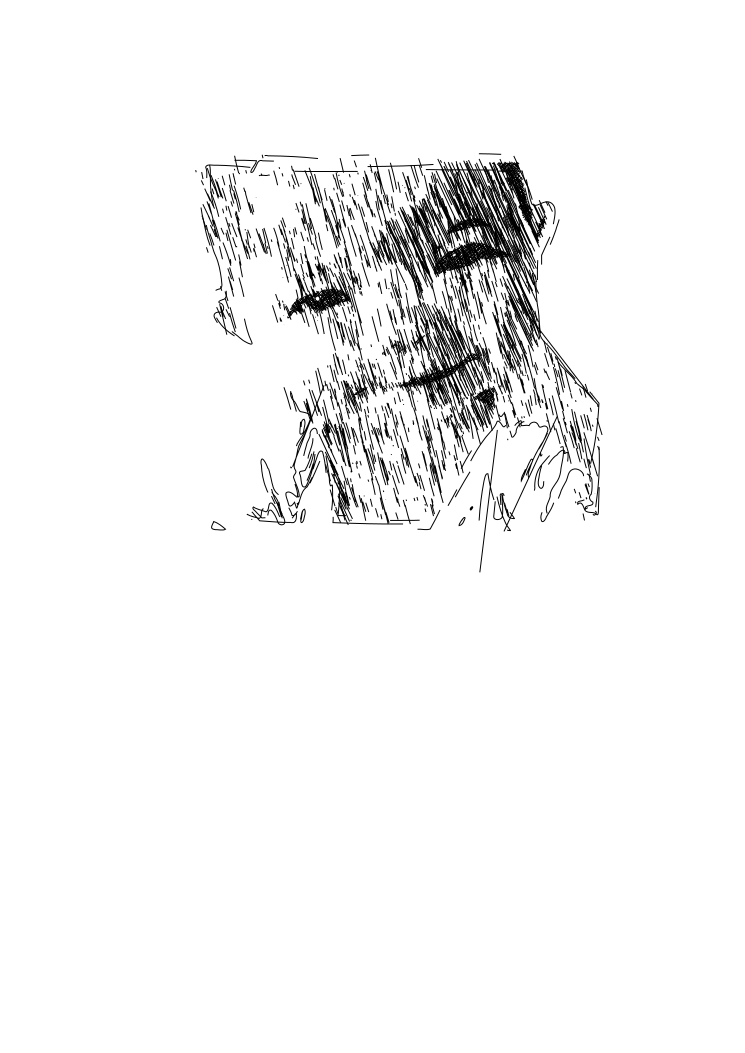
Having seen a number of chore charts and schedules on Pinterest, I decided that I could probably benefit from one myself. It is so hard for me to motivate myself to do the chores around the house, but I LOVE checking off my accomplishments. Enter the Chore Chart:

I decided on chores for each day, separated into morning and afternoon chores, a chore for each weekday, and a rotating set of chores for Saturdays. The project took a little longer than I expected, mostly because it took a while to get the pen set up correctly.
INSTRUCTIONS:

- Create the text (your list of chores) in a file (like notepad).
- Open Silhouette Studio and choose a border or outline shape of your choice (this is really optional if you would rather just stick with your original paper size).
- Pick a thin font (it will draw the outline, and a thin font will make it look more like one line), and enter in your text. You can arrange it however you like on the page within your border.
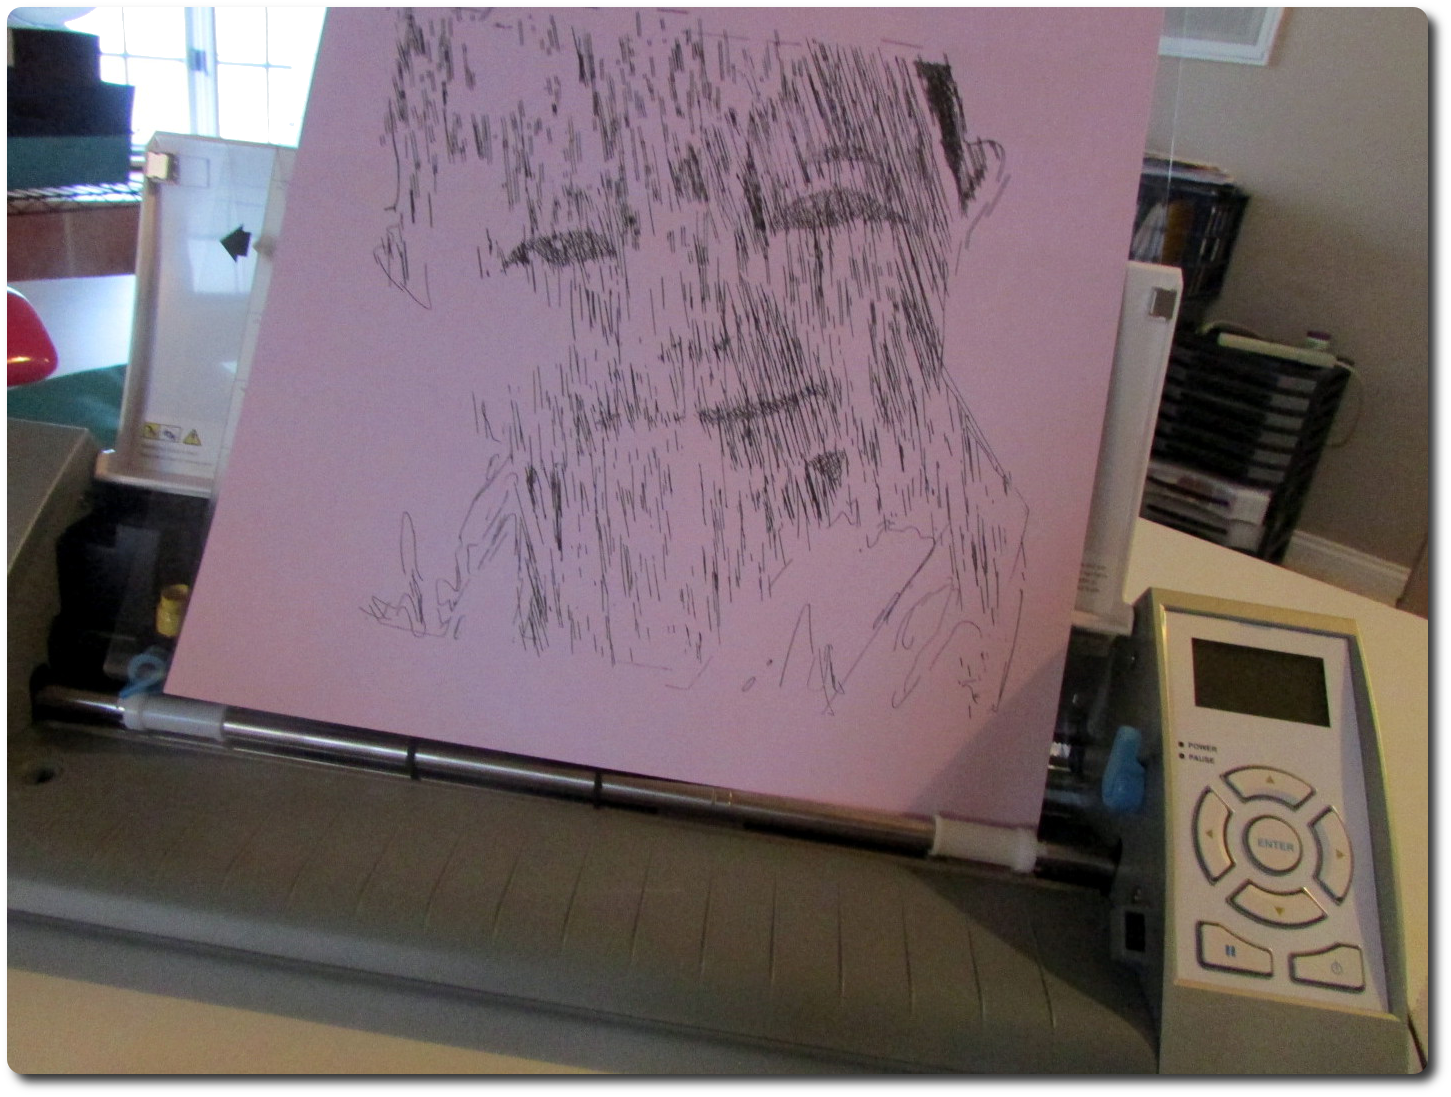
- If you have a pen holder for your Silhouette, it will probably go more smoothly than it did for me, but it can be done without one! If you do NOT have a pen holder, you can try what I did. I wrapped the pens I wanted to use with some painters tape.The trick is to get it just the right width, so it may take a little bit of fiddling. If it is the right width, the pen will be able to fit in the holder, but not move up and down when you start drawing with it. Also, be sure that it is positioned with the tip just slightly above the surface (I have read that a popsicle stick is handy for this, but I didn’t have one handy). If, like me, your pen is initially too low, you may get a streak across the page as you can see in the upper left corner of my project. When this happened, I paused the machine, lifted the pen up a bit, and started it going again. I also got some skipping, which I think was due to the pen then being too high – so your results may vary.
- Now, once your pen is ready and in place, you need to prep your file for drawing:
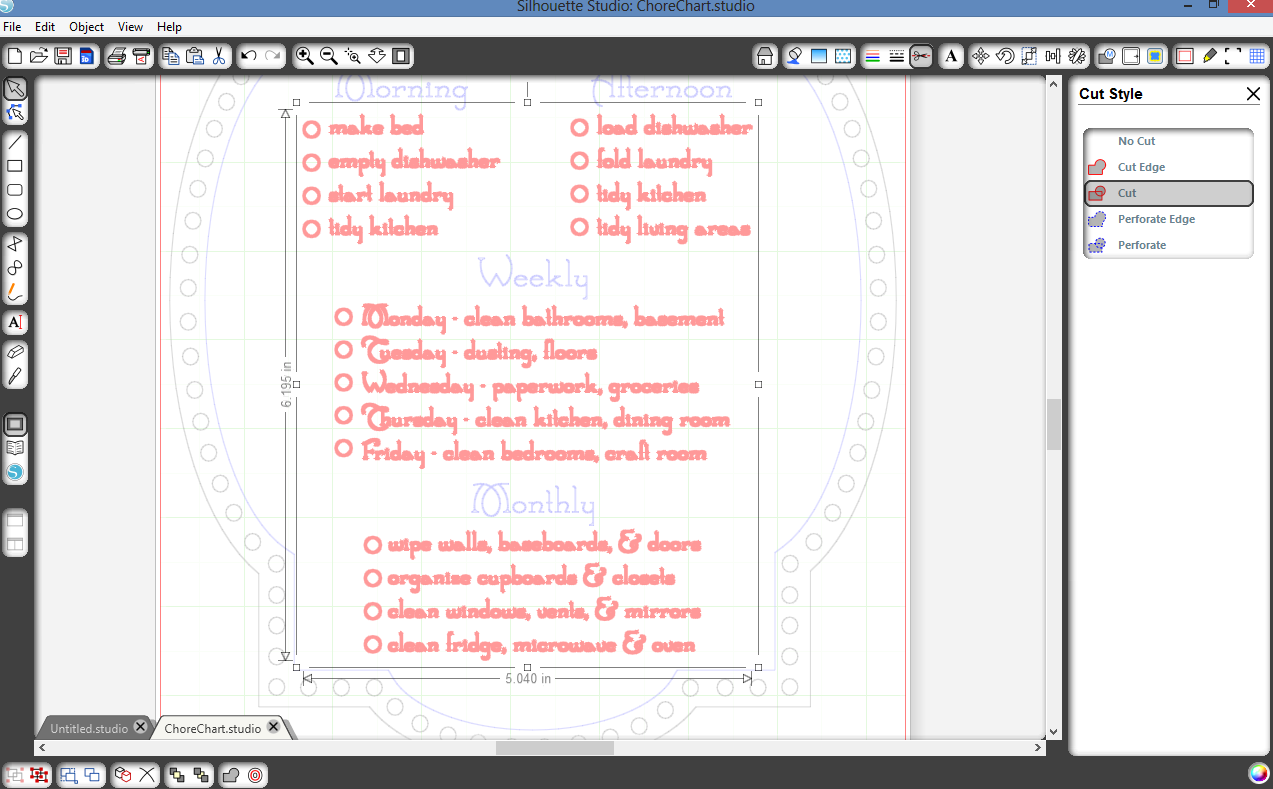
- Select the text that you want to be written out in the color of pen you have loaded in your machine. Make sure that this is marked as “Cut” in the “Cut Style” options dialogue.
- Select the text and frame that should NOT be drawn, and mark it as “No Cut”.
- This will ensure that only the text you want will be drawn
- Load your mat, select “Pen”, and hit “Cut”
- Once it finishes, DO NOT unload the cutting mat. Go back to the “Cut Style” options and switch what you just drew to “No Cut” and what you want to draw next to “Cut”. Change out your pen and “Cut” the next set.
- Still making sure you DO NOT unload the cutting mat, swap your blade into the machine. Set everything to “No Cut” except your outline and then hit “Cut”.
- Congratulations, your Chore Chart is complete!
I was going to frame mine and hang it where I would see it every day… but I didn’t have a frame handy. So, instead, I slipped it into a plastic sleeve and hung it up on my refrigerator. It is still just as usable with a dry erase marker, just a little less pretty!
If you have a similar system, or make a chore chart, what chores do you have on your schedule?