DIY Hand Lettered Art Project
Welcome to my website and today’s journey through my hand lettered artwork project! Have you tried hand lettering? With all the amazing hand lettering on Pinterest and Instagram, I just couldn’t stay away. Such pretty lettering ought to be admired by imitation, in my opinion! 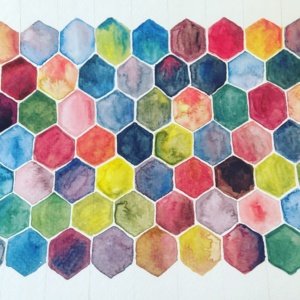
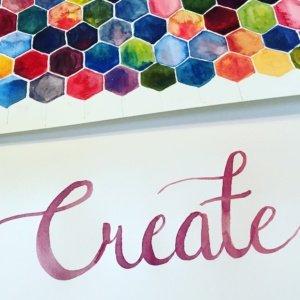
Well, my hand lettering led to water brush pens and watercolors, which led in turn to watercolor doodles. Then, I saw this on Instagram. Watercolor hexagons! Perfect, I thought, I can usually make patterns and I love playing with the colors. Of course, I didn’t attempt the project free-handed, like the lady I saw as my inspiration. We’ll save that for a later date.
Instead, I drew nice little evenly spaced guidelines for myself. I used the materials listed below. These are Amazon affiliate links, but buy wherever you like! I generally buy new supplies at the craft stores with coupons. I love coupons.
Very, very relaxing, at least for me! Try to leave a little border between the hexagons. I found that it helped to put a dot where each corner ought to go and then connect the dots. You can also add a little extra color to the hexagon while it is still wet to get some fun variation!
Adding a Hand Lettered Word, Saying, or Sentiment
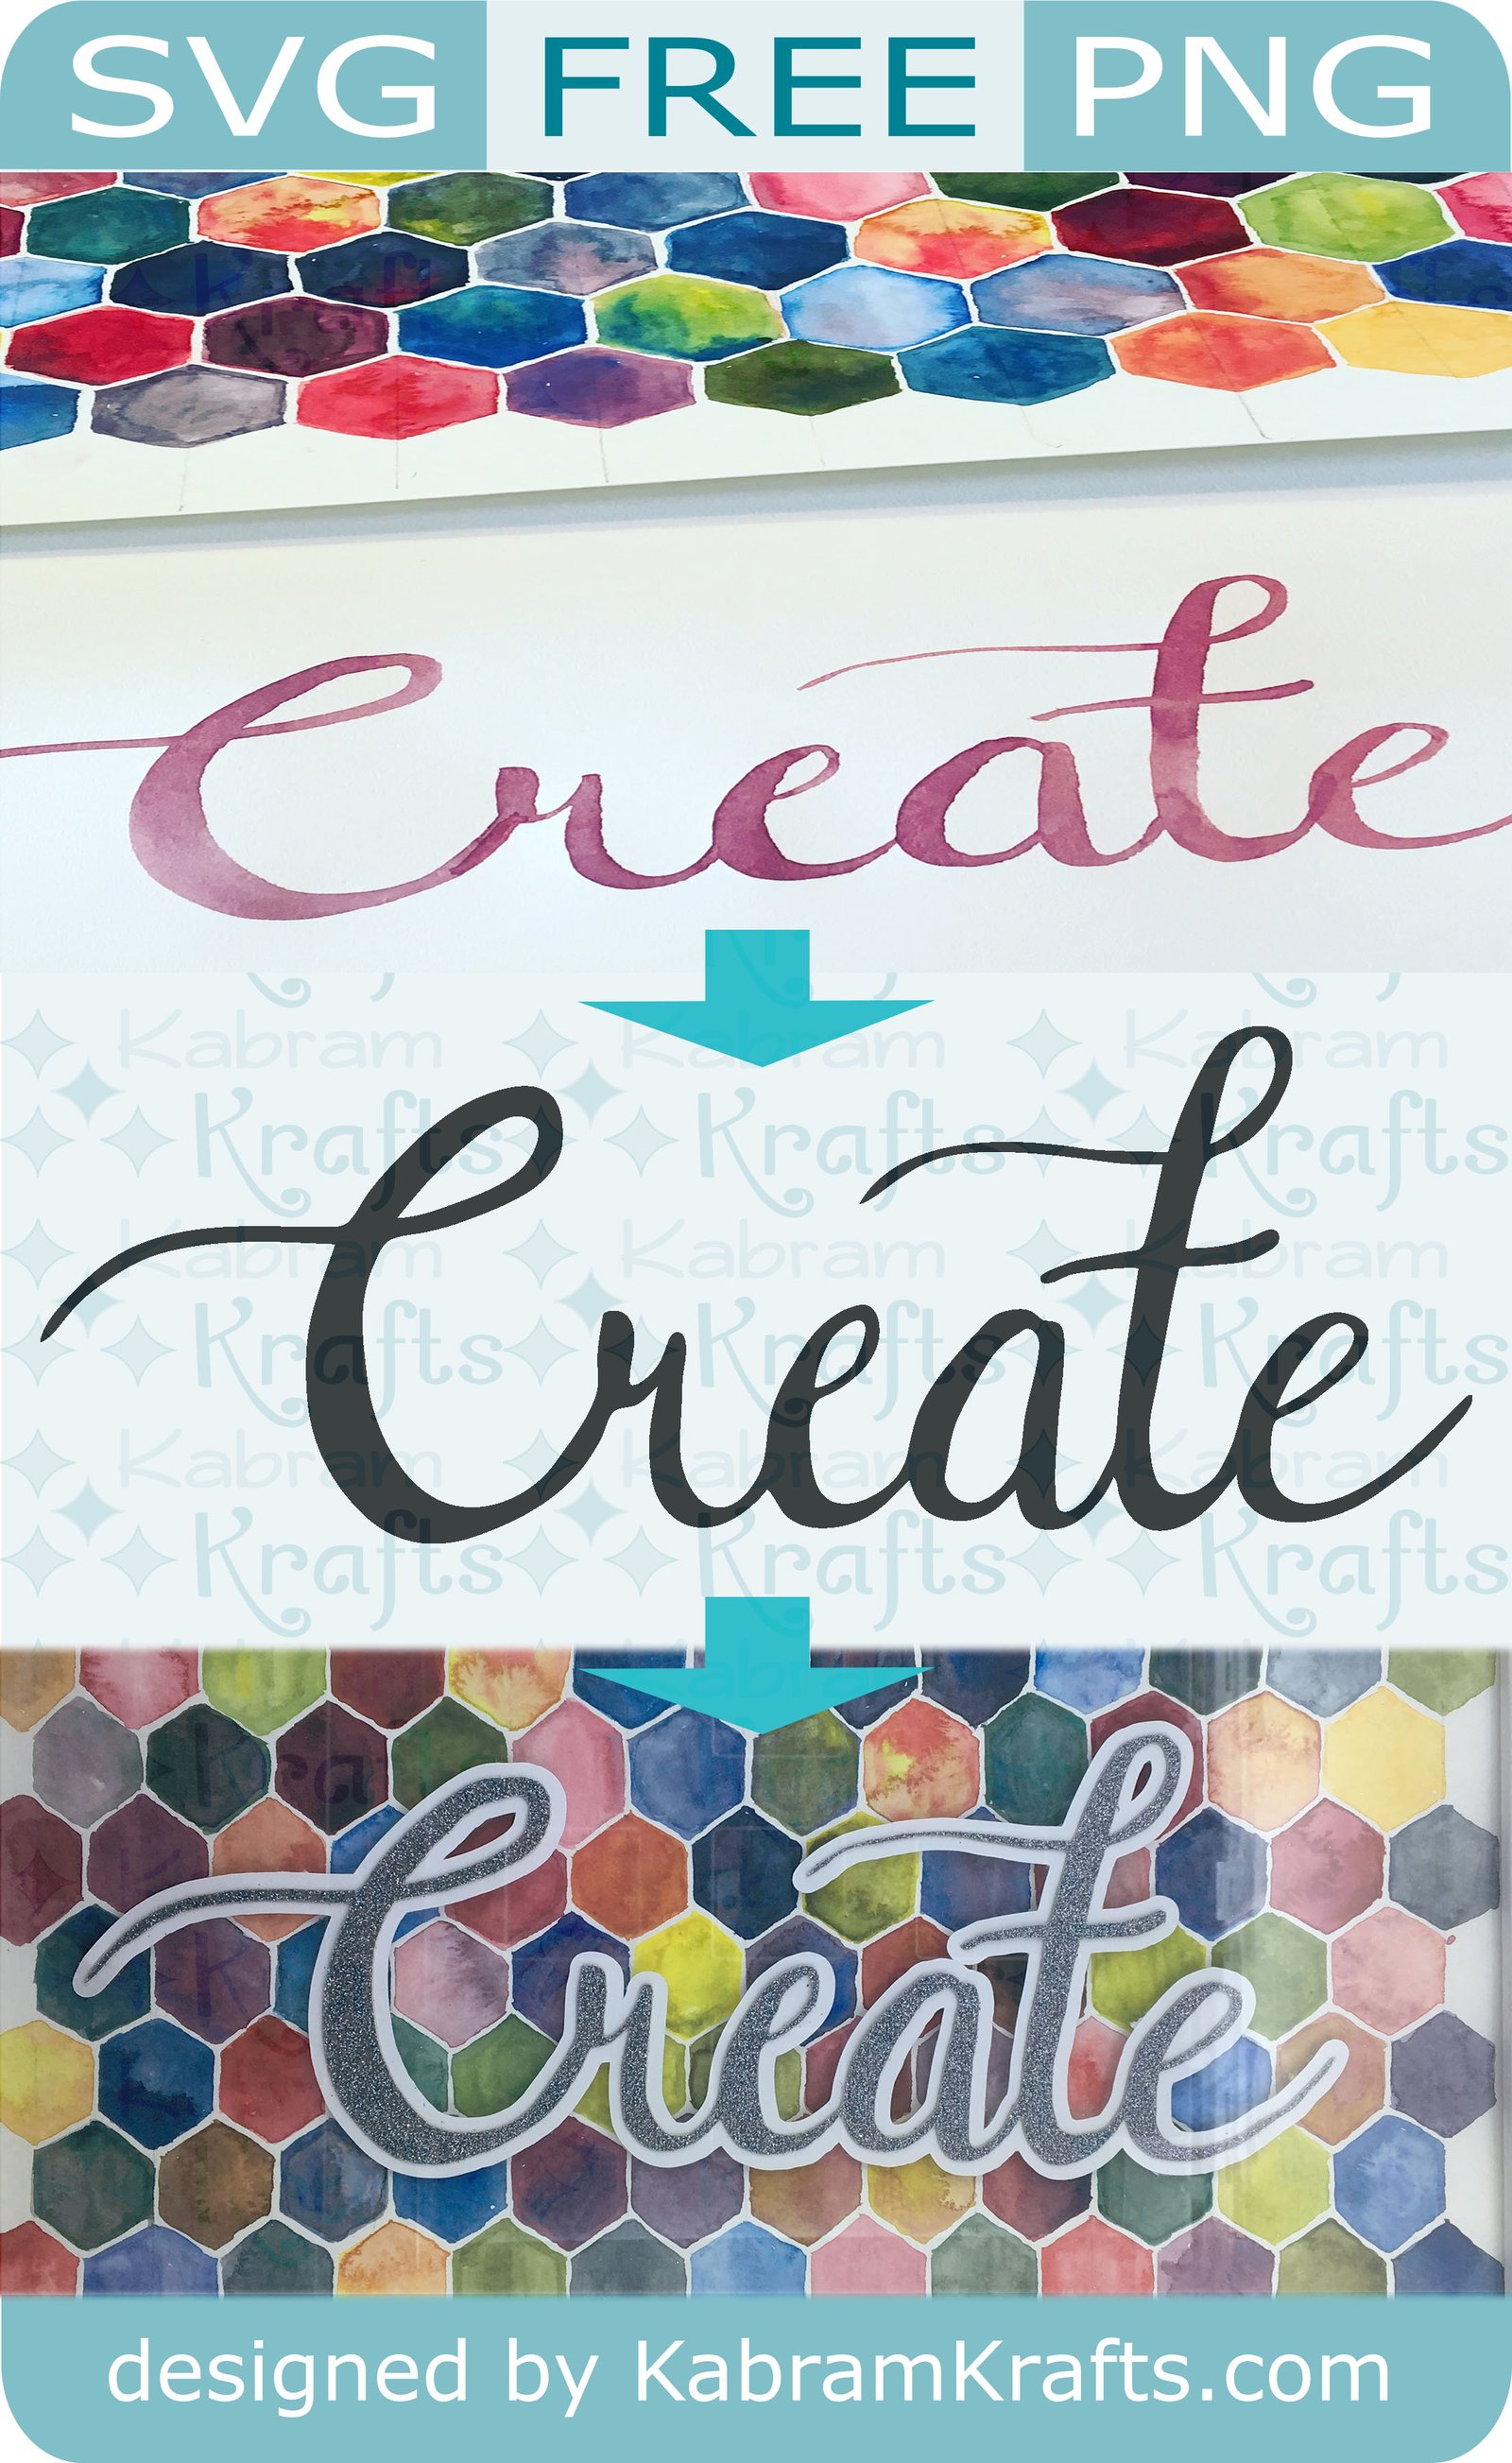
I don’t know if it is a craze right now or not, but hand lettering is highly addicting! For my piece of craft room artwork, I thought “Create” would be an apt word to add. I used my Pentel water brush again to letter this on another piece of watercolor paper with the plan to cut it out and put it on top of my hexagon masterpiece.
As a sidenote, I have also been playing with brush markers for hand lettering practice. Take a look at my Instagram feed if you want to see what I have been up to in my spare time. Here are the pens I have been playing with (there are many more that I want to try as well!):
Hand Lettering Tools I have been playing with lately
 After it dried, I cut the watercolor paper down a bit and stuck it on my PixScan mat for my Silhouette Cameo to cut out.
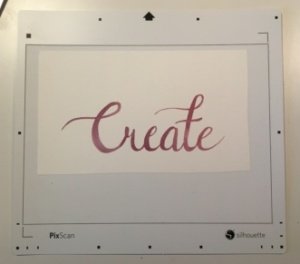
After several tries, it finally registered and cut. While it went through and cut smoothly, it was off a bit. I took it off and played around with it a bit on top of the hexagons.
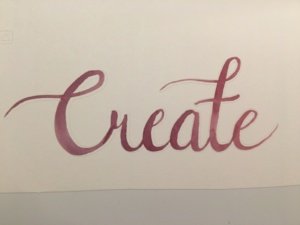
It would have been okay, but I didn’t really like the look of it on top of the hexagons anyhow. So, I scrapped it, and kept just the outline.
When in doubt, use Glitter!
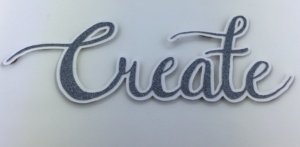
Glitter to the rescue! I found this lovely piece of VERY THICK glitter paper in a nice dark gray. It looked like it would go well, so I set about to cut out my lettering. Does anyone know if this particular glitter cardstock is thicker than normal?
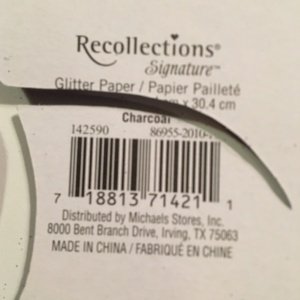
I have not previously cut out glitter cardstock. Looking in the materials list on my silhouette, I found and choose the “glitter cardstock” settings. After running the file through the cutter, I pulled it out. Sadly, it was not cut all the way through.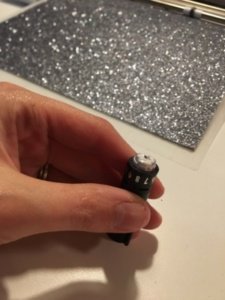
So, I stuck it back in the Silhouette Cameo for another double-cut run through. Took it out, and it was still not cut through. This time I checked my blade to find it filled with glitter.
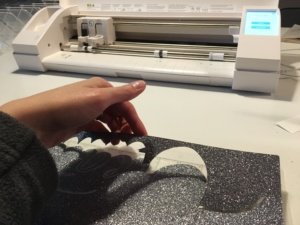
After cleaning it out, I upped the blade depth a bit and stuck it back in. Almost this time! Cleaned out the blade again. Fourth time was a charm and it looked great!
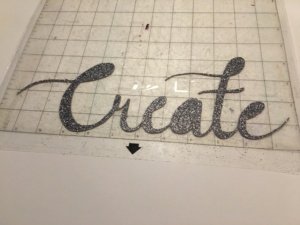
Persistence paid off and I was very thankful that it stayed aligned despite its many trips in and out of the machine. I then did a quick offset and cut a second one out of another piece of white cardstock. Isn’t it pretty?
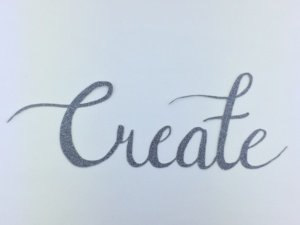
Look at how pretty it looks on top of the hexagons! I am thrilled that the 4 times through the Silhouette Cameo paid off. Just in case you didn’t put this together, that is 8 cutting passes since it was set to double cut!
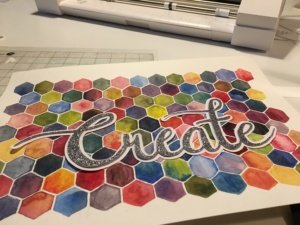
Now, it just needed a little extra depth. For this, I turn once again to my large supply of cork scraps. Use anything with a bit of thickness, I just have a lot of cork scraps lying around from making coasters!
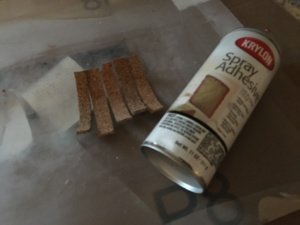
In fact, if you need some coasters, please head over to my Etsy shop and take a look. I welcome custom orders if there is something in particular you are looking for!
[etsy-include=KabramKrafts;21231028]
Also, check out the other pictures I made for my playroom using this same technique.
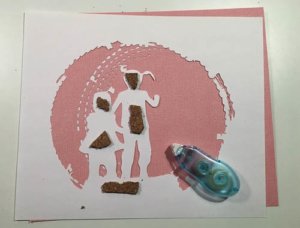
Except, this time, I just sprayed the cork on both sides with spray adhesive. That seemed to do the trick nicely! Also, I didn’t get any photos of this, but I adhered the glitter cardstock to the offset white cardstock cut.
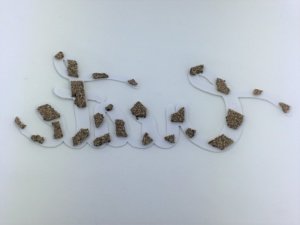

Almost Done! Now just position your lovely hand lettering on your lovely hand painted background
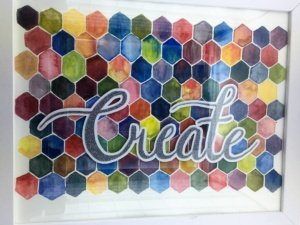
Beautiful! All set to frame.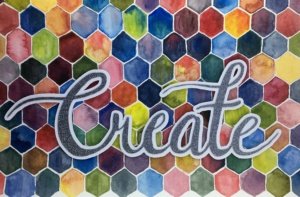
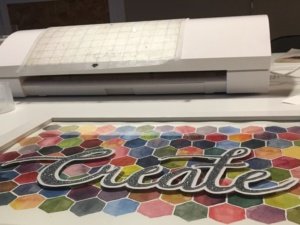
A nice little glamour shot of my framed artwork next to my Silhouette Cameo.
And, if you were waiting for this, I’m sorry for the long post. Here is the FREE HAND LETTERED CUTTING FILE! Just click the link below and the free SVG file should download.

