Posted on Leave a comment

Fall Leaves – Free Cutting Files SVG

Fall is upon us. Of all the seasons, summer always feels like it disappears the most quickly. I think fall leaves and colors are one of my favorite things about the fall. Hence, I thought I would make some leaf file cutouts.

I haven’t yet tried these out, but think they will be pretty for a fall note-card or perhaps a leaf mobile. Hope you like them and enjoy this transitional time from summer to fall!

FREE FALL LEAVES SVG FILE
CLICK FOR FREE SVG DOWNLOAD
PS – I apologize for the dearth of posts this summer. It has been a whirlwind, but I hope to get settled into a good routine as we enter fall.
Posted on Leave a comment

How To Create a Cutting file from a Photo Using Inkscape

I frequently use the freely available program Inkscape to alter and create new cutting files. It can handle more than Silhouette Studio and can also output a DXF file, which is a file format that Silhouette Studio can open and use.
Before and After


You can download Inkscape HERE (as of April 2016).
Normally, I would use Inkscape’s handy “Trace Bitmap” feature. This is located under Path->Trace Bitmap. It has lots of options which you can play around with for your image if you like, but I could tell that I wasn’t going to get what I wanted from this particular image.
The Trace Bitmap Function Doesn’t work as well on images with busy backgrounds!
The problem was that my image has a lot going on in the background and is hard to separate out from the foreground.
I’m guessing that there are some Photoshop gurus out there who could probably separate the background and foreground of this image and then use Inkscape’s Trace function. However, I am not one of those gurus and I don’t own Photoshop! Sad, I know. Alternatively, I could have tried to mess around with the image in GIMP (a fairly nice free alternative to Photoshop) – but I wasn’t up for that seemingly overwhelming task. Sometimes the dumb but straight forward way can be quicker anyhow!
Covered in Paths
Now, this method takes some patience, but you can get exactly the image you want and don’t have to hassle with photo editing. The basic idea is to use several circular paths to bend and form into the shape we need. If you have not played around with path nodes before, this may look confusing, but once you start, it is not too difficult.


Now for the tutorial. Begin by opening your image up in Inkscape, then do the following:


  1.  Draw a circle using the shape tool shown below and place it over part of your image.
  2.  Change to the arrow tool, click your circle, and select Path->Object to Path. This will ensure that your circle is a path and not just a shape.
  3. Now, go ahead and copy this circle and paste it several times on your image. I needed about 7 blobs (which started as circles) to cover my image. You may need more or less depending on the size and shape of your image.
  4. Now for the fun part! Click on the node tool (Arrow 1 in the image below). Then, click on your shape to start conforming it to your image. If you look closely at Arrow 2 in the image below, you will see a node highlighted in red. If you click a node, you can move it around.
  5. Drag the nodes to spots along the edges of your image. Once the node is on the edge of your image, move the little round “whiskers” (I don’t know what these are really called). These bend the edges of your circle and allow you to match the contour of your image. There are also tools for change the node type from a rounded one to a pointy one (right above Arrow 1). Also, keep in mind you can remove nodes by selecting one and hitting delete and you can add nodes by double clicking where you want one.
  6. Once you have your image covered in OVERLAPING paths, select all the paths (but not the image itself) and click Path -> UNION. This will combine all of your shapes into one, and if you did a good job matching the contours and filling all the space, you should have the image you wanted! You can see our bunny Geronimo loved being turned into a cutting file.


Here is the resulting file that I created. Feel free to download it and use it for your own creations.


FREE SVG FILE DOWNLOAD


Posted on Leave a comment

Playroom Reveal – Part II

Spring is approaching and I am thrilled. The sound of the birds chirping, and even the geese coming to nest by our pond is making me anxious for spring, gardening, and playing outside. Sadly, I know that I can’t count winter out yet.

Through the winter I have been slowly plodding away at making our basement playroom a colorful retreat. I think it is turning out lovely. While I still have a number of projects to fully complete the room, it is already a room we love playing in.

Functionally, the storage bins are fantastic. They hold TONS more than I imagined and it is great to have an easy cleanup routine. Our girls also love having a table and chairs near their play kitchen. They set up their animals to eat little meals. Also, don’t forget to add adult seating! The bench was a great addition to the room, and I love the green chevron pattern.

Painting some of our existing furniture with the leftover room paint has also been great. I painted the top of our train table to get rid of the harsh green in the room. I also painted a little wooden bench that I found at the thrift store. One last painting project is not yet complete – a kids desk that will be stocked with supplies and markers on the wall above.


We have waaaaay too many stuffed animals, but my husband and daughters are very attached to them, so I put up a hanging storage from IKEA for them. Note that I had to hang it from a diagonal bar as I wanted to ensure that I hit a stud when I installed it, and of course there was not one anywhere nearby! It is very secure now though, so if any young child should decide to play Tarzan, at worst it will break the mesh and bring stuffed animals crashing down around them.

The alphabet border is one that I compiled myself and cut out with my Silhouette machine in vinyl.

AWESOME ANIMAL ALPHABET CUTTING FILE DOWNLOAD


I really like how it turned out, though it took me a while to get it up on the wall in an orderly fashion.


With no door on the closet, it was easy to envision a reading nook. It is coming together nicely, with wavy mirrors in the back, bookshelves on the walls, and a nice string of lights. I still have to add a curtain and some floor cushions. The storage up high is also useful for keeping some things out of reach for supervised only play.
Overall, I LOVE the way it looks so far, and am excited to complete my last few projects and reveal the final product. I also hope to give more details on some of the projects I have completed for the room, but let me know if you have any specific questions as I would be happy to share what I did.

Have a great day and enjoy the warmer weather while it lasts!

Posted on 2 Comments

Make Your own EASY Valentine’s Day Card (Requires Cutting Machine)

Valentine’s Day is almost here. I love to celebrate holidays and occasions, but honestly, I haven’t had much energy for preparing such things as of late. Still, I wanted to at least make a nice card for my husband with my Silhouette Cameo cutting machine. After all, I love designing files for it, so perhaps I should use them once in a while.

This card uses a couple of Valentine’s Day SVG  cutting files I posted previously:

Striped Heart Overlay

Happy Valentine’s Day Sentiment

My card is fairly basic. I used a piece of white cardstock for the base and then added the heart overlay on the front, and the sentiment inside.  I used a thin paper with red roses printed on it. There are, I’m sure, many of you ladies who would be able to make a much much more elegant card from these files, but this is what I was able to do while my two baby girls were running around!

Give it a whirl, it doesn’t take too long. Be sure to write a loving note and seal it with a kiss. Ha! I didn’t even put mine in an envelope. My husband probably won’t even notice anyhow. Hope you have a wonderful Valentine’s Day.

I love to see your creations – feel free to leave a photo or link so I can take a look at what you come up with too!


Posted on Leave a comment

Striped Heart Card Overlay – Free SVG Cutting File for Valentine’s Day

HeartCard

Valentine’s Day is fast approaching. It has been such a mild winter here in Michigan it is hard to believe it is already February. We did have a good snow last night though to remind us that winter is not over yet!

I found a nice striped heart image online that inspired this cutting file. If I get around to making any cards this year I will post a picture of what it looks like cut out and adhered to a card!

UPDATE: I did get around to using this for a card. It looked very nice cut out on a rose printed background. Check it out here.

As always, please feel free to use this file for personal use only. I always love to see what you create with it!


FREE SVG File Download

Also check out my other Valentine’s Day cutting files:


Happy Valentine’s Day!
Posted on Leave a comment

Playroom Reveal – Part I

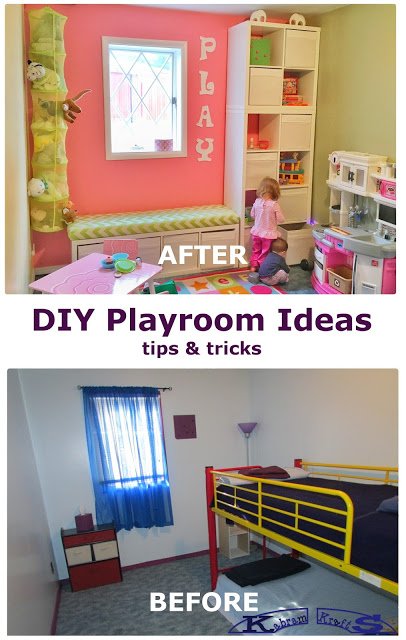
A lot of my time lately has been absorbed in planning and executing a playroom design in one of our basement bedrooms. It is a small room, though not too tiny, and had really REALLY ugly purple trim when we moved in. Well, okay, so the purple itself wasn’t such a bad color, but it was a really bad color for trim!

The first chore was cleaning and painting the room, including the trim. My theme colors for the room were in part chosen by the three clearance paint cans I found at Target in green, pink, and yellow. I ran with it and now everything in the room needs to be one of these three colors (or white).
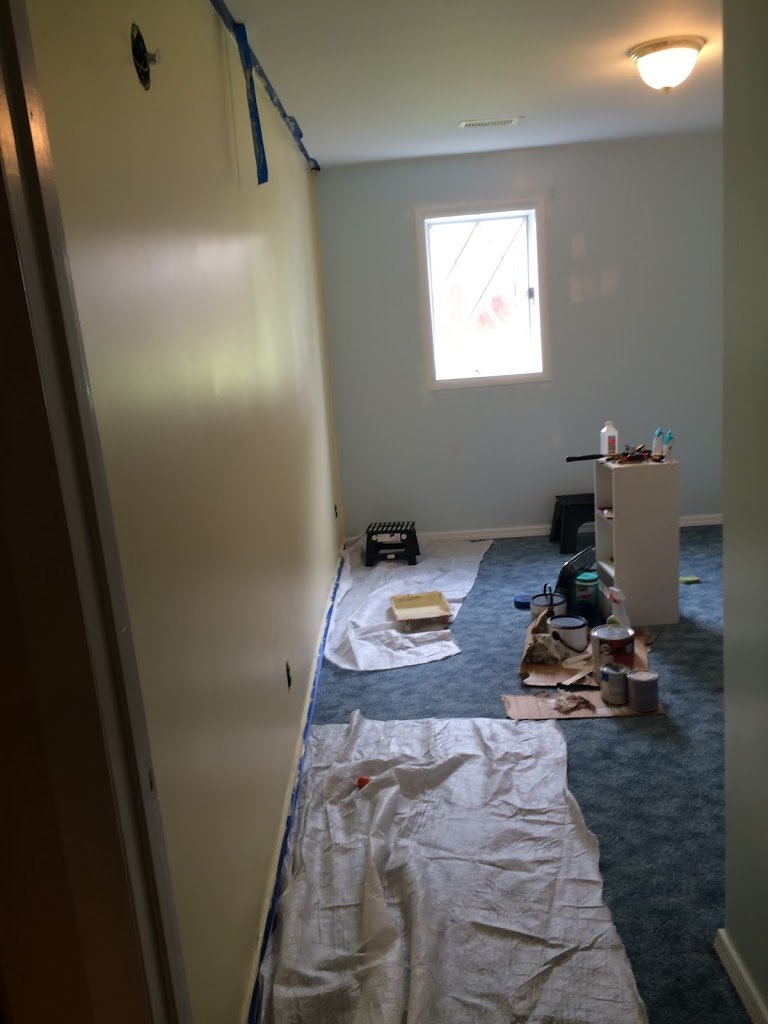
During Painting

Also, the outlets were a dark dark brown color and really clashed with the room, so of course I wanted those to be white too! Unfortunately, we couldn’t get the power back after the switch and had to have an electrician come out and help us, but now it is beautiful. This held me back for longer than I care to admit. I should have called the electrician in much sooner, but I kept thinking I would be able to solve it on my own. On the positive side of things, I did learn quite a bit about wiring in my attempts.

Paint Almost Complete!

I was also very glad to pull down the blue sheers and old purple cork board. The combination of new white trim and removing the old dusty curtains really lightened the room up! Sorry I took the picture at night – not much natural light coming in.

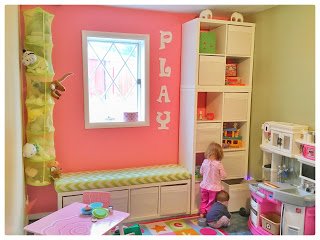
When the paint was dry, I really got moving. I was so excited to have the room in a usable state again after the electricity fiasco! Along the back wall I used the Kallax shelving from IKEA to create a lot of storage and a bench for adults to sit on. It is very handy to have somewhere to sit when your kids are playing, so don’t forget about yourself in the plans.

At last! It is coming together as I envisioned.

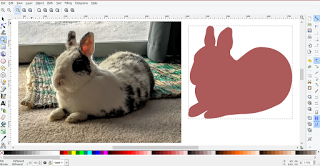
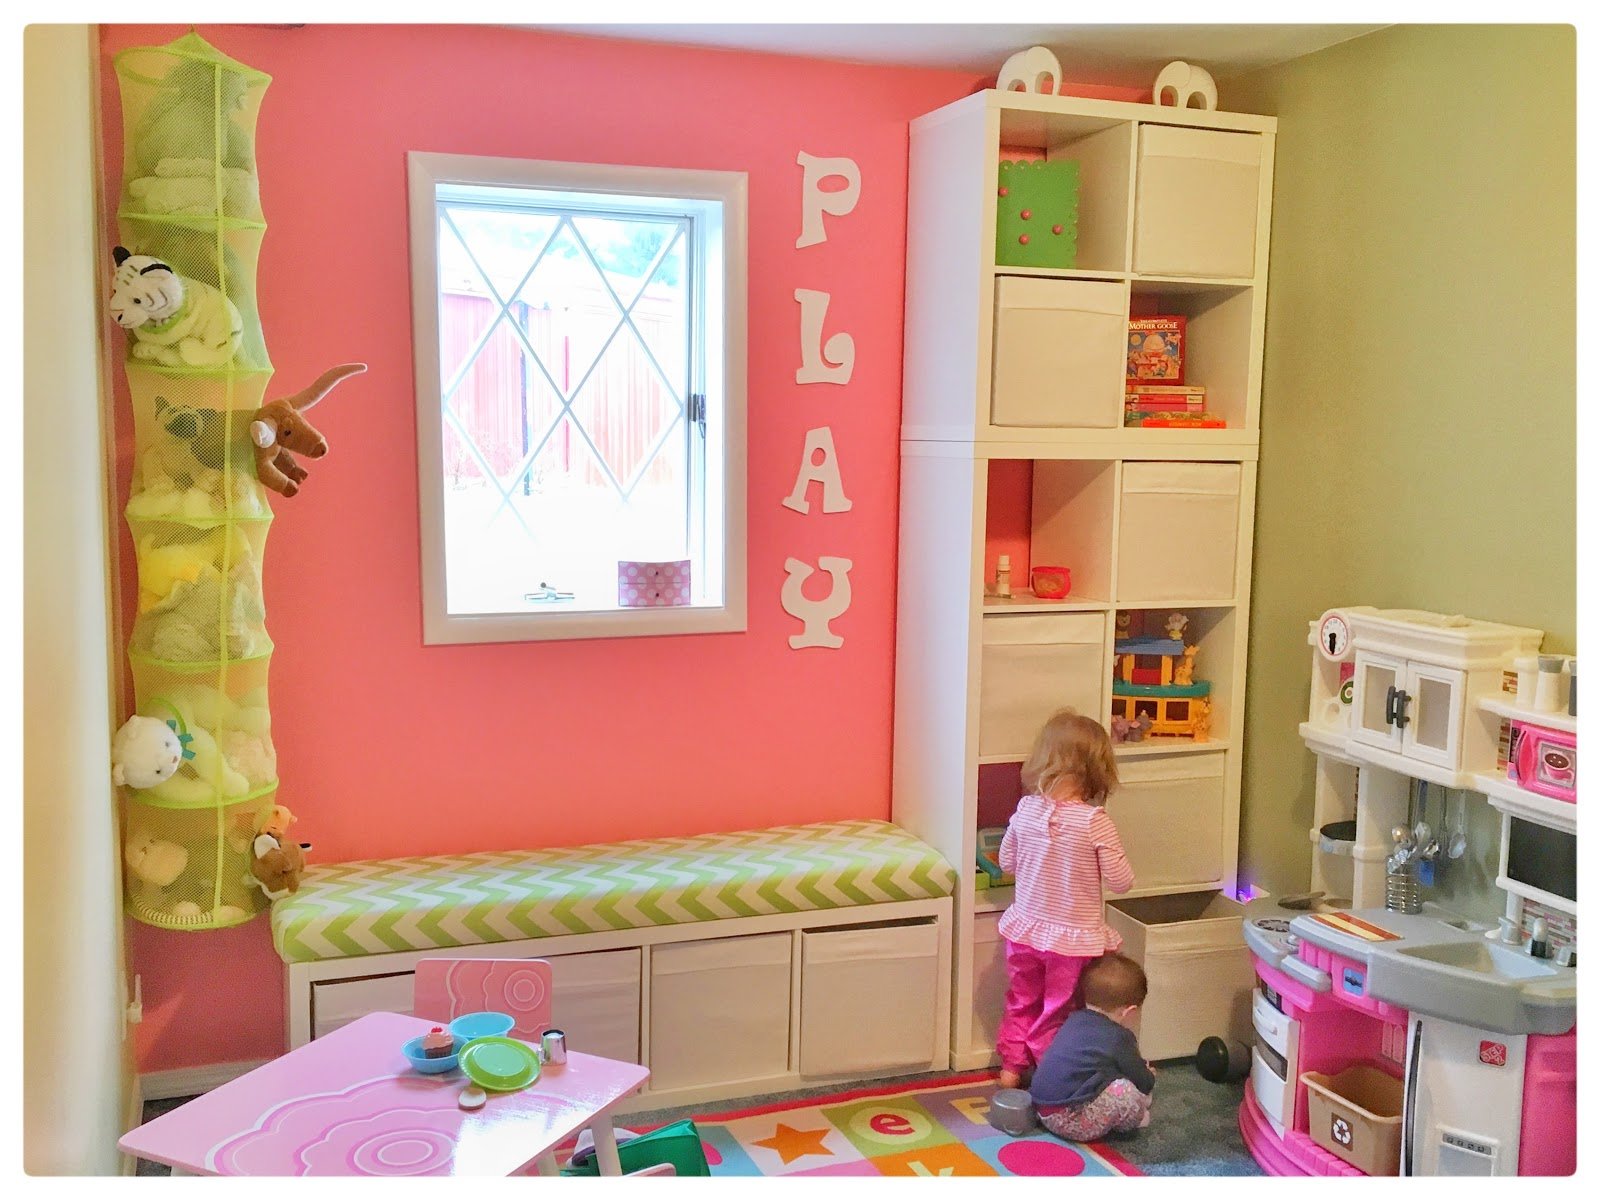
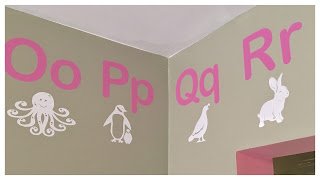
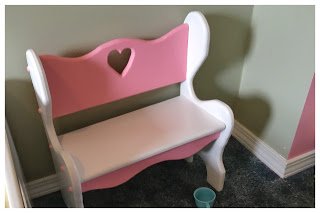
I splurged a bit on the bench fabric from JoAnn’s and used some foam I had left over from another project to upholster the top. I think it came out really nice and it was my first upholstery project. I will post more details in later posts for a lot of these projects. One project that is nearing completion is the vinyl animal alphabet I plan to add to the green wall on the right. I have it all cut out and ready to put up. I already posted the file HERE, but it will be much more fun to see an example of it all cut out.

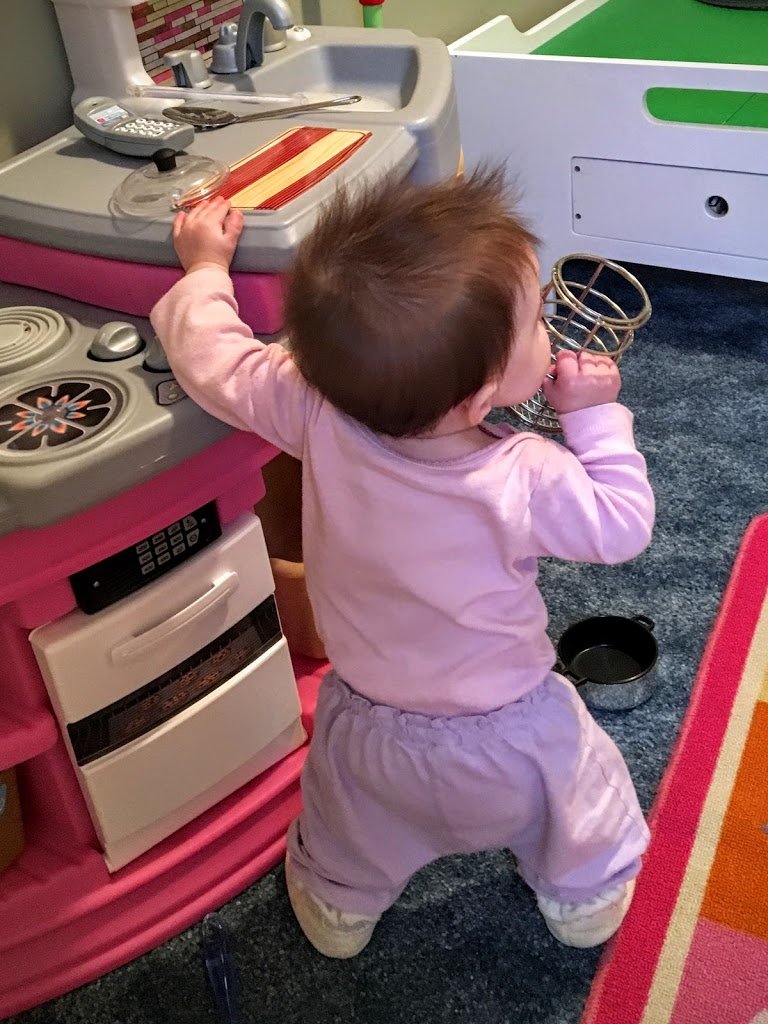
Getting in on the Playtime

Labeling the bins with pictures is still on my to do list, but I really like how the “PLAY” and elephants from Hobby Lobby livened the room up.


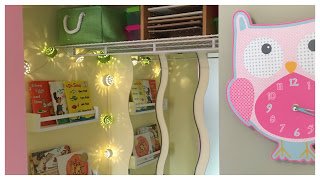
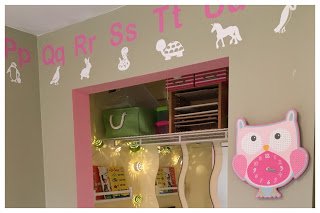
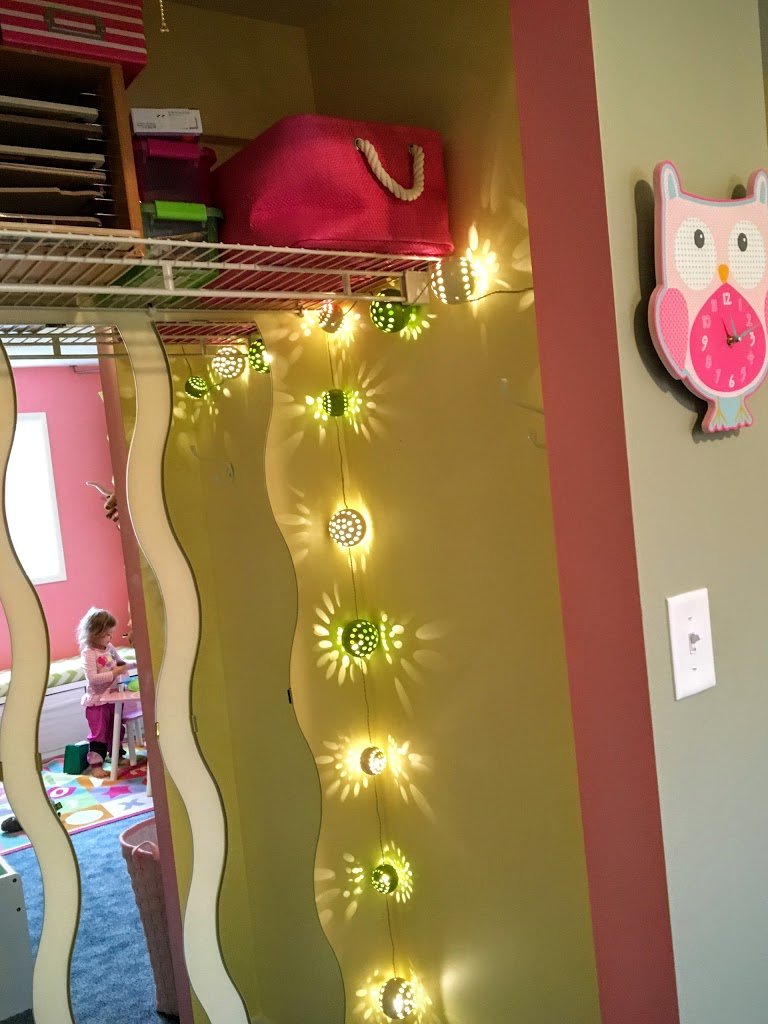
Closet lights and Mirrors

Our girls did not hesitate to start using the space. The kitchen and kids table worked out really well with the color scheme too. In the closet, I made use of some super nifty wavy mirrors (from IKEA again) and lit the space up with some neat string lights. I was really quite excited to learn that they make light socket adapters with two outlets in them. This turned out to be the perfect place to plug in my string lights AND have them be on a switch to boot. I also have a curtain across the door (not in the picture) that I plan on lengthening. The closed still has some additions in the planning stage. These include IKEA spice rack book shelves and foam pillow rolls for the floor to make it a really cozy reading nook.

More pictures and project details to come! Let me know if you need details on anything.

PART II HERE

Posted on Leave a comment

Christmas Tag Cutting Files

Christmas Tag

Finally! I got around to actually using one of the many wonderful files you can find out there. I found a delightful Christmas Present Tag cutting file and thought it would be nice to have a few on hand to label our gifts.

I found this lovely file over at the Lia Griffith Blog. She has it up for free in both PDF and SVG formats. I don’t have the Designer Edition of Silhouette Studio, so I opened it up in Inkscape and saved it as a DXF file. Then, I opened that file in Silhouette Studio and cut a couple sheets of them out. They did take a loooong time to cut, even after I set it to full speed, but I wasn’t in a hurry and I think it was worth it.

Here are the results. I am happy with the way they turned out, but I know I haven’t gotten my photography skills up to par enough to make them look as good as in the original post! I think the snowman I made the other day would look cute next to one of these little tags on a package too. Check him out if you haven’t!

Follow my blog with Bloglovin

Merry Christmas Everyone!
Posted on Leave a comment

SNOWMAN ETCHING – FREE SVG CUTTING FILE DOWNLOAD

Snow is coming, I can feel it! In my hometown in Colorado there was a snow day today, but we have been seeing quite the balmy weather here in Michigan. It has been in the 50’s in December! Awesome! Although, I do like a white Christmas, so I am torn.

Etched Snowman Mugs

At any rate, this latest file is the product of a friend’s etched glass project. She wanted a set of etched glass mugs for a gift she was making and we thought this little snowman was just right for the job. I think her mugs came out very cute! And, as I hate wasting such nice little cuts, I stuck the leftover stencil insides on the window for a little seasonal cheer.

If you are curious about the etching, it is really fairly simple. You cut out a stencil on vinyl (or contact paper if you want to cheap out – it seems to work just fine for this). Apply your stencil to your glass object – in this case it was a rectangle with a snowman cut out of it. Leave the part you want etched blank, the stencil should cover what you DON’T want etched.


Apply a nice little layer of etching cream with a foam brush. Let it sit according to the directions on the bottle. Wipe off the excess (or put it back into your bottle), and rinse. Be careful not to wipe the cream onto other parts of the glass or wash it off where it hits the glass outside the stencil if at all possible. Remove your stencil and admire!

Hope you like him and Merry Christmas!

SVG Download
Posted on 2 Comments

Hand Drawn Stencil Pattern – Free SVG Cutting File Download

Happy October!

Hope everyone is enjoying the cooler weather and getting in some quality outdoor time before the weather turns colder. I have been having fun drawing new designs.

This is a design I drew by hand and then edited in inkscape. Part of its charm is that it is not perfectly symmetric. I envision it on a card or a wall, or perhaps on a background. Let me know what you make with it, I love seeing other people’s projects!

As always, these are free for personal use only. Thanks!


FREE SVG DOWNLOAD

Have a wonderful day and thanks for stopping by!

Posted on Leave a comment

Free Flower SVG Download

I have been working on creating some new cut files lately. I start by doodling around and then work to clean up the images in Inkscape. Anyone have any suggestions for other files I might work on? Also, I am thinking of putting up a tutorial for creating cut files from your own doodles – hopefully coming soon!

Hope you like this flower. Feel free to use it for personal use and have fun crafting!
FREE SVG Download