Posted on 2 Comments

DIY Wooden Growth Ruler Chart

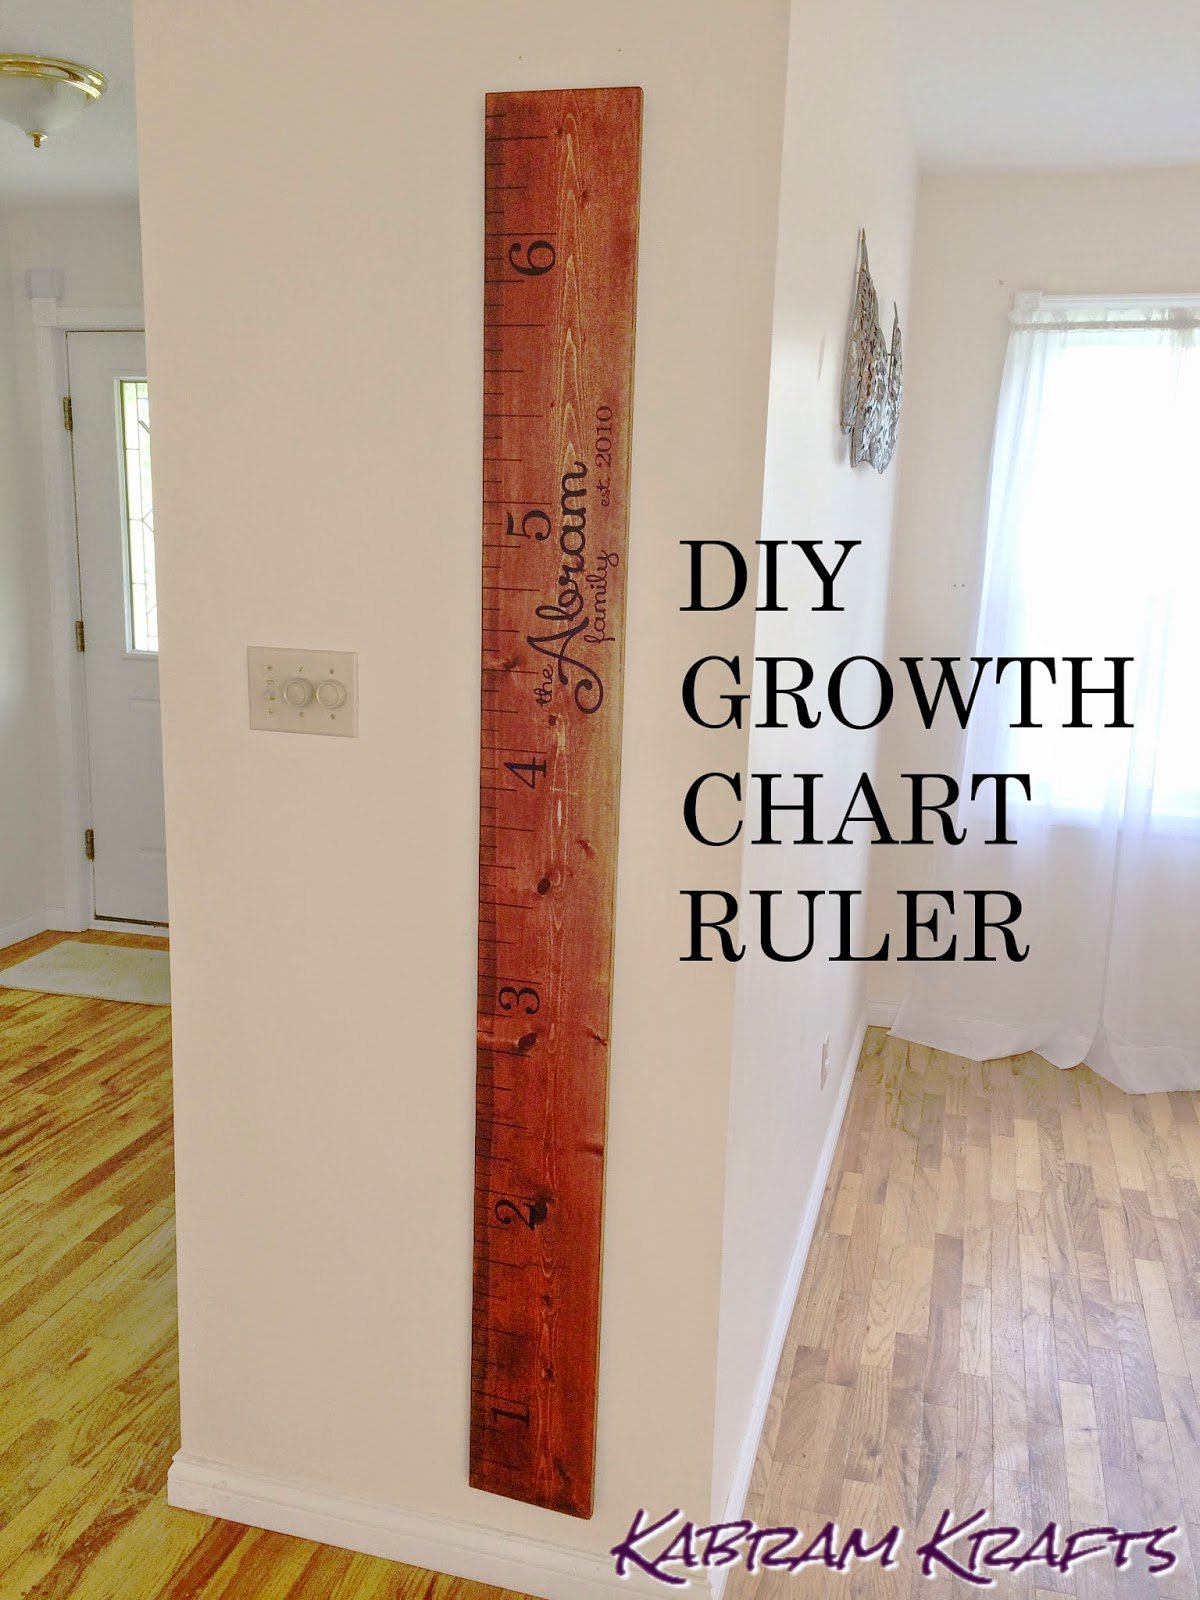
Well, this is one of those projects that I’m sure you have seen if you have spent any time on Pinterest. Despite its ubiquity, I wanted to give it a try since it has a wonderful appeal both in its practicality and in its decorative nature.

Once completed, you can chart your children’s growth without the worry of having to leave behind a chart on the wall. The ruler is also a beautiful keepsake for years to come!

I wanted to keep the cost of this project down, so I rummaged around the stash of paints and such that was left in our home by the previous owner. I found a can of stain – just what I was after. Now, this meant that I had to be content with the stain color I had (red oak), but it definitely kept the costs down.

Materials

  • 1″ x 8″ x 6′ board (I had them cut an 8′ pine board down to 6′, cost = $8)
  • Stain – whatever color you like, it really doesn’t take too much either
  • Sandpaper
  • Black Permanent Marker
  • Ruler / Square (Square is optional, but VERY helpful)
  • Silhouette Cameo (optional – can use printer and exacto to make a template instead)
  • Black Vinyl (optional, see above)
  • Clear Spray Coat (optional)
Directions
 

  1. Sand and Stain your wood.Tips: Sand a lot; I definitely should have sanded this some more, but oh well… Also, you can wipe your stain off after several minutes with a paper towel to get a lighter look (didn’t know this at first!)
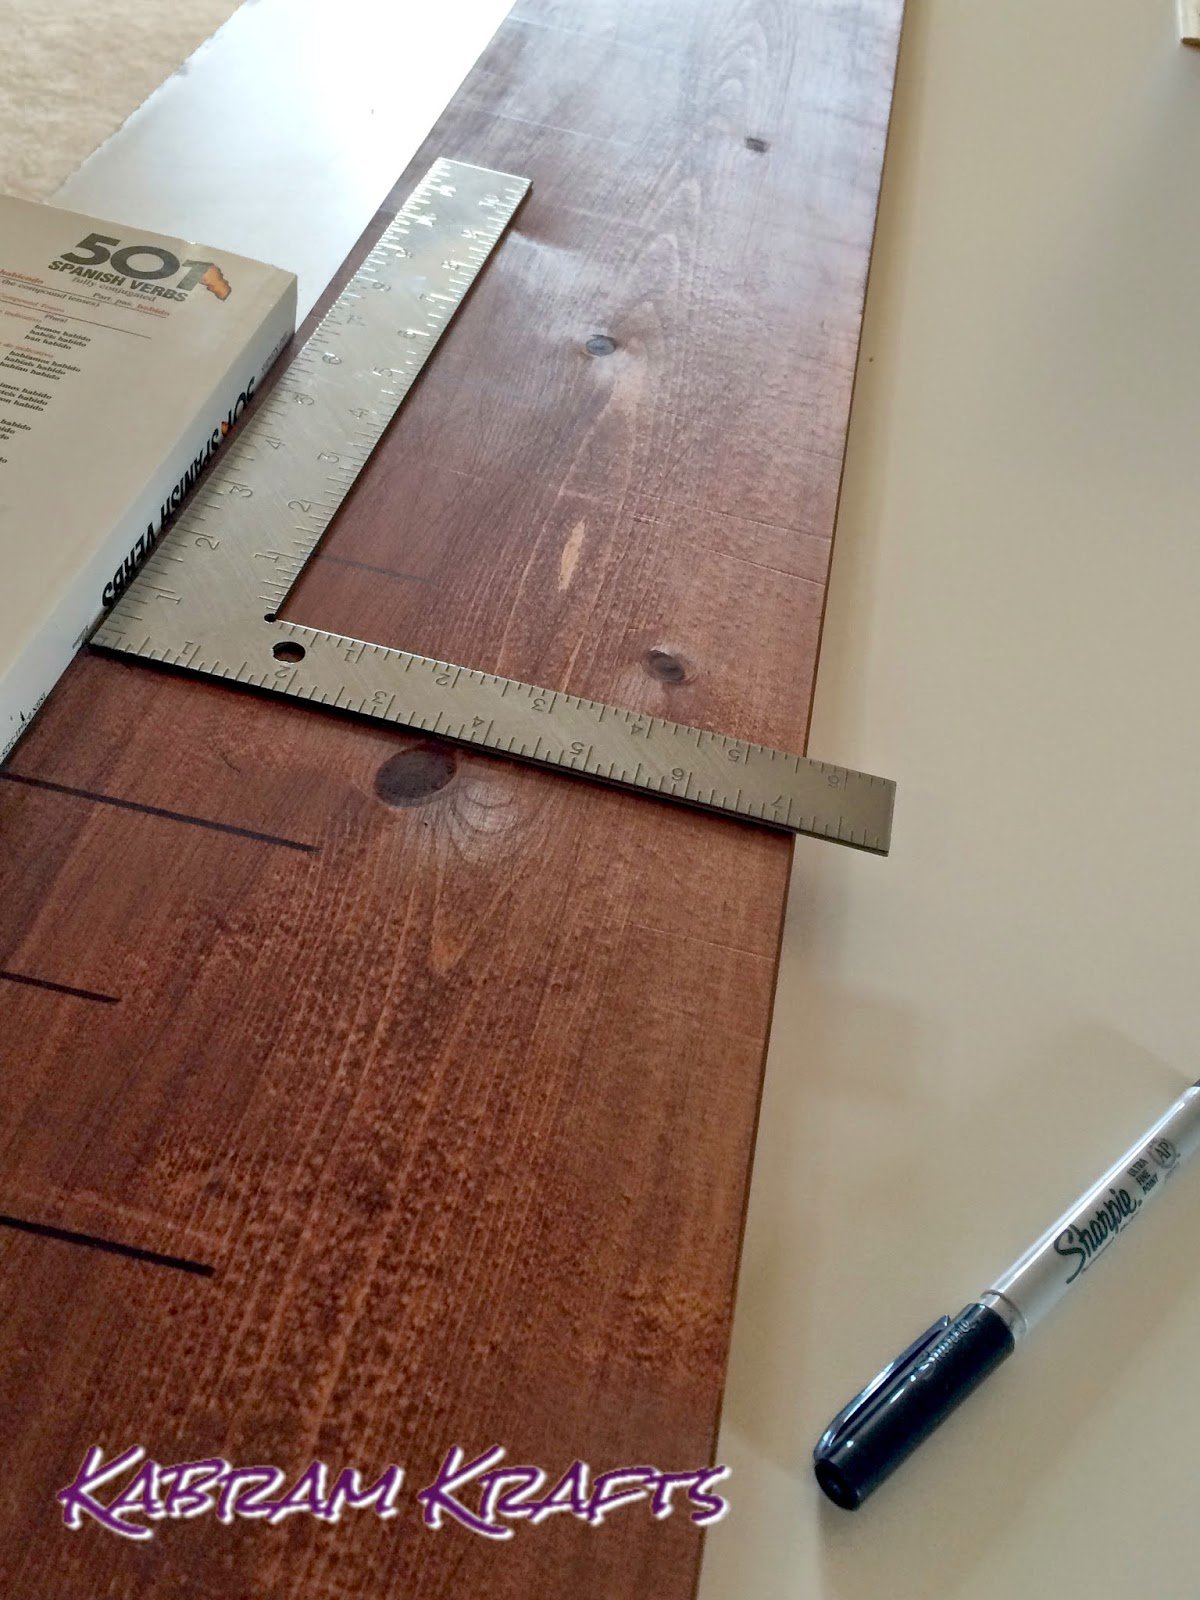
  2. Mark your lines every inch with your permanent marker and measuring device.Length of the lines I drew:
    – Each “foot” mark = 3.5″ long
    – Each 4″ between feet = 3″ long (these divide each foot in thirds)
    – Each 2″ withing the thirds = 2″ long (these divide each third in half)
    – Each remaing 1″ mark = 1″ longTips: Use a square if you have one! This allows you to make even, perpendicular lines. I began my board at 6″, so my 1 foot mark was 6″ up the board. Measure the baseboards where you plan to hang your finished product to ensure you start high enough. Also, if you have room, there is no shame in making a taller ruler – I probably could have had an extra foot on mine if I had thought ahead.


  3. Spray your wood with several light coats of your clear protective coat.Tips: I don’t know how essential this is. It seemed to smooth the surface, make me feel better about the projects durability, and perhaps prep it for the vinyl. Note that I did not spray the project after the vinyl was applied as this can make the vinyl peel up. 
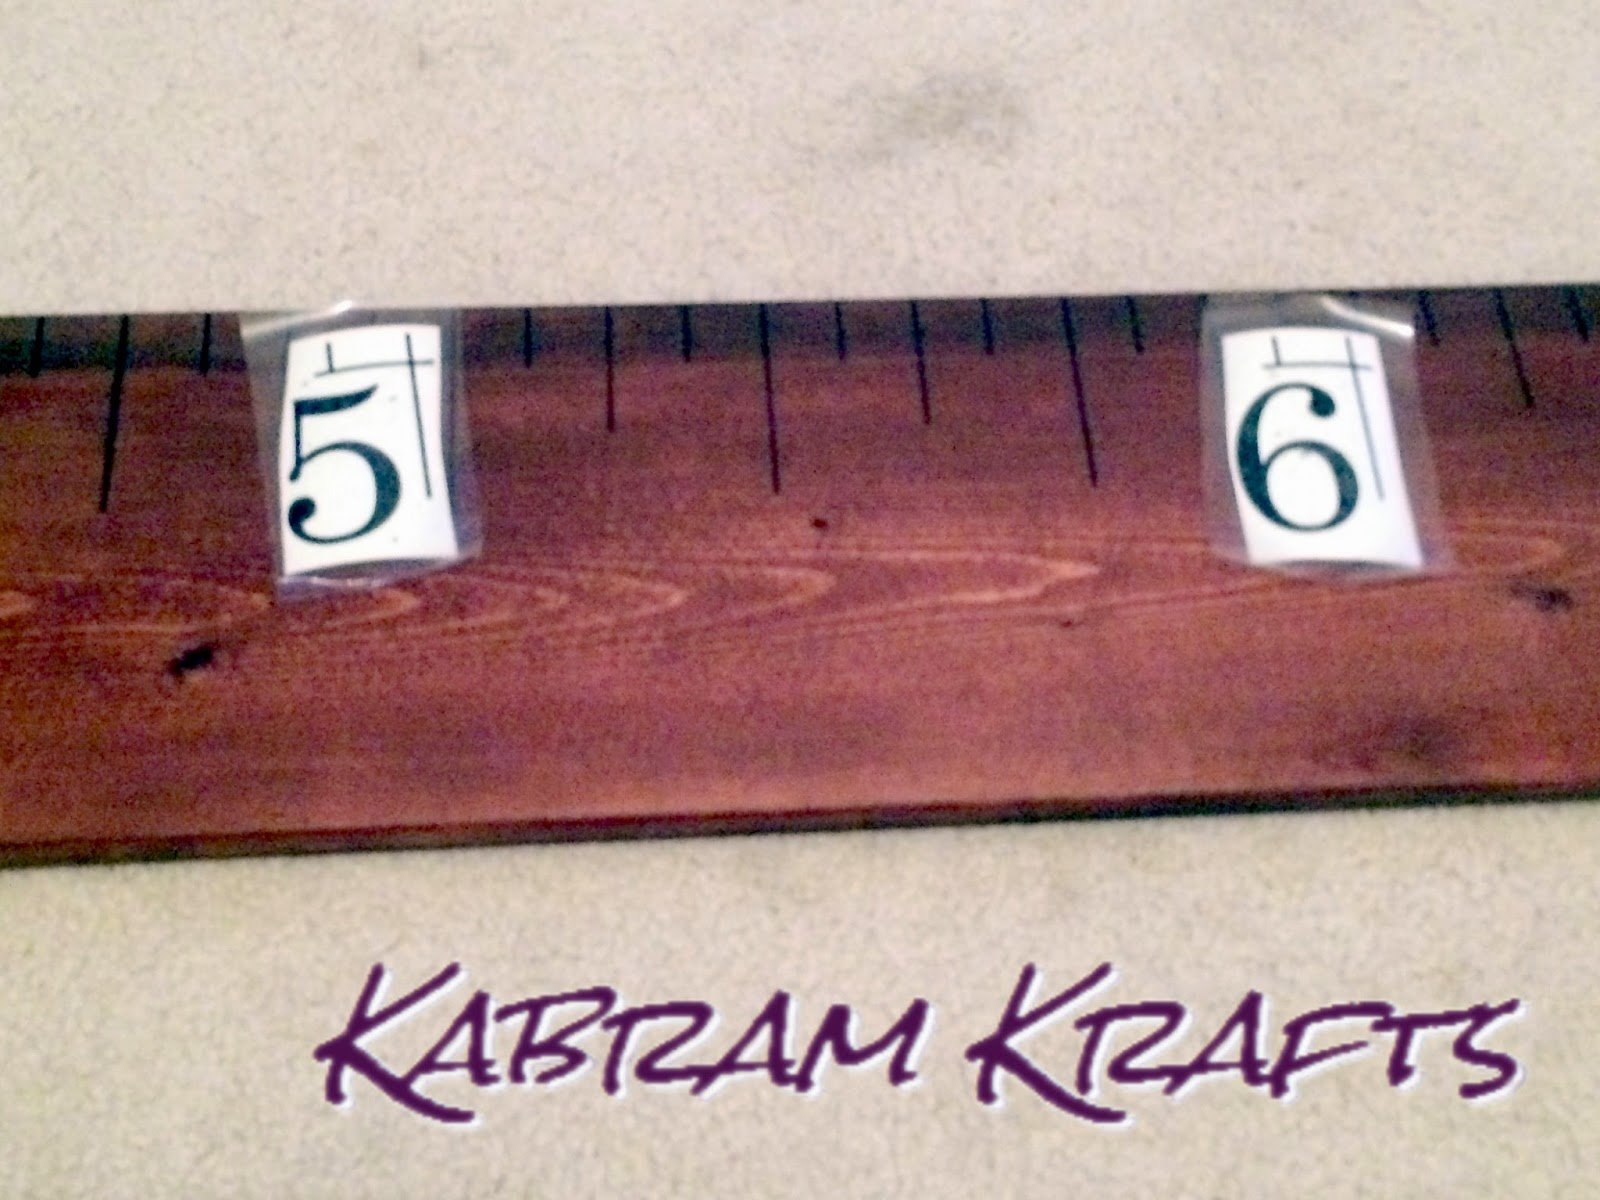
  4. Design and cut out your vinyl (or paper stencil). Feel free to use the numbers I made – here is my svg file.

    Tips: I used Century font and put a little bracket around each number to help me line it up. If you use my cut file, leave the bracket on while applying to get it straight, then pull it off your project. Play around with your name if you want it, I used Xiomara font with Century for the numbers.


  5. Apply your vinyl lettering and admire your work! (And, I suppose, hang it on the wall…)
If you made a wonderful growth chart like this, I would love to see how yours turned out.
Happy Crafting!
Posted on Leave a comment

DIY Bulletin Board and Household Command Center Makeover

We recently moved into a new house, and I am afraid my walls are mostly still blank. I have an area of our main floor that I have been using as a command center to gather odds and ends, pay the bills, stash the printer, etc. Someday, it will get a pretty little white desk, but unfortunately that is not in the budget yet.

What could I do to make the space more usable right now without spending money? It turns out I could do quite a lot. Well, technically, I did spend $1.50 on the frames, and a little bit at some point in time on the spray paint and a few other materials… but the point is, I didn’t go out and buy things I didn’t have already.

I had an old black framed bulletin board lying around, so I decided it needed a spray paint makeover! What doesn’t, right? Well, it turned out that I had paper and paint just the same teal color as a file holder I had on hand, so my colors were chosen.

Now, for the fun part!

I had already worked on some nice little chore charts with my Silhouette Cameo machine as you can see here if you like. I started by spraying my three thrift store frames white. After tweaking the text on my chore charts, I sketched the text on a plain piece of white cardstock. Then, I cut out the frames with a pattern I made. Basically, the pattern I came up with involved a shape (created from overlapping circles) that repeats across the area I wanted to have for a frame. It doesn’t look like much by itself, but trust me, when it is repeated, it looks awesome! Here is the shape I repeated to form the pattern:

Free SVG File Download

Here is the bulletin board I started with (well, almost… I forgot to take a true before picture, before the teal paint and application of the stencil):


Before the white paint (but after the teal – sorry!)

STEP 1: Paint the cork board part of the bulletin board the background color of your choice (teal!).

STEP 2: Make a stencil using copies of the shape given above (or another one, of course). Size the template according to the inner cork dimensions of your bulletin board.

STEP 3: Cut out your stencil from contact paper or vinyl (I used clear contact paper). You may need to use multiple strips to get the necessary width.

The Stencil is On


STEP 4: Apply your stencil. This is the hardest step. At first I tried to remove all the negative space (the diamond shape pieces) before applying it to the board, but since I was using clear contact paper, this proved very difficult. So, I applied it to the board and it was a lot easier to pick off all the diamonds. Be very careful applying the second strip. You want the stencil to align just right in the center where they come together, so BE CAREFUL! I had to trim a little bit with an exacto knife to make the stencil just right. It didn’t come out as perfect as I would have liked, but the result was still awesome!


STEP 5: Spray paint it white (or whatever color you like better)! Spray it from above just to make sure it doesn’t seep under the edge. Make sure you cover it well, then wait for it to dry.

STEP 6: Peel off the stencil and marvel at your handiwork!


All Done!

Doesn’t it look awesome? I framed the chore charts with a cutout frame using the same stencil and color. I hung them below and added a dry erase marker to check off my chores! Let me know if you have any questions. I am smiling at how nice it looks, and at how I conveniently chopped off the part of the picture that shows my messy folding table desk.


Posted on Leave a comment

Creating A Chore Chart on the Silhouette Cameo

UPDATE: I modified my chart slightly and changed the border to match my bulletin board makeover project. I think the end result turned out very nicely – check it out here!

Having seen a number of chore charts and schedules on Pinterest, I decided that I could probably benefit from one myself. It is so hard for me to motivate myself to do the chores around the house, but I LOVE checking off my accomplishments. Enter the Chore Chart:


I decided on chores for each day, separated into morning and afternoon chores, a chore for each weekday, and a rotating set of chores for Saturdays. The project took a little longer than I expected, mostly because it took a while to get the pen set up correctly.
INSTRUCTIONS:

    1. Create the text (your list of chores) in a file (like notepad).
    2. Open Silhouette Studio and choose a border or outline shape of your choice (this is really optional if you would rather just stick with your original paper size).
    3. Pick a thin font (it will draw the outline, and a thin font will make it look more like one line), and enter in your text. You can arrange it however you like on the page within your border.
    4. If you have a pen holder for your Silhouette, it will probably go more smoothly than it did for me, but it can be done without one! If you do NOT have a pen holder, you can try what I did. I wrapped the pens I wanted to use with some painters tape.The trick is to get it just the right width, so it may take a little bit of fiddling. If it is the right width, the pen will be able to fit in the holder, but not move up and down when you start drawing with it. Also, be sure that it is positioned with the tip just slightly above the surface (I have read that a popsicle stick is handy for this, but I didn’t have one handy). If, like me, your pen is initially too low, you may get a streak across the page as you can see in the upper left corner of my project. When this happened, I paused the machine, lifted the pen up a bit, and started it going again. I also got some skipping, which I think was due to the pen then being too high – so your results may vary.
    5. Now, once your pen is ready and in place, you need to prep your file for drawing:

      • Select the text that you want to be written out in the color of pen you have loaded in your machine. Make sure that this is marked as “Cut” in the “Cut Style” options dialogue.
      • Select the text and frame that should NOT be drawn, and mark it as “No Cut”.
      • This will ensure that only the text you want will be drawn
      • Load your mat, select “Pen”, and hit “Cut”
  1. Once it finishes, DO NOT unload the cutting mat. Go back to the “Cut Style” options and switch what you just drew to “No Cut” and what you want to draw next to “Cut”. Change out your pen and “Cut” the next set.
  2. Still making sure you DO NOT unload the cutting mat, swap your blade into the machine. Set everything to “No Cut” except your outline and then hit “Cut”.
  3. Congratulations, your Chore Chart is complete!
I was going to frame mine and hang it where I would see it every day… but I didn’t have a frame handy. So, instead, I slipped it into a plastic sleeve and hung it up on my refrigerator. It is still just as usable with a dry erase marker, just a little less pretty!
If you have a similar system, or make a chore chart, what chores do you have on your schedule?